Hardware
Installing and Configuring Star TSP100 Printer
The Star TSP100 Thermal Receipt Printer is compatible with the ePay Charge Retail software.
Install
If you do not have the installation disc, you can download the drivers directly from Star Micronics at:
http://www.starmicronics.com/Supports/DriverDownload.aspx
Once you have installed the drivers:
Step 1
Turn on the Star Printer and start the Star Micronics “Configuration Utility” application.
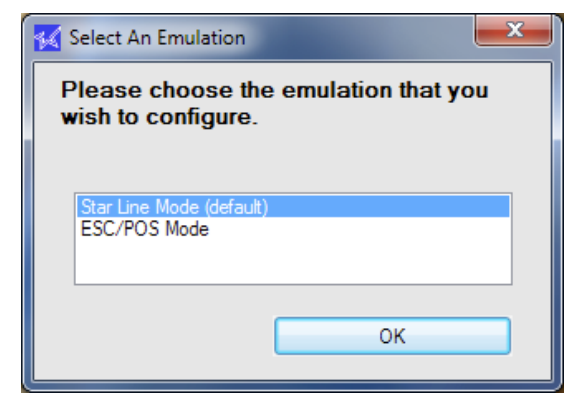
Step 2
Select “Star Line Mode (Default),” then click “OK.”
Step 3
Select “JavaPOS” from the left hand menu and save the folder to the default location.
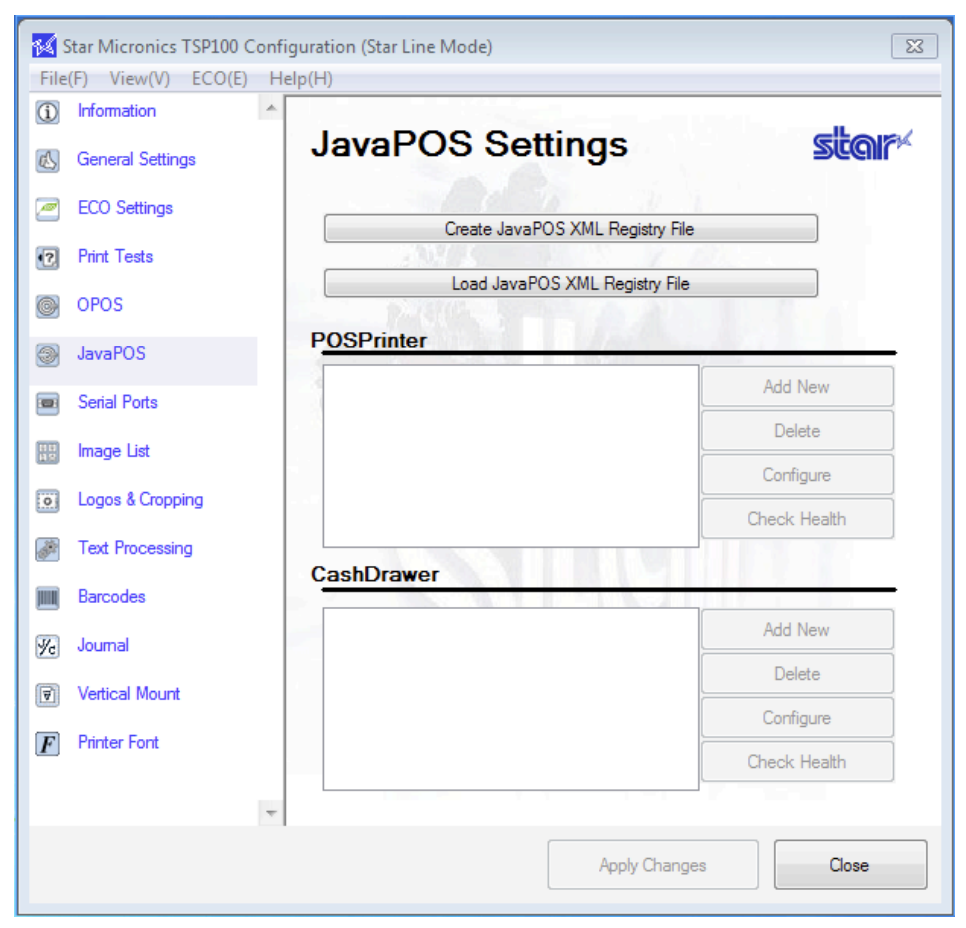
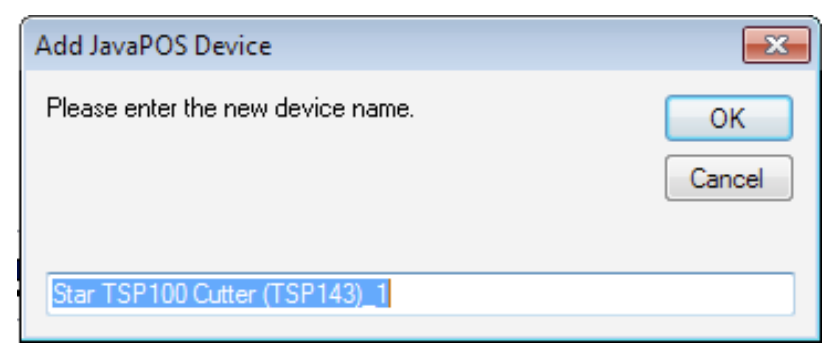
Step 4
Click the “Add New” button. You should see “Star TSP100 Cutter (TSP143)” as a default device. Click “OK”
If the “Add New” button is not enabled, refer back to Step 3.
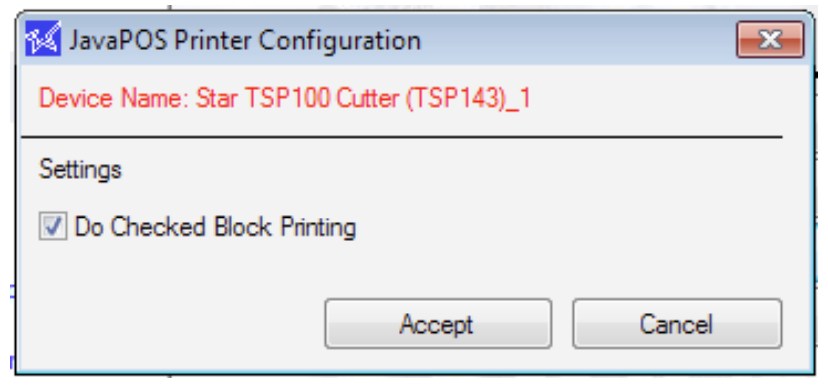
Step 5
Click the “Configure” button. Make sure “Do Checked Block Printing” is checked and click “Accept.
If the “Add New” button is not enabled, refer back to Step 3.
Step 6
Click the “Check Health” button. You will be required to save the configuration settings. Click “Yes” in the “Apply Changes” window.
if the “Add New” button is not enabled, refer back to Step 3.
Once the setup it successful, a “Check Health” receipt will print automatically from the TSP printer.
Configure
To add the Star TSP100 device to your software, please first sign in to your ePay Charge software.
In the ePay Charge software: 1. Click -> Settings -> Device Manager 2. Add -> Device Name (Star Printer) -> Port Name 3. USB (default) -> Add (Star Printer should be in Device List) 4. Close