Settings
To set your company information for your receipts, add peripheral hardware, add/manage users and more, you need edit your “Settings.”
Company Settings
The company settings will appear on your printed receipts. Fill out the fields for the information that you wish to show to your customer.
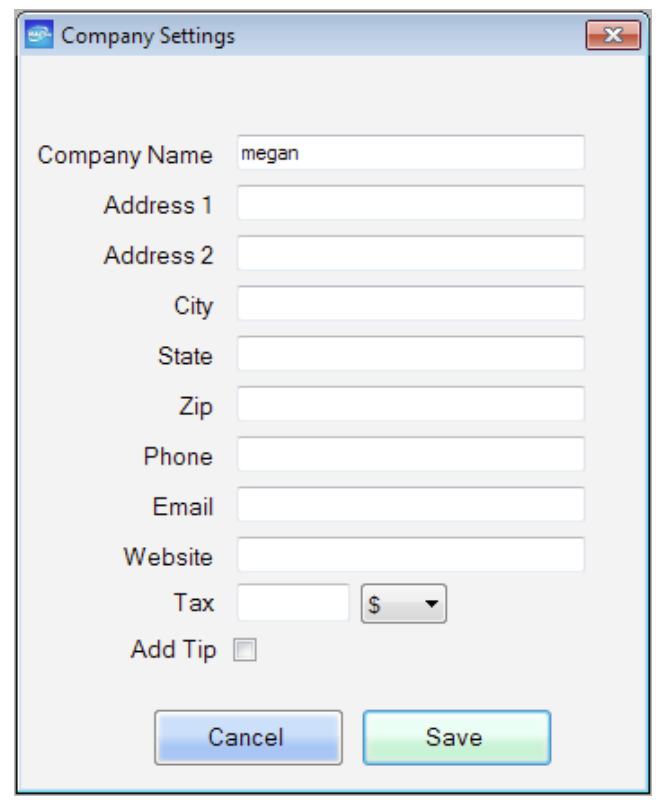
- If Tax is applicable to your business, enter the tax rate and choose either a dollar amount or percent.
- If you select Add Tip you will have the option to enter a tip into the sale form at the time of the transaction or to print a blank tip line on your receipts.
Press “Save” to save your company settings.
User Manager
Add users to the software through the “User Manager.” Each person given access should have his or her own username and password. The Administrative user assigning usernames and passwords must enter a password and a security question. The local user will then have the ability to reset both their password and security question when they log in with their own credentials.
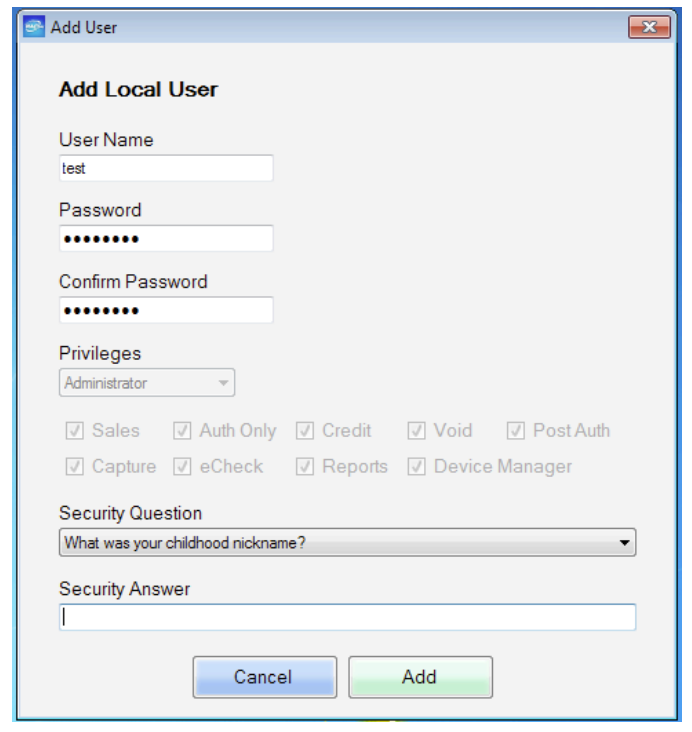
By assigning “Administrator” privileges the user will have access to all features in the software.
By assigning “Local User” privileges the user will only have access to the features that are selected with a green check mark.
Press “Add” to save the local user.
To “Modify” existing users, only Administrative users have access to add, modify and delete users. Select the “User” and then the command. Make your desired changes and the press “Save.”
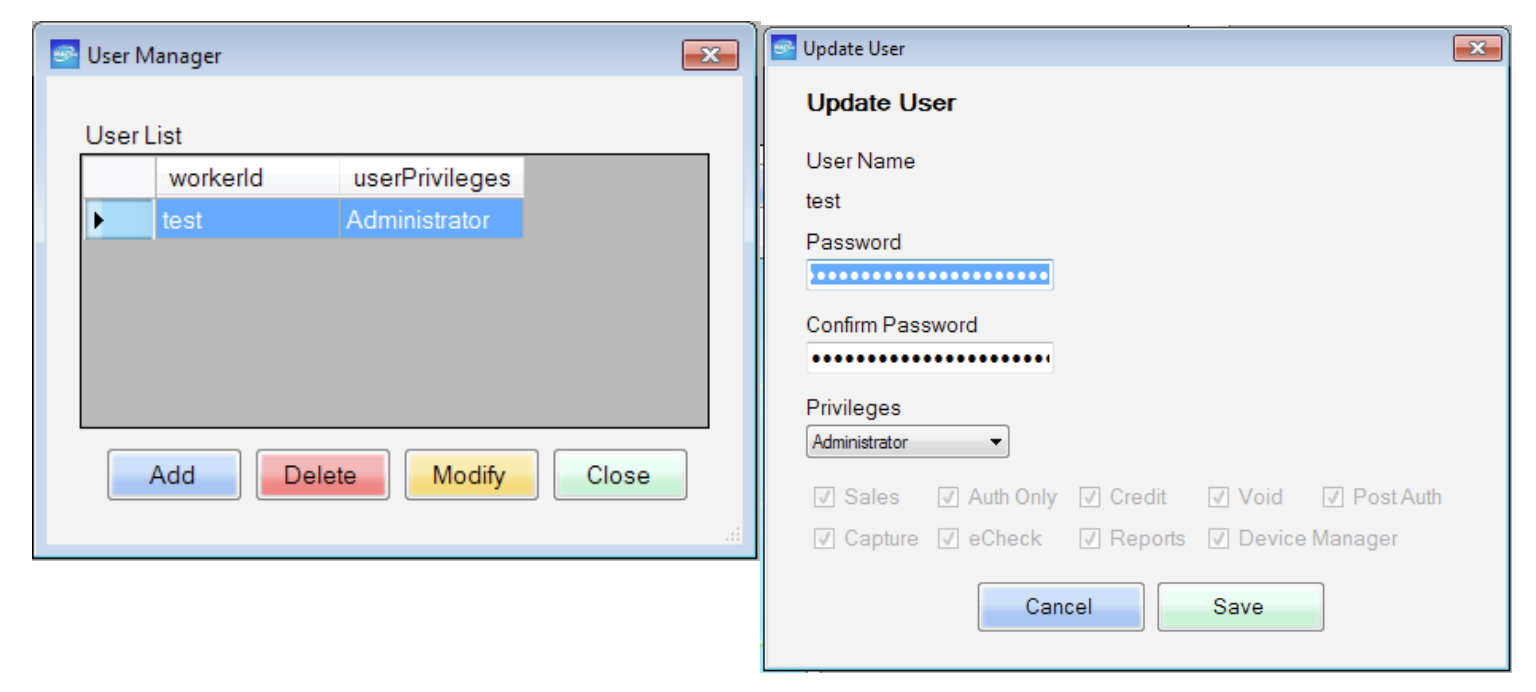
The username will also show up in the transaction details in your Online Merchant Console in Transaction Source “Clerk” information.
Password Reset
Regardless of user permissions, each user with access to the software has the ability to change their password and security question.
Press “Save” to apply your password reset.
Password and security question are required fields for the software. Your password will not expire. You can reset your password from the initial sign in screen and there you can reset a “Forgotten Password.”
Hardware
Printer Settings
To have the option to print a receipt after a successful transaction authorization, you must first select which receipts you would like to print. If there are no “Print Copies” selected, the print button will not appear.
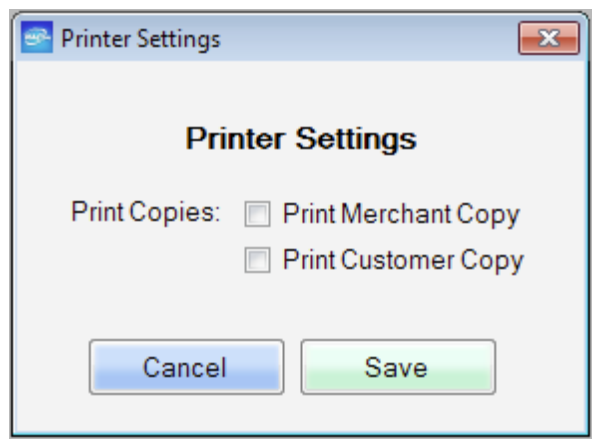
Press “Save” to save your Printer Settings.
Device Manager
In order to swipe credit cards and print receipts, you need to assign each piece of hardware to your software. If you do not assign each device, you will not be given the prompt “Waiting for swipe…” and if you don’t have a printer assigned, you will not see the button to “Print.”
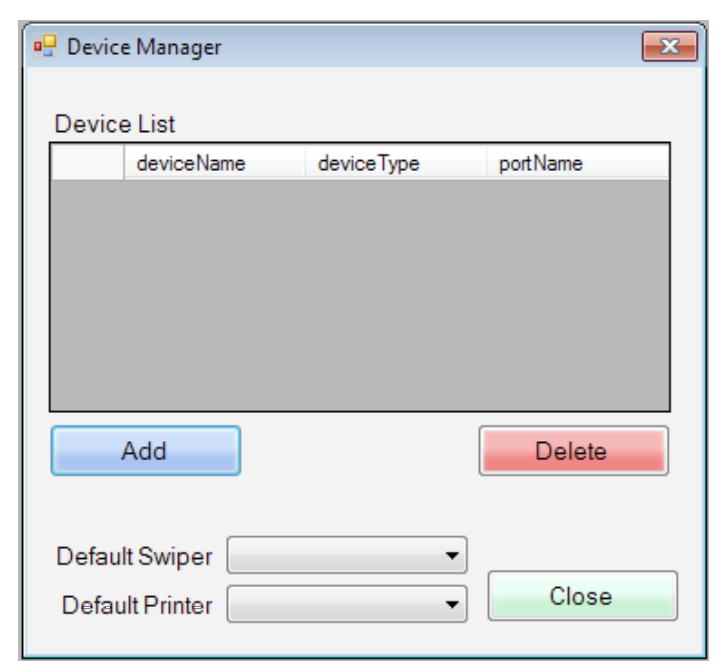
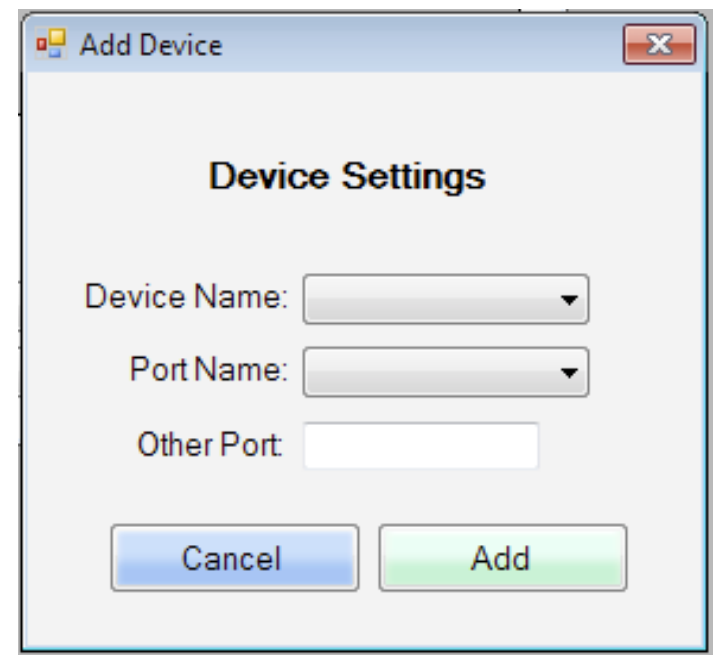
Press “Add” and from the “Device Name” list, choose from the menu and assign the Port accordingly. Press “Add” to save device to your list. Each device you plan to use will have to be added individually. To remove devices, highlight the device and press the “Delete” button. Press “Close” to close the current window.
USB Card readers must be readable for Track 1 & 2 and keyboard emulated.
If you have multiple gateway accounts registered in your software, you must configure each account’s Device Settings to utilize the swiper and printer hardware.
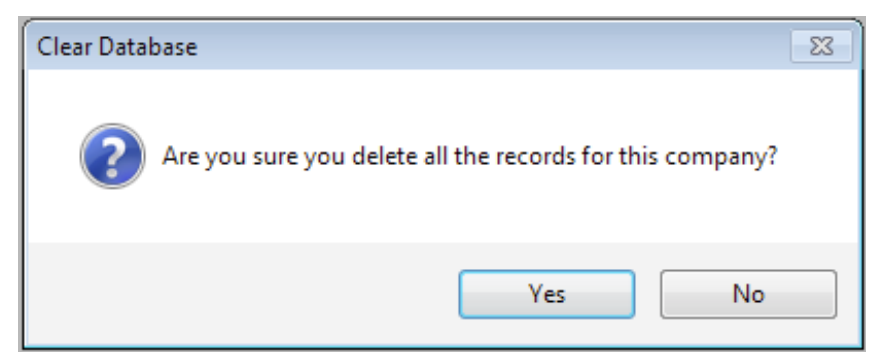
Clear Database
You can add multiple gateway accounts to your software. If you click “Clear Database” you will have the option to remove the account from your software.