Setup
Please Note: Before installing the Retail EPay Charge software, be sure to sign into a computer user account that has Administrative Privileges.
Installation
First determine which version of the software you would like to install depending on the OS:
Steps to Install Windows Version
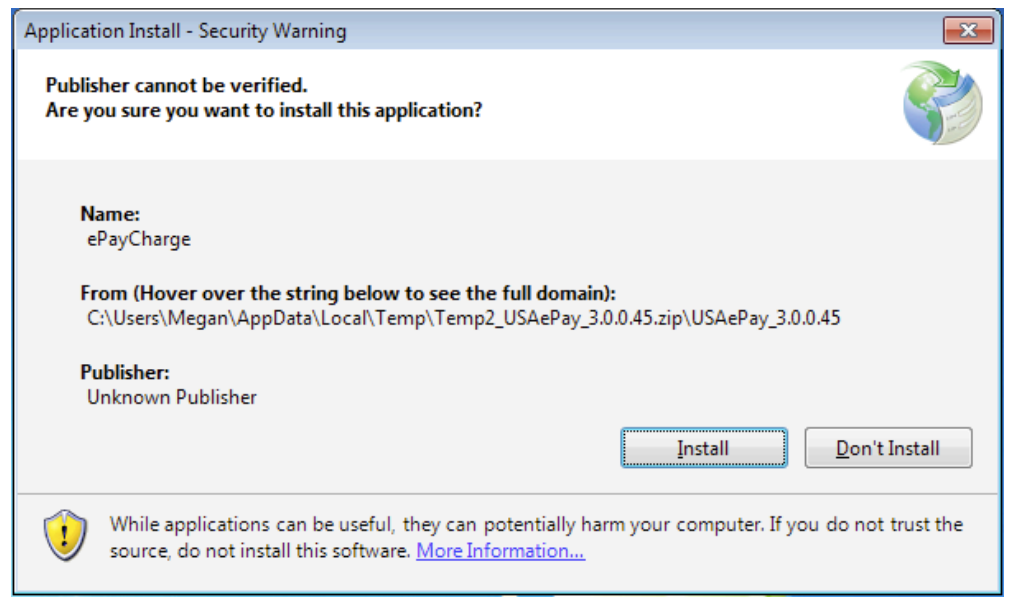
Open the ePayCharge folder and run the software Setup file (setup.exe) to begin the installation. A dialogue box will open up and click “Install.”
If you already have version 3.1 installed, EPayCharge will update your current version to the newest version and save your previous history.
If you already have version 3.3 installed, and you run this installer, you will be prompted to either remove the existing version or repair the existing version.
If no previous version is detected, the program will be installed normally as a new program with no history.
Registering Your Software
To activate your software, you must sign in with your Merchant Console username and password. This will link together your online account and the software.
Register Company
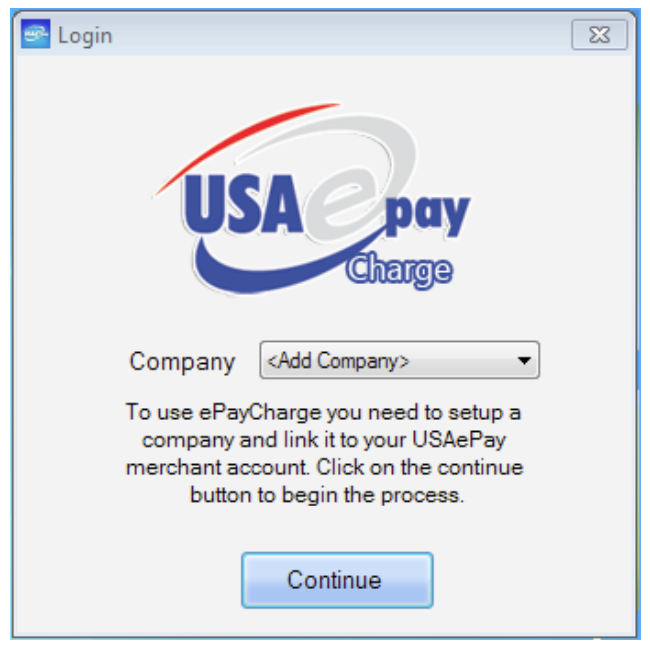
When you see the first login screen verify it says "Add Company" and click Continue.
Enter the following information:
- Company Name - as you would like your company name to appear on your receipts.
- Location - will name the source key in your online merchant console.
- Username and Password - enter your login credentials for the merchant console. Please Note: To register the software, you must sign in with a master user.
- Select to process in the Production or Sandbox environment using the radio buttons. The default account type is Production, but if you are installing the software as a developer or using a sandbox account, you’ll want to choose Sandbox.
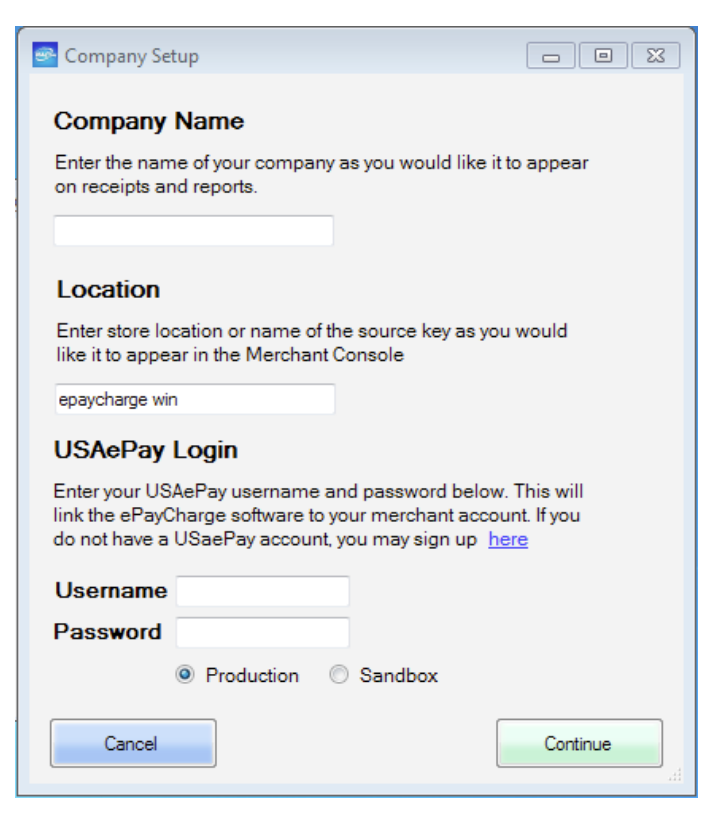
When complete, click Continue.
Add Local User
Once you have successfully registered your software. You will need to create local user information (username, password and security questions/answers).
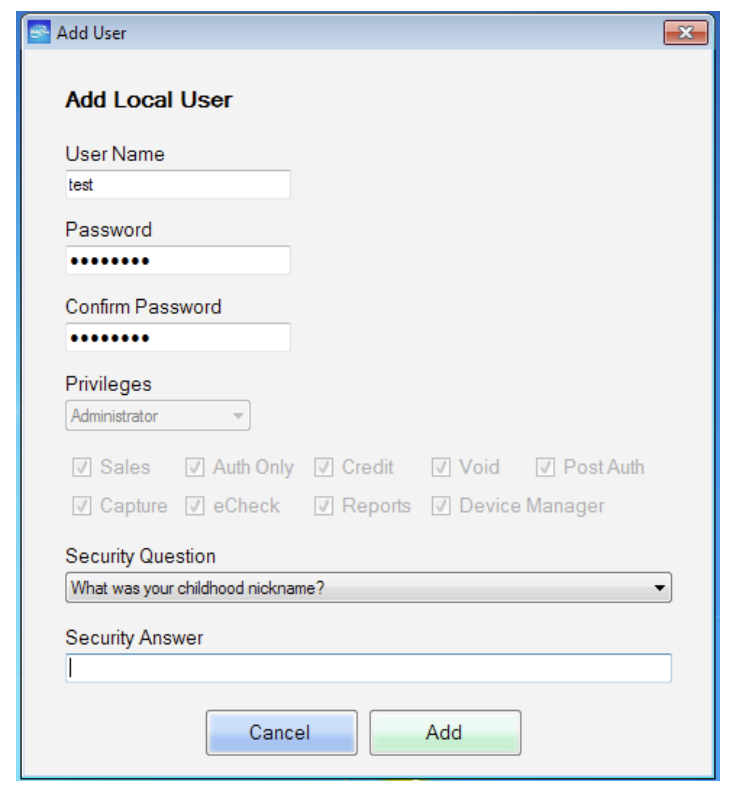
The first user registered to the software has administrative permissions by default however; the permissions can be changed once inside the software.
User Name, Password and Security Answers are required fields.
When complete, click Continue.
Adding an Additional Company
Adding additional companies to your retail software allows the merchant to process through multiple gateway accounts through a single software.
To add another company to your software, refer to the Register Company and follow the setup instructions per adding a new company. Your login information will be included in the drop down menu on the login page. When you logout, you can choose from your registered companies before entering a username and password.