API Keys
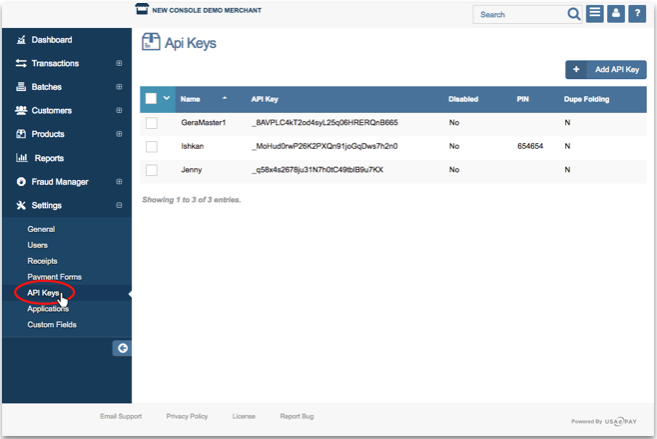
View and edit all of the different sources that connect to your console from your API Keys Settings page, along with each API key’s status, PIN, and transaction result. These sources include all internal and external system sources such as POS systems, shopping carts, eStore or payment forms. To access your API Keys, click on ‘Settings’ from menu side bar, the select ‘API Keys’ on the drop down menu.
An API Key determines the source of the transaction. Each API key is assigned a unique key used to identify the source of each transaction when it is processed through the gateway.
Rearrange Your Table
Your API Keys home page displays a list of your API Keys with the following details:
- Name- API Key Name
- Key
- Disabled- This column will be checked if the key has been disabled.
- PIN- This column will be checked if the key has a pin.
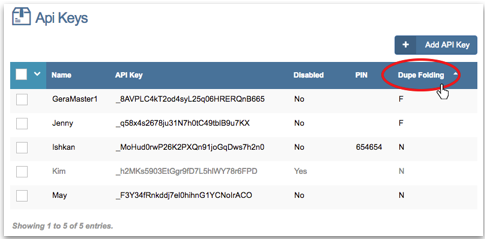
- Duplicate Transaction Handling Status Denotes the duplicate transaction settings. Possible statuses are listed below:
- Fold duplicate if ALL transaction data matches (F)
- None (N)
- Fold duplicate if card # and amount matches (M)
- Fold duplicate if card #, amount, order ID, and source matches (O)
By Default, your API Keys are arrange by name in alphabetical order. If desired, you can rearrange this table by the name of the API Key, API unique key, status, PIN, or the Duplicate Transaction Handling status. As an example, to rearrange the table by the Duplicate Transaction Handling, click on ‘Dupe Folding’ at the top bar of the table. See image below.
Add A New API Key
To add an API key, click 
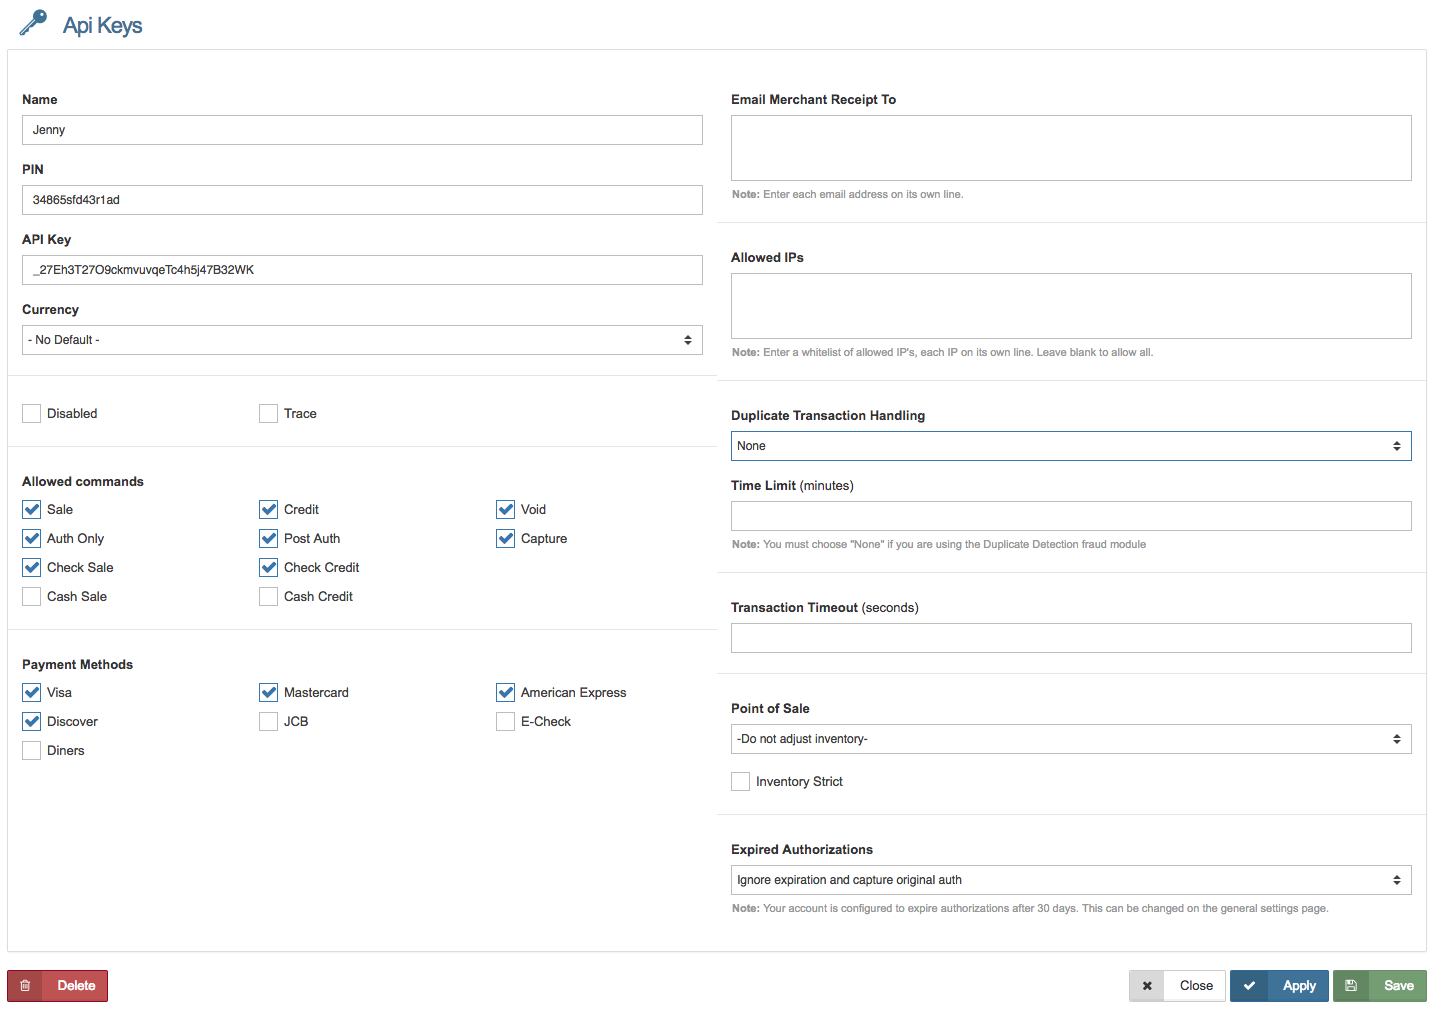
The window shown below will appear:
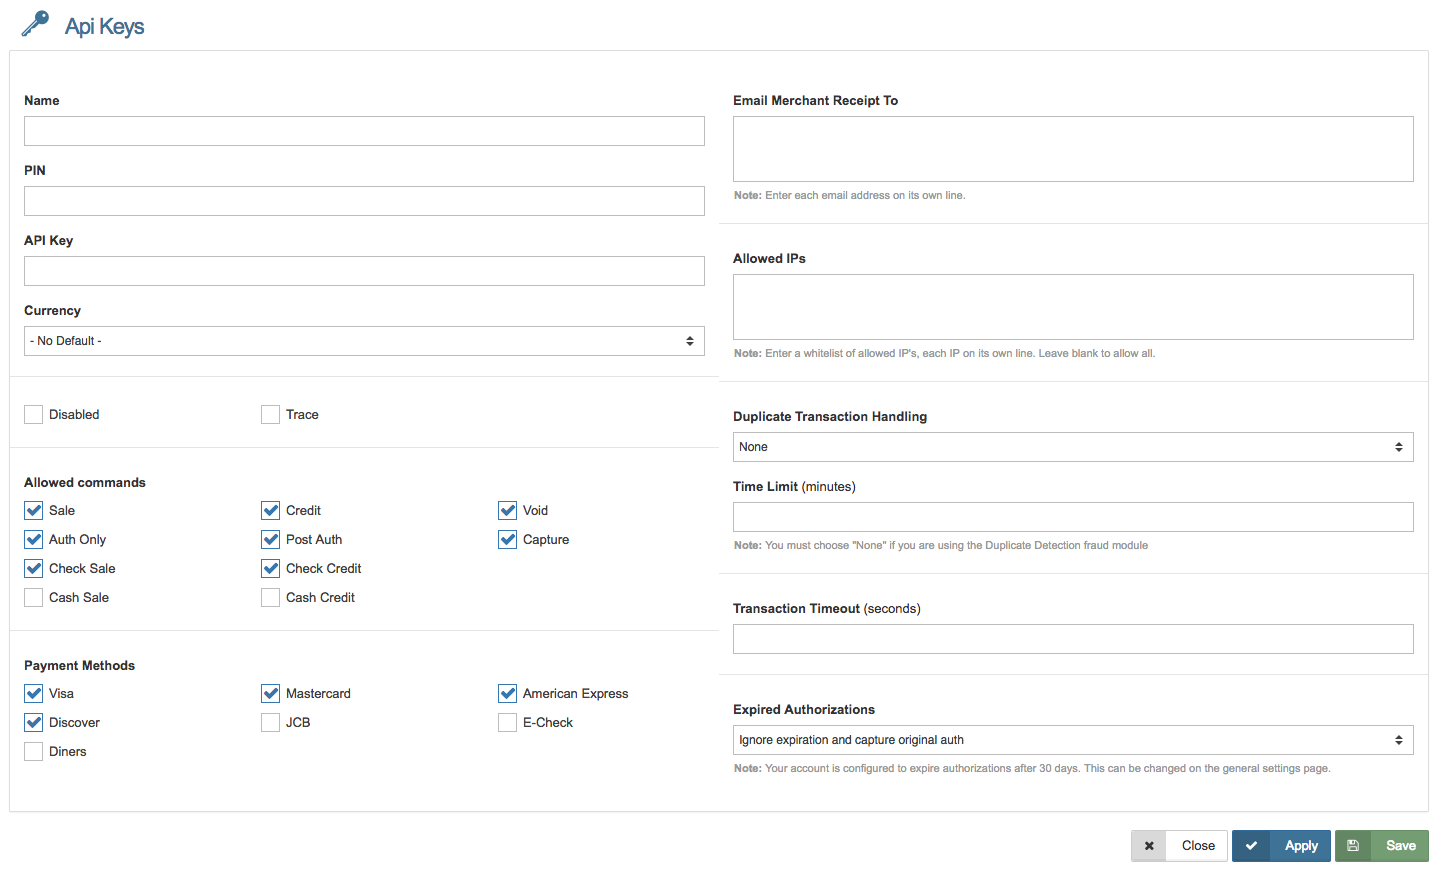
Descriptions of each field/setting are shown here. Adjust settings to fit your needs.
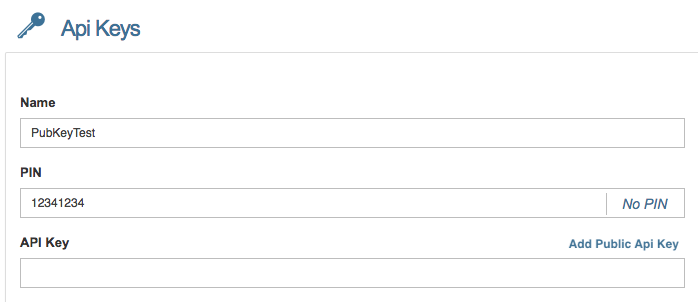
- Name - Enter the name of your source. We recommend that you use something descriptive and easy to remember. This field is required.
- PIN - Enter a private alphanumeric password for this key. To create an API key with no PIN, click "No PIN", and confirm you would like to create a key with no pin.
- API Key - This alpha numeric string is the key that was created.
- Public API Key- If you are a developer using the the Client JS Library, you will need to create a public API key. See below for more information.
- Currency - If you prefer to use a default currency for the API key, select the currency type in the drop down menu. Otherwise, select ‘No Default Currency’.
- Disabled - Check the box ‘Disabled’ if you want the API key to be disabled.
- Allowed Commands - Select the commands the API key will be permitted to process. Your allowed commands should be based on who will be using the source, how public it is, and the specific fraud modules you plan to add. Available commands: Sale, Auth Only, Check Sale, Cash Sale, Credit, Post Auth, Check Credit, Cash Credit, Void, and Capture.
- Payment Methods - Select the payment methods the API key will be permitted to process. Available Payment Methods: Visa, Discover, MasterCard, Diners, JCB, American Express, and e-Check.
- Email Merchant Receipt To - Any emailed merchant receipts will be sent to this email address. You may add more than one email by adding additional emails on new lines.
- Allowed IP’s - Enter a whitelist of the allowed IP addresses, with each IP address on its own line. To allow all IP addresses, leave the field blank.
- Duplicate Transaction Handling - This setting allows you to prevent fraud by catching similar or identical transactions occurring within a set period of time. Please Note: This option is not compatible with check transactions and should not be used in conjunction with the Duplicate Detection fraud module.
- This feature folds transactions when two or more transactions:
- 1) happen within the specified Time Limit AND
- 2) the specified criteria matches.
- In the event a duplicate transaction is detected, the system will fold in the second transaction and the customer will be shown the first authorization again. To enable this feature enter a number of minutes in the "Time Limit" field and select one of the following options in the drop down menu:
- None: Selecting this option leaves this feature DISABLED. This is the default setting.
- Fold if ALL data matches: Transactions processed within the time limit where all transaction data matches will be folded. Duplicate transactions must be processed on this payment form to be folded.
- Fold if card #, amount, order ID, and source match: Transactions processed within the time limit with the same card number, amount, and order ID will be folded. Duplicate transactions must processed on this payment form to be folded.
- Fold if card # and amount match: Transactions processed within the time limit with the same card number and amount will be folded. When this option is enabled, the gateway looks at ALL previous transactions on the account (not just those processed on this form), when determining if a transaction is a duplicate.
- Time Limit - Enter the time limit in minutes in regards to Duplicate Transaction Handling.
- Transaction Timeout - Enter the maximum time you would like transactions to wait before the transaction times out. This should be entered in seconds.
- Point of Sale - Select the warehouse the inventory that should be decremented when line items are entered.
- Inventory Strict - If you would like transactions to be blocked when the inventory isn't available in selected warehouse, check this box.
- Expired Authorizations - Select from the drop down menu on what actions to take for expired authorizations. Options are shown below:
- Ignore expiration and capture original auth - Checks "Expire Auth After" in settings. If authorization has expired, it will force a capture of the original authorization. Please Note: Maximum "Expire Auth After" setting is 30 days. We would not recommend capturing transactions over 60 days due to the charge back risk.
- Block capture and return error - Checks "Expire Auth After" in settings. If authorization has expired, an error will be returned.
- Re-authorize transaction - Checks "Expire Auth After" in settings. If the authorization has expired, it will attempt to reauthorize the same card.
Click  or
or 
Please Note: The API Key will automatically be generated by the system once you have completed filling the information and click or
View An API Key’s Settings
To view and edit a API Key’s information or settings, click on the API key on your table.
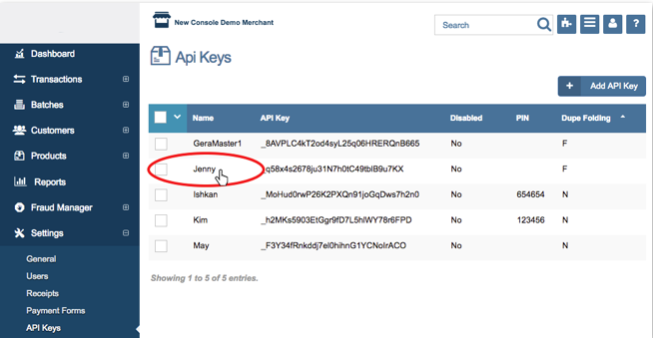
You will be taken to that API Keys page where you can configure that API key’s settings.
Click or to save the changes you have made.
To delete the API, click 
Click  to return to your API Keys homepage.
Public Key
To generate a public key, click the link that says Add Public API Key.
A key will generate and populate the field called Public API Key. You will use this to generate one-time-use tokens for the Client JS Library.
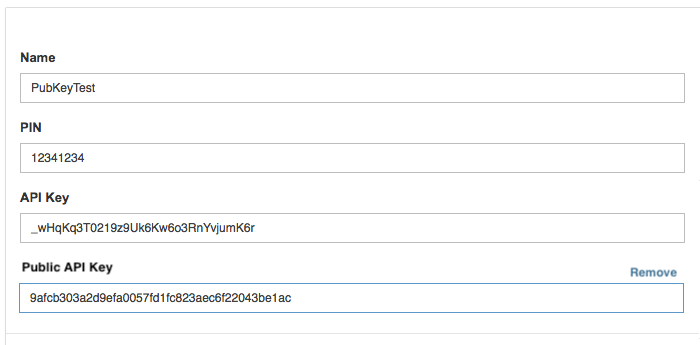
To delete a Public API Key click the Remove link.