Settings
The Settings section of the Android POS App allows you to manage your Customer Database.
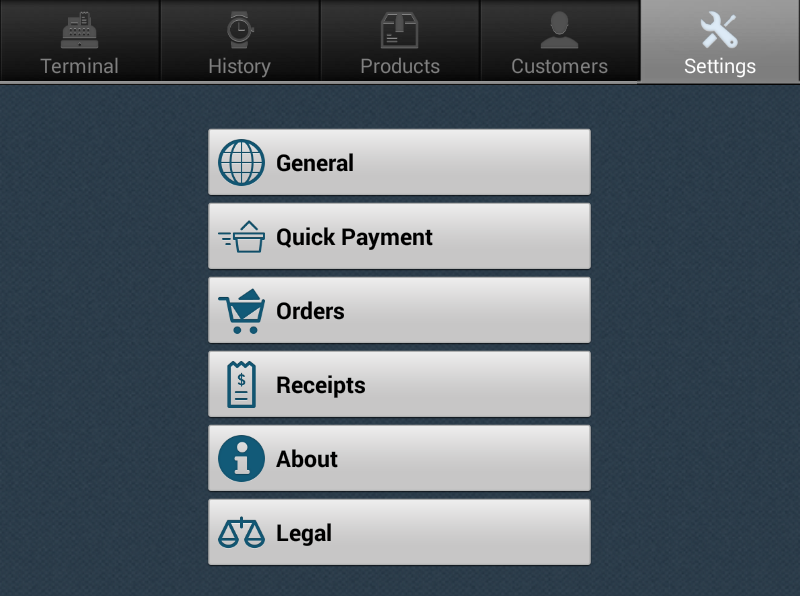
To personalize your settings, tap on the ‘Settings’ tab at the top of the page. From your Settings, you can adjust your General Settings, Quick Payment, Orders, and Receipts. You can also access the About page for the application and Legal information.
General
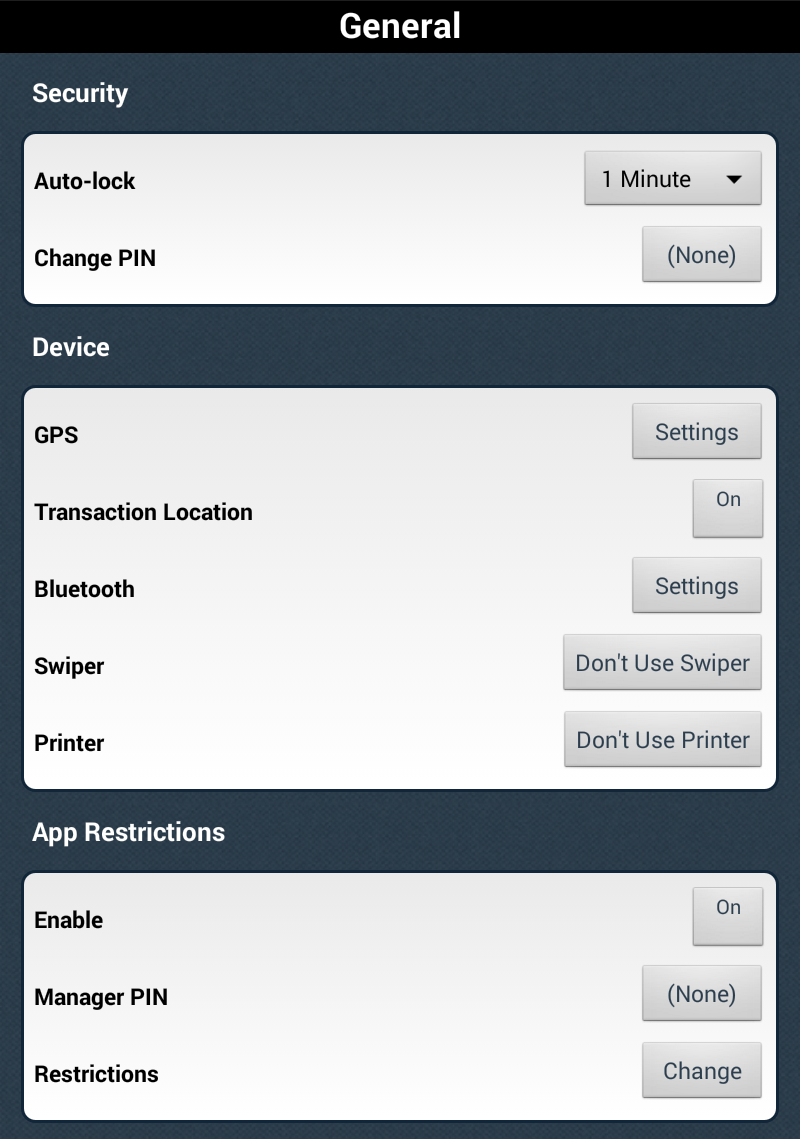
Security
You can customize your Security settings: Auto-Lock and Change PIN
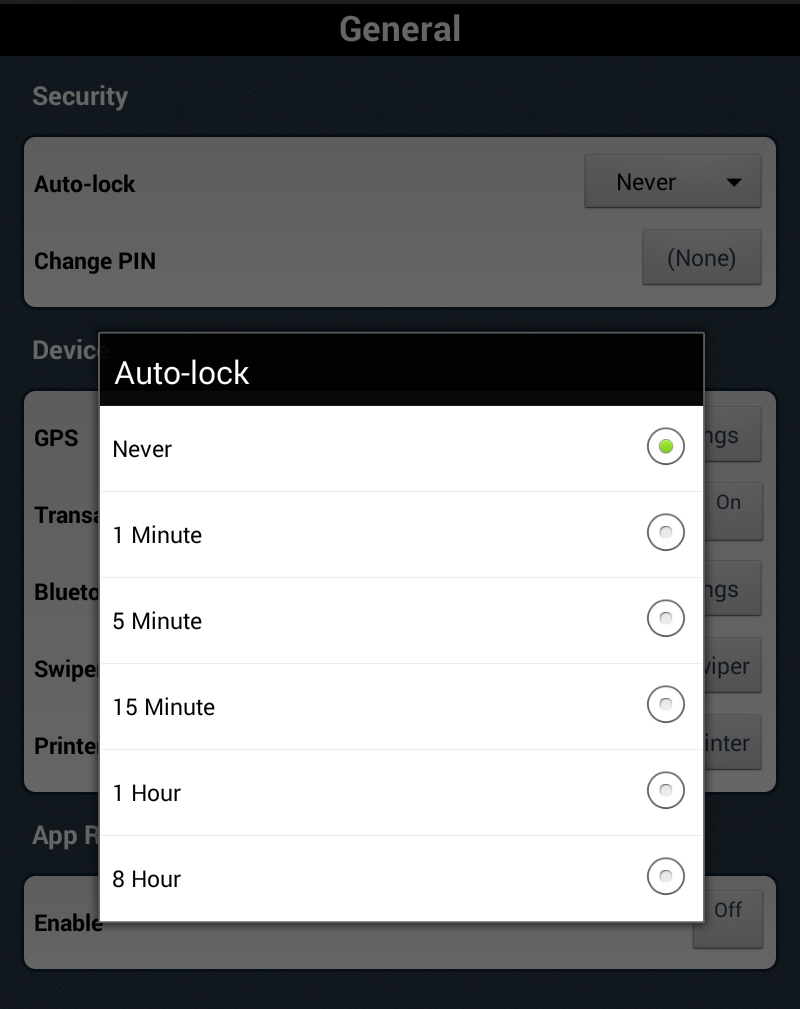
Auto-Lock
You can set your Retail POS App to auto-lock to the following settings: Never, 1 minute, 5 minutes, 15 minutes, 1 hour, or 8 hours. Enabling this security feature, requires users to enter a pin number when using the application.
Change PIN:
Tap on the ‘Change PIN’ field to set a security PIN. The pin must be four characters.
Device
You can set the following Device settings:
GPS
Tap on ‘Settings’ to turn on your GPS functionality.
Transaction Location
Enable this feature to have your device record the location of the processed transaction.
Bluetooth
Tap on ‘Settings’ to turn on your Bluetooth functionality.
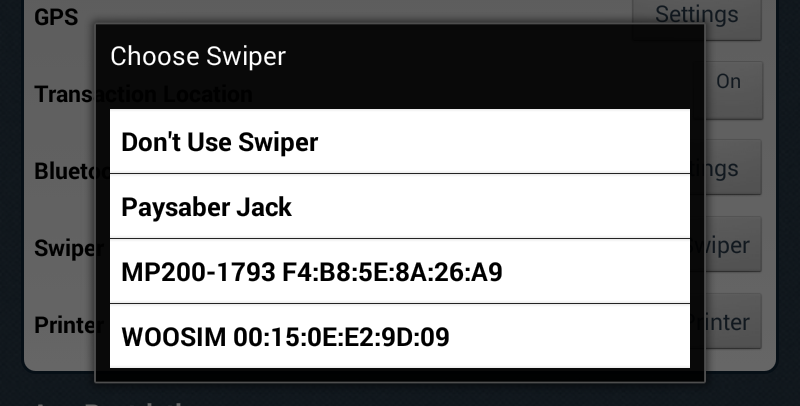
Swiper
Tap here to either enable or disable a swiper.
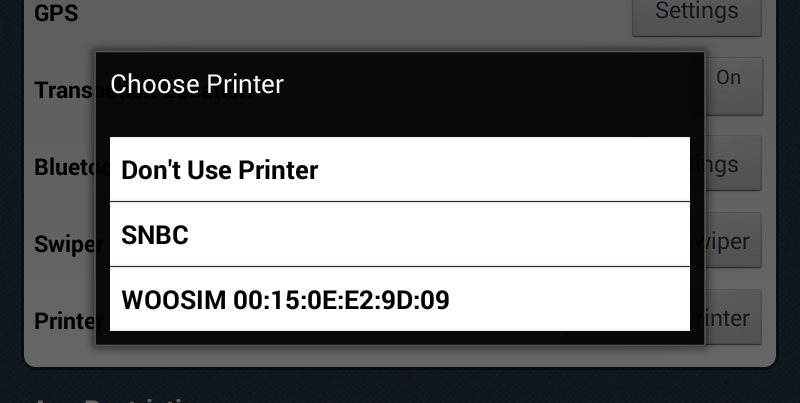
Printer
Tap here to either disable or enable a printer.
App Restrictions
Enable this security feature to apply restrictions when using the application. When this is enabled, you must set a ‘Manager Pin’. The pin must be 4 characters. To set up specific app restrictions, tap on ‘Change’ in the ‘Restrictions’ field.
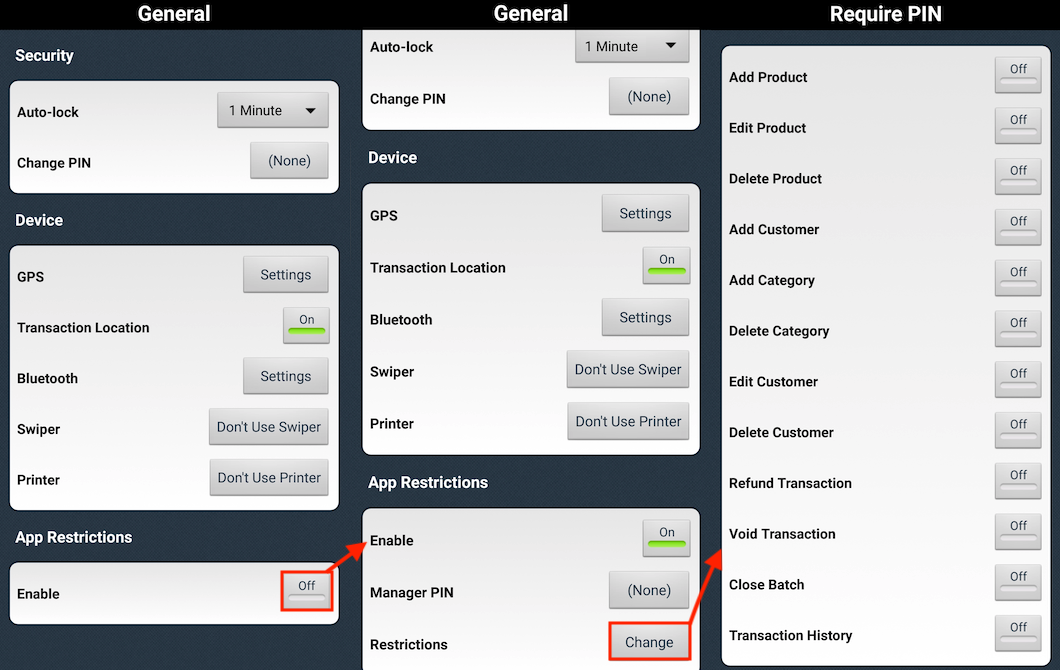
Once you tap on ‘Restrictions,’ the pop up window will appear where you can enable or disable the following options:
- Add Product
- Edit Product
- Delete Product
- Add Customer
- Add Category
- Delete Category
- Edit Customer
- Delete Customer
- Refund Transaction
- Void Transaction
- Close Batch
- Transaction History
Quick Payment
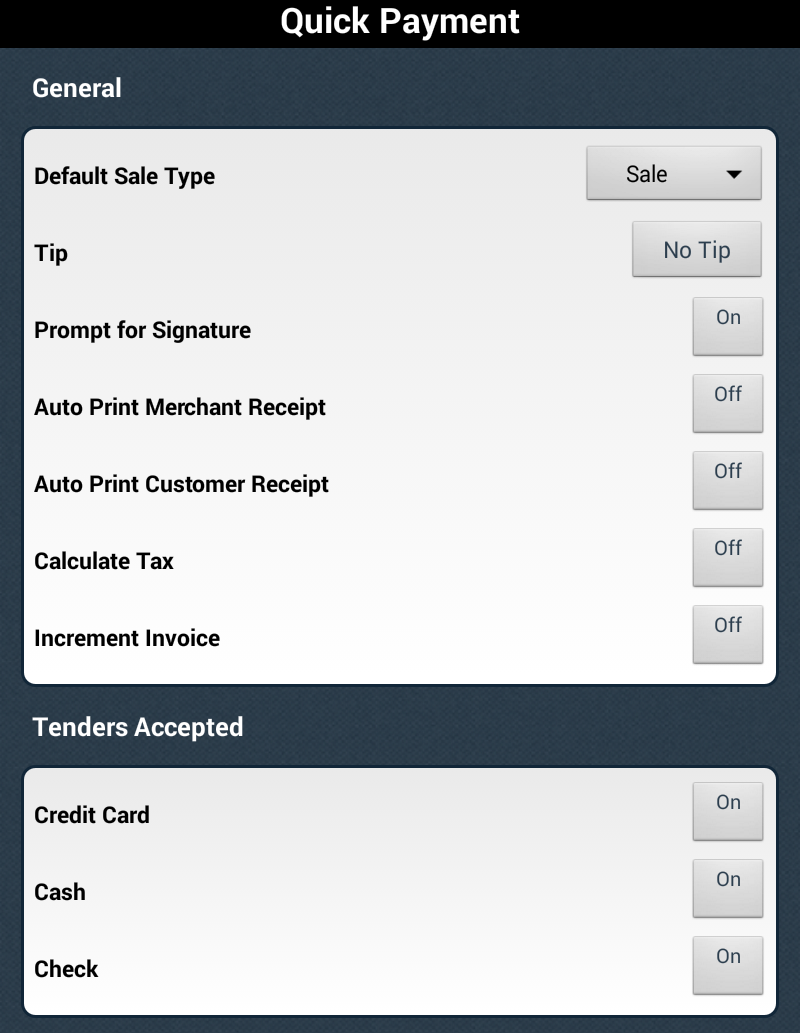
General
The general section of Quick Payment Settings allows you to customize the following: Default Sales Type, Tip, Prompt for Signature, Auto Print Merchant, Auto Print Customer, Calculate Tax, Tax Rate, Increment Invoice, and Next Invoice. You can also customize which tenders are accepted.
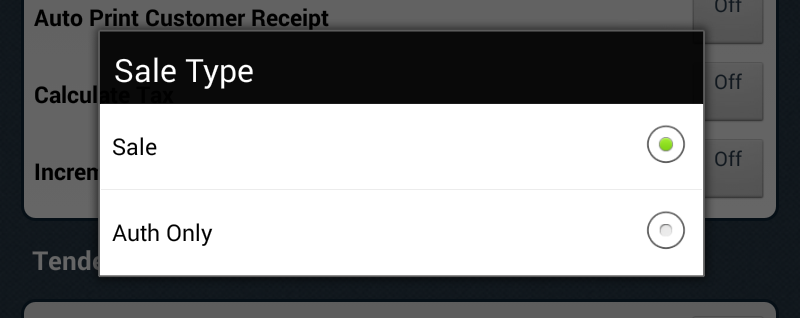
Default Sales Type
Select your default Quick Payment type: ‘Sale’ or ‘Auth Only’. Note: Auth only transactions are going to show as preauthorized, which can be viewed in your Queued Transactions on the Merchant Console.
Tip
You can set this feature to one of the following options: No Tip, Prompt for Tip, or Tip Adjust.
No Tip
Select this option to NOT prompt for a tip.
Prompt for Tip

Select this option to automatically prompt for tip when a transaction is being processed. If this is enabled, you can set the following options:
- Custom Tip: You can either have the tip be calculated as a percentage, in a dollar amount, or both.
- Starting Tip: Tap here to set the starting tip amount in percentage % form.
- Tip Warning Threshold: Tap here to set when the Tip Warning will appear in case the customer inputs a tip that is overwhelmingly large.
Tip Adjust
Select this option to automatically adjust the transaction for a tip.
Prompt for Signature
Enable this feature to prompt the customer for a signature when completing a transaction.
Auto Print Merchant
This setting allows your merchant receipts to print automatically, after a transaction is processed.
Auto Print Customer
The setting allows your customer receipts to print automatically, after a transaction is processed.
Calculate Tax

Enable this setting to automatically calculate tax when processing a transaction.
Tax Rate
Enter a default tax rate (in percentage % form) for all your Quick Payment transactions.
Increment Invoice
This setting sets the incremental order for your order numbers. For example, if the Next Order # is at ‘10018’ and the Order # Increment is set at ‘1’, this means that your next order numbers will be ‘10019’, ‘10020’, ‘10021’, and so on.
Next Invoice
This setting allows you to set your starting order number. The next order placed will be one greater than the number stored in the system.
Tenders Accepted
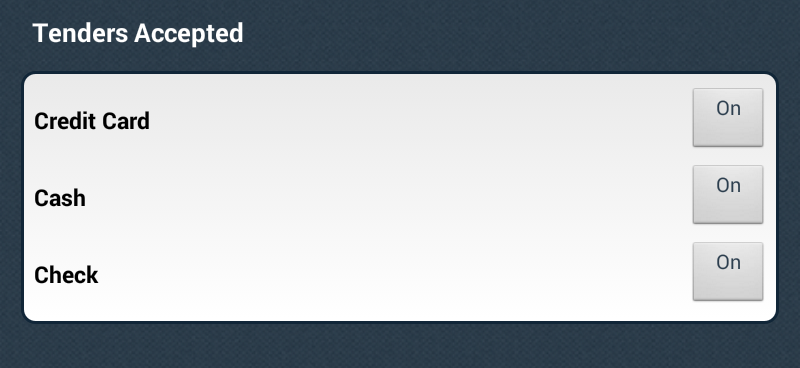
You can enable which tenders can be accepted when processing payments. The following tenders can be enabled to be accepted: Credit Card, Cash, and/or Check.
Orders
General
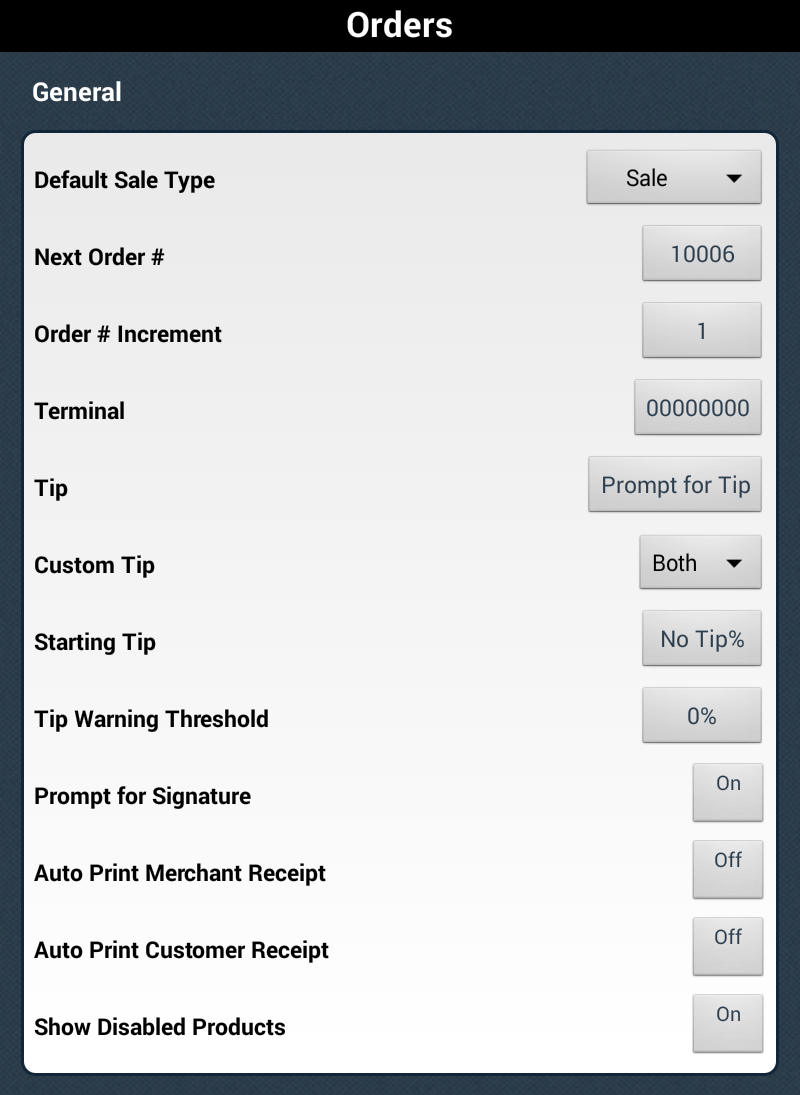
The general section of Orders Settings allows you to customize the following: Default Sales Type, Next Order #, Order # Increment, Terminal, Tip, Prompt for Signature, Auto Print Merchant, Auto Print Customer, and Show Disabled Products.
Default Sales Type
Select your default Quick Payment type: ‘Sale’ or ‘Auth Only’. Note: Auth only transactions are going to show as preauthorized, which can be viewed in your Queued Transactions on the Merchant Console.
Next Order #
This setting allows you to assign a number for the terminal, to determine the POS device being used, its location, or its user.
Order # Increment
This setting sets the incremental order for your order numbers. For example, if the Next Order # is at ‘10019’ and the Order # Increment is set at ‘1’, this means that your next order numbers will be ‘10020’, ‘10021’, ‘10022’, and so on.
Terminal
This setting allows your to assign a number for the terminal, to determine the POS device being used, its location, or its user.
Tip
You can set this feature to one of the following options: No Tip, Prompt for Tip, or Tip Adjust.
No Tip
Select this option to not prompt for a tip.
Prompt for Tip
Select this option to automatically prompt for tip when a transaction is being processed. If this is enabled, you can set the following options:
- Custom Tip: You can either have the tip be calculated as a percentage, in a dollar amount, or both.
- Starting Tip: Tap here to set the starting tip amount in percentage % form.
- Tip Warning Threshold: Tap here to set when the Tip Warning will appear in case the customer inputs a tip that is overwhelmingly large.
Tip Adjust
Select this option to automatically adjust the transaction for a tip.
Prompt for Signature
Enable this feature to prompt the customer for a signature when completing a transaction.
Auto Print Merchant
This setting allows your merchant receipts to print automatically, after a transaction is processed.
Auto Print Customer
The setting allows your customer receipts to print automatically, after a transaction is processed.
Show Disabled Products
Enable this feature to still be able to view products that have been disabled.
Tax
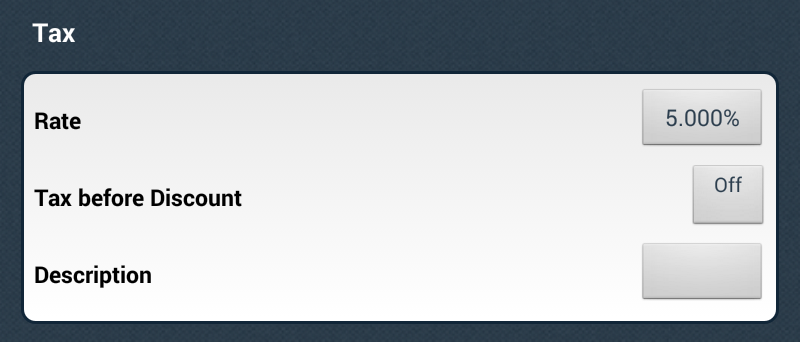
The tax section of Orders Settings allows you to customize the following: Rate, Tax before Discount, and Description.
Rate
Enter a default tax rate (in percentage % form) for all your Quick Payment transactions.
Tax before Discount
This setting when enabled taxes the transaction before any discount has been applied. Disable this function to tax items after the discount has been applied.
Description
Type in the description of the type of tax here.
Tenders Accepted
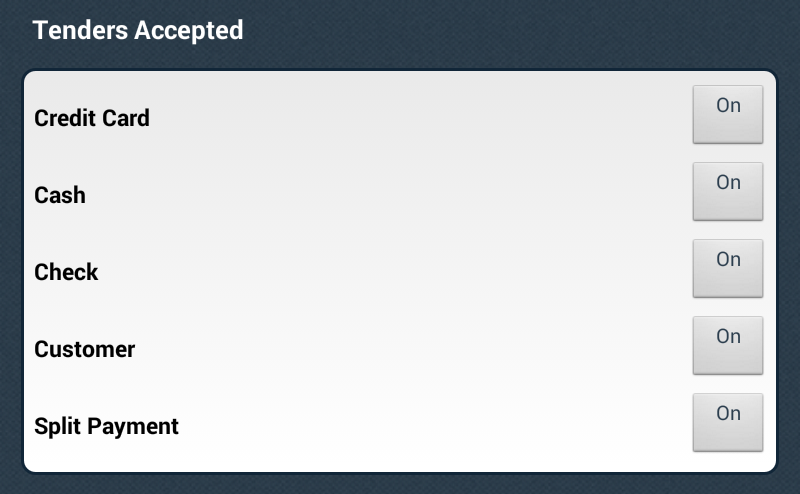
You can enable which tenders can be accepted when processing payments. The following tenders can be enabled to be accepted: Credit Card, Cash, Check, Customer, and/or Split Payment.
Credit Card
Enable this feature to accept credit card payments.
Cash
Enable this feature to accept cash payments.
Check
Enable this feature to accept checks (external checks only).
Customer
Enable this feature to process transactions using a customer’s information that has been previously stored on the Merchant Console.
Split Payment
Enable this feature to process a payment using more than one form of payment.
Custom Fields
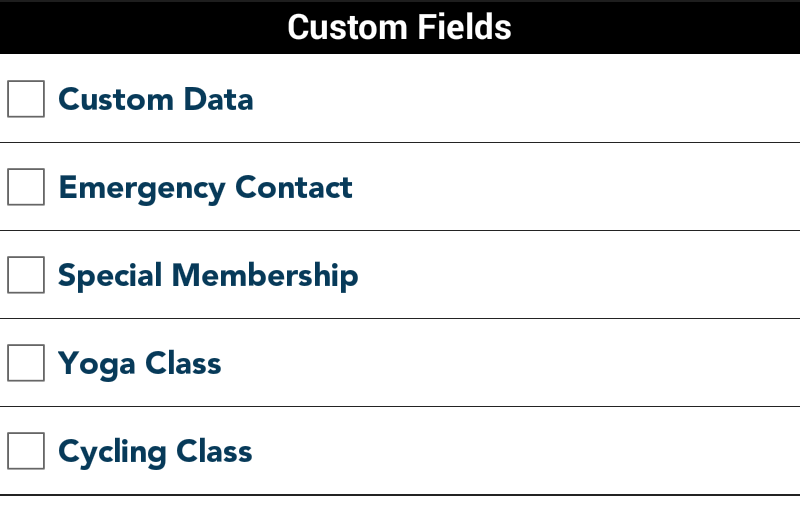
The Custom Fields section of Order Settings allows you to choose whether or not you would like the Custom Fields you entered on the Merchant Console to show on your mobile app. Note: The Custom Fields when entered on the Merchant Console must be made “searchable” in order to appear on the mobile interface. Any additional Custom Fields must be first typed into the Merchant Console before it can be viewed in the mobile application.
Tap on Manage Custom Fields. Check the boxes next to the fields you would like to appear. Tap on ‘Refresh’ to make sure all fields that have been entered in the Merchant Console are appearing.
Receipts
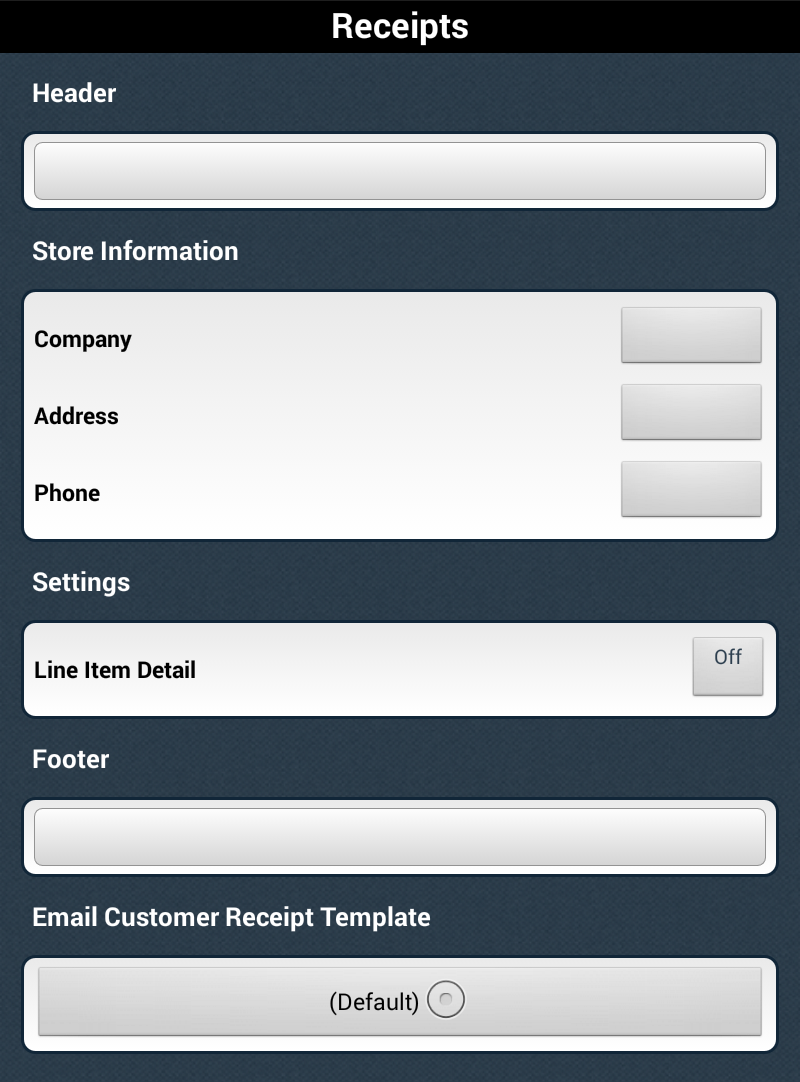
The Receipts section of the Settings tab allows you customize how your receipts will look like. Business Information: The Retail POS App allow you to customize your receipt with the following information: Header, Company Name, Address, Phone, Line Item Details, Footer, and Email Customer Receipt Template.
About
This section displays app and user information, database information, Customer Service information and links to the Support Website. This section allows you to clear your database as well.
App/User Information
- App Version
- Software Key
- Source Key
- Username
Database Information
- total Products
- total Customers
- total Transactions (per day)
- DB (Database) Size
Contact Information
- Customer Support Phone
- Support Website.
Clear Database
Clearing your database will remove all products, customers, and transactions for your account in the device used. Any changes made on the device used that has not bee sent to the gateway will be lost. Note: This feature only resets your information, it will not delete anything. To clear your database, tap on ‘Clear Database’.
A pop up window will appear, tap on ‘Clear Database’ to continue.
The application page will refresh, displaying the reset information.
Legal
This section will display the Retail POS App’s copyright information and terms of acknowledgement.
Log Out
To logout from the Retail POS App, tap on the Settings tab. Tap on ‘Log Out’ to logout of your account. You will automatically be redirected to the Login screen.