Application Keys
The Application Keys page on your merchant console displays the source keys generated for mobile apps (Android and iOS) and the ePayCharge software. Your list will automatically be updated whenever you login with a new user and a different mobile device or whenever you download and sign into ePayCharge. different application. To access your Application Keys, click on ‘Settings’ from your side menu bar then select ‘Applications’ on the drop down menu.
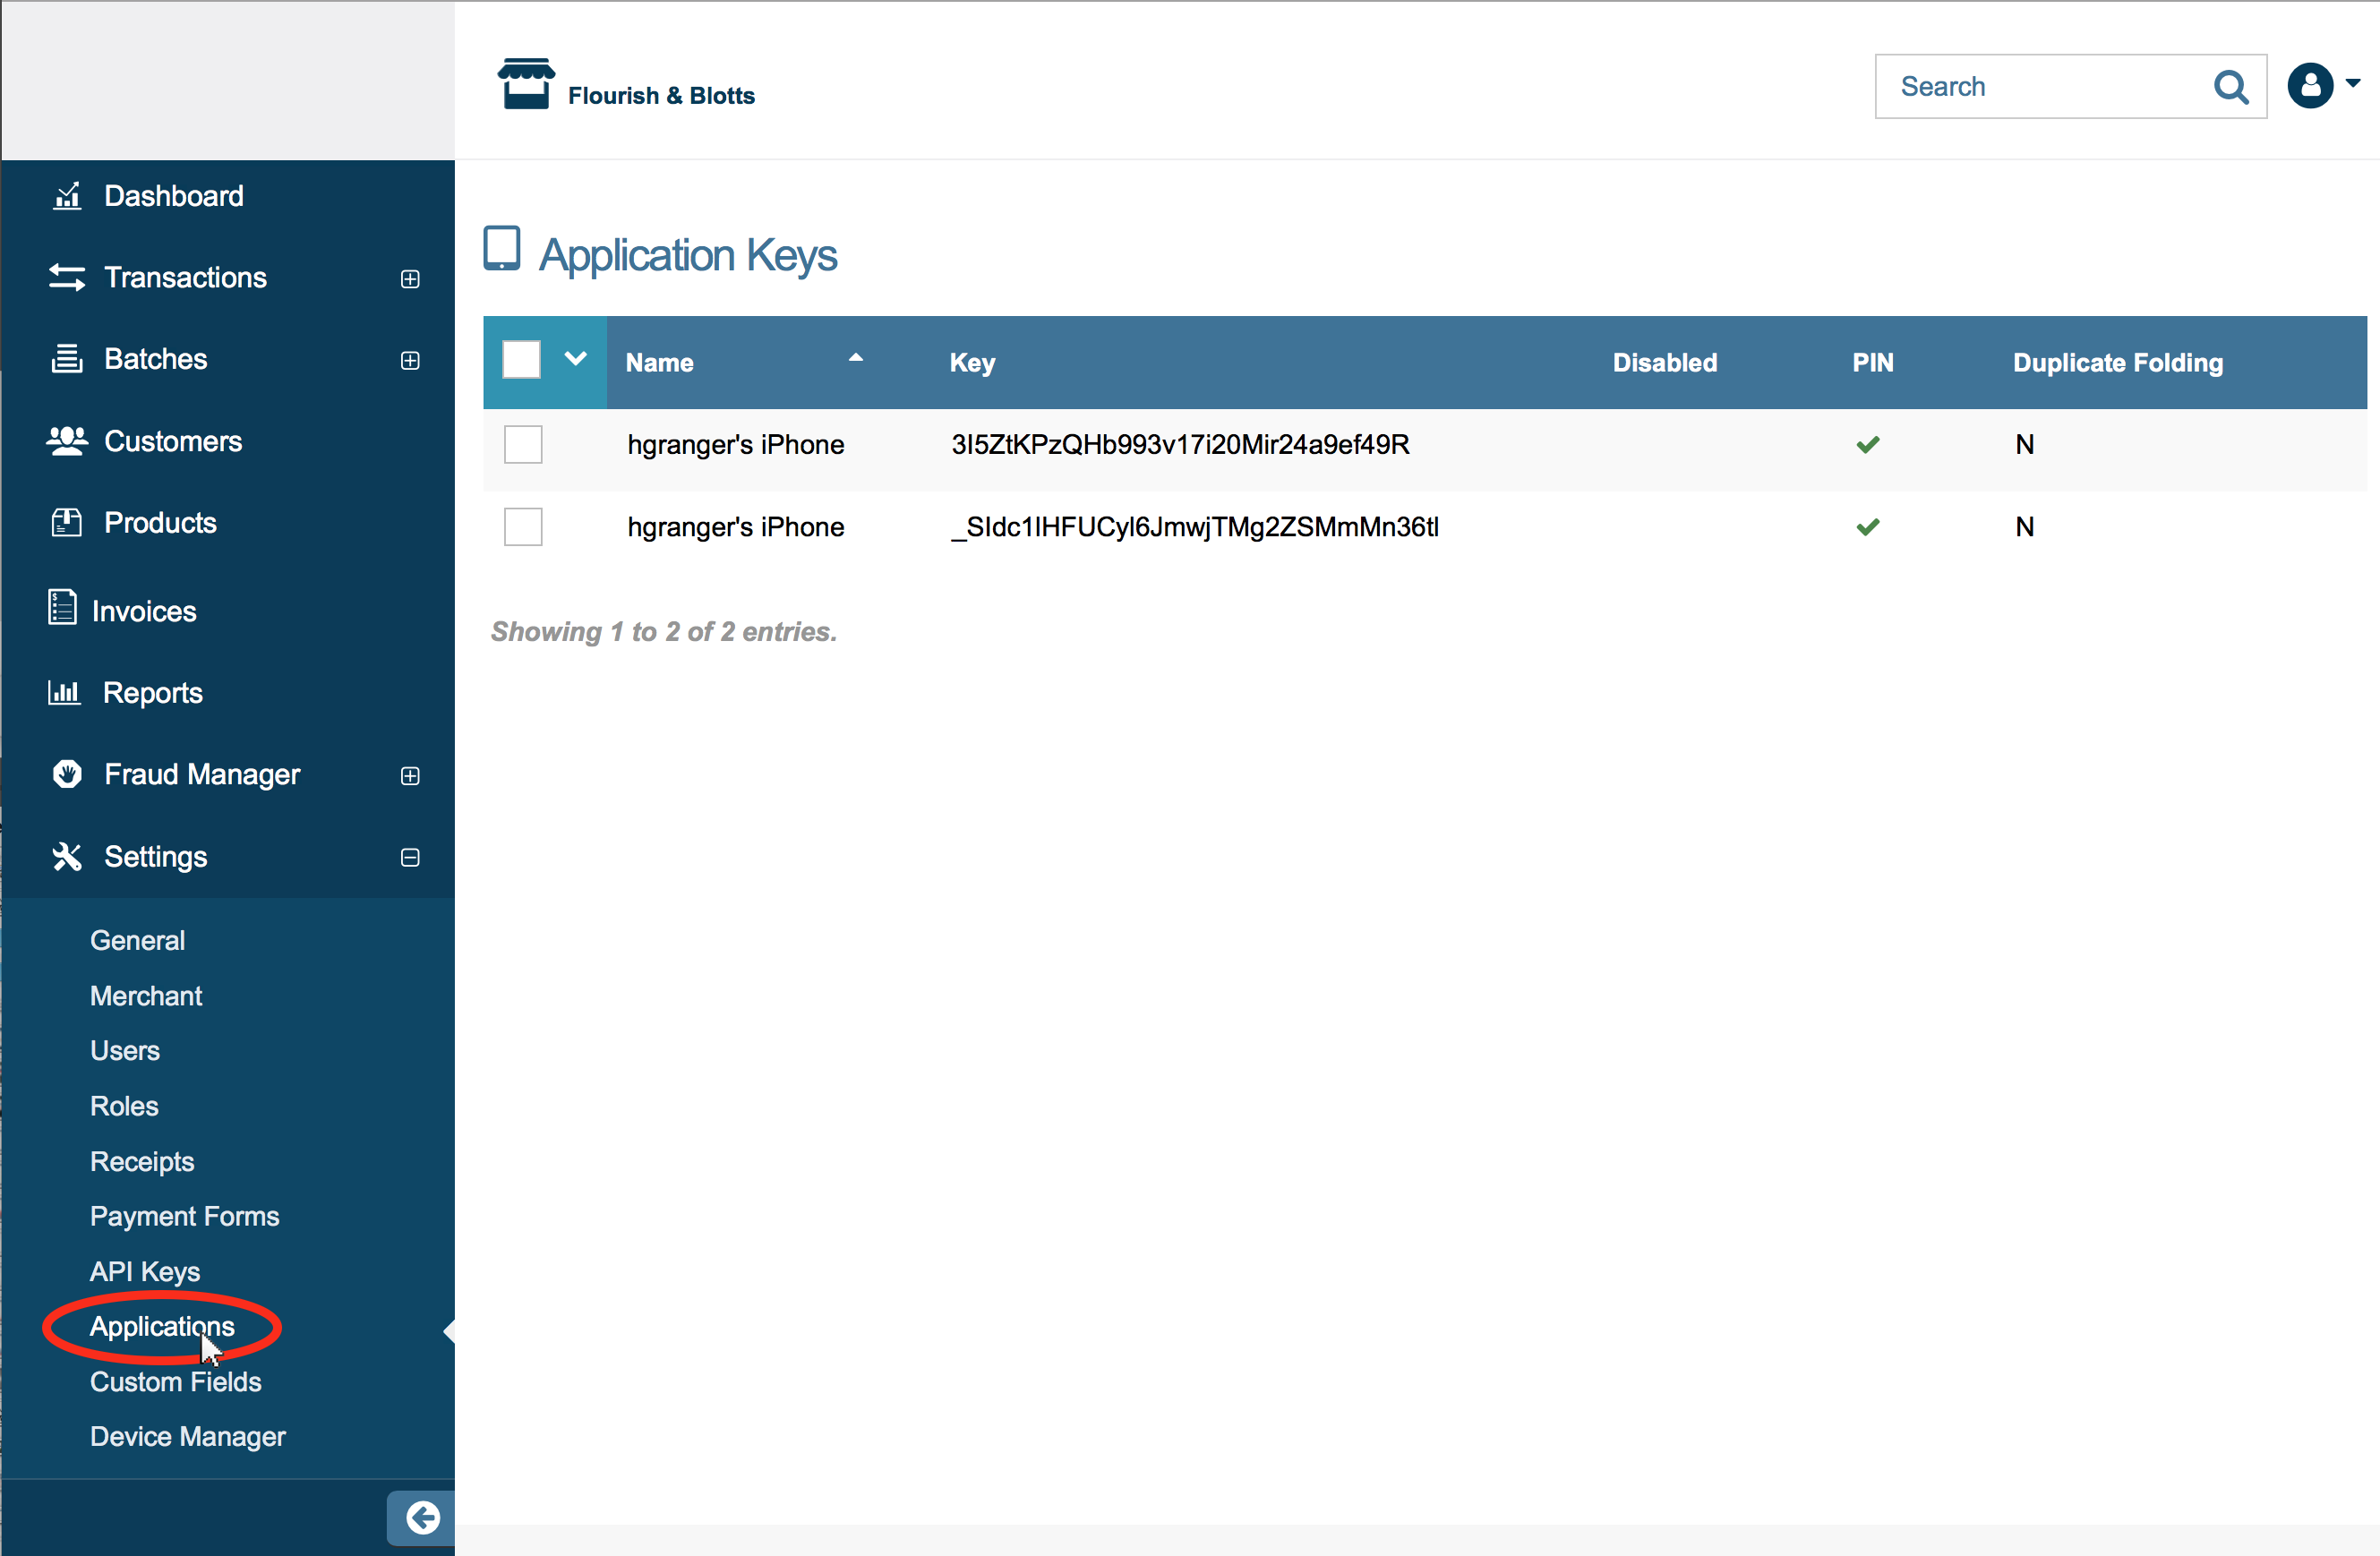
Your Application Keys home page displays a list of your Application Keys with the following details:
- Name- Default names for application keys will differ depending on the Application.
- Mobile Applications (Console Users)- The default name will be the username used to login to the application followed by
's iPhone, for example, if the username was hgranger, then the default name would behgranger's iPhone. Please Note: Android devices will also read iPhone. - Mobile Applications (Deploy Key)- The name entered when deploying an application key.
- ePayCharge- Default name for the windows version of the application will be
epaychargewinand default name for mac version will beepaychargemac.
- Mobile Applications (Console Users)- The default name will be the username used to login to the application followed by
- Key- The source key attached to the application.
- Disabled- This column will be checked if the key has been disabled.
- PIN- This column will be checked if the key has a pin. All application keys should have an assigned PIN.
- Duplicate Transaction Handling Status Denotes the duplicate transaction settings. Possible statuses are listed below:
- Fold duplicate if ALL transaction data matches (F)
- None (N)
- Fold duplicate if card # and amount matches (M)
- Fold duplicate if card #, amount, order ID, and source matches (O)
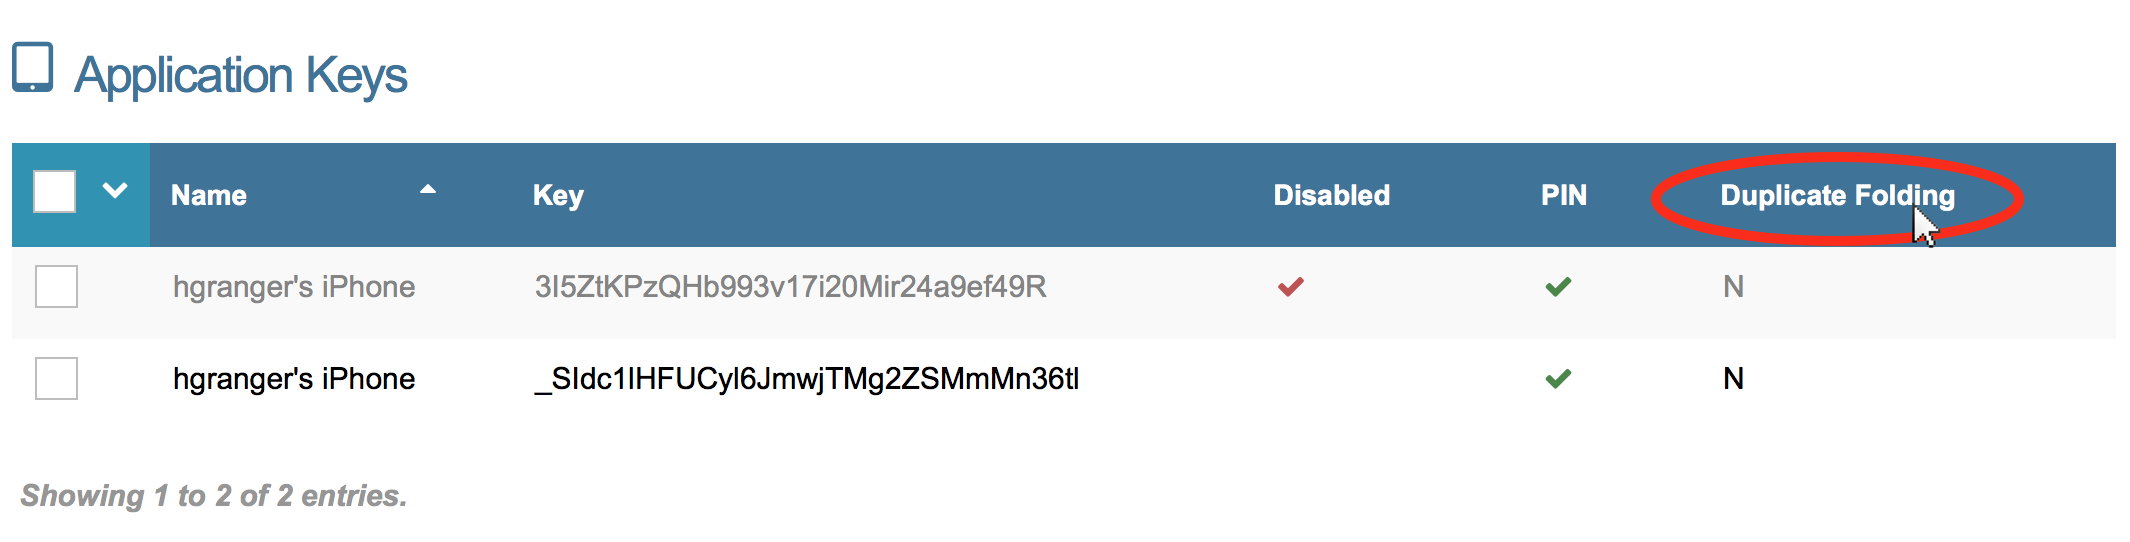
Rearrange Your Table
By Default, your Application Keys are arranged by name in alphabetical order. If desired, you can rearrange this table by the columns Name, Key, Disabled, PIN, or the Duplicate Transaction Handling status.
As an example, to rearrange the table by the Duplicate Transaction Handling, click on ‘Dupe Folding’ at the top bar of the table. See image below.
Application Key Settings
To view/edit your Application Key settings, right click on the application key and select "Edit". The following settings are available for existing Application Keys:
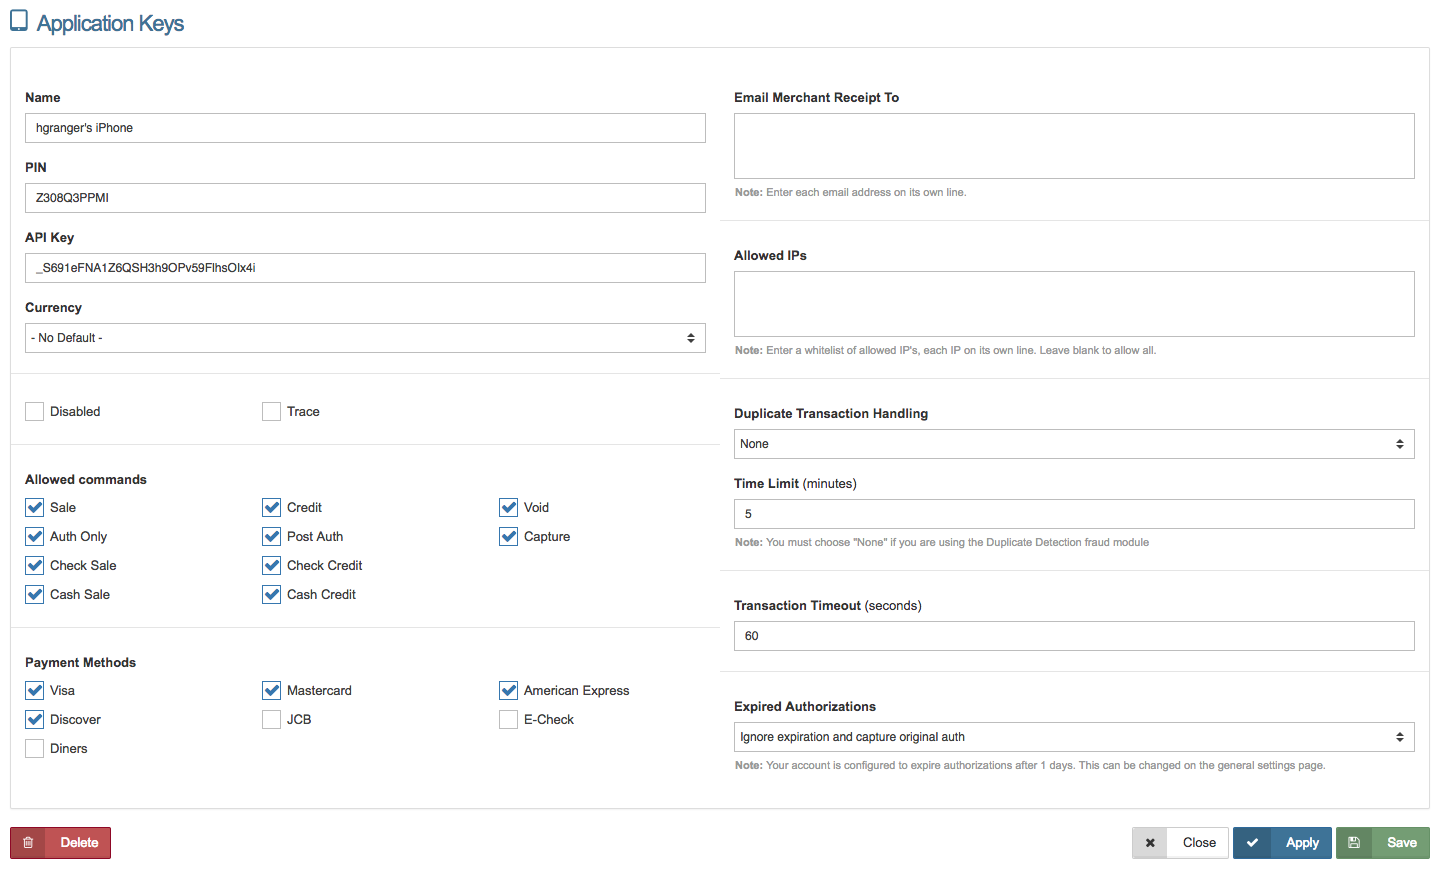
- Name - Enter the name of your source. We recommend that you use something descriptive and easy to remember. This field is required.
- PIN - Enter a private alphanumeric password for this key. To create an API key with no PIN, click "No PIN", and confirm you would like to create a key with no pin.
- Currency - If you prefer to use a default currency for the API key, select the currency type in the drop down menu. Otherwise, select ‘No Default Currency’.
- Disabled - Check the box ‘Disabled’ if you want the API key to be disabled.
- Allowed Commands - Select the commands the API key will be permitted to process. Your allowed commands should be based on who will be using the source, how public it is, and the specific fraud modules you plan to add. Available commands: Sale, Auth Only, Check Sale, Cash Sale, Credit, Post Auth, Check Credit, Cash Credit, Void, and Capture.
- Payment Methods - Select the payment methods the API key will be permitted to process. Available Payment Methods: Visa, Discover, MasterCard, Diners, JCB, American Express, and e-Check.
- Email Merchant Receipt To - Any emailed merchant receipts will be sent to this email address. You may add more than one email by adding additional emails on new lines.
- Allowed IP’s - Enter a whitelist of the allowed IP addresses, with each IP address on its own line. To allow all IP addresses, leave the field blank.
- Duplicate Transaction Handling - This setting allows you to prevent fraud by catching similar or identical transactions occurring within a set period of time. Note: If you are using the Duplicate Detection fraud module, select ‘None’ on the drop down menu.
- Time Limit - Enter the time limit in minutes in regards to Duplicate Transaction Handling.
- Transaction Timeout - Enter the maximum time you would like transactions to wait before the transaction times out. This should be entered in seconds.
- Point of Sale - Select the warehouse the inventory that should be decremented when line items are entered.
- Inventory Strict - If you would like transactions to be blocked when the inventory isn't available in selected warehouse, check this box.
- Expired Authorizations - Select from the drop down menu on what actions to take for expired authorizations. Options are shown below:
- Ignore expiration and capture original auth - Checks "Expire Auth After" in settings. If authorization has expired, it will force a capture of the original authorization. Please Note: Maximum "Expire Auth After" setting is 30 days. We would not recommend capturing transactions over 60 days due to the charge back risk.
- Block capture and return error - Checks "Expire Auth After" in settings. If authorization has expired, an error will be returned.
- Re-authorize transaction - Checks "Expire Auth After" in settings. If the authorization has expired, it will attempt to reauthorize the same card.
When complete, click  or
or  .
.
Delete Application Key
To delete the application key from the main page, right click on the desired key and select delete.
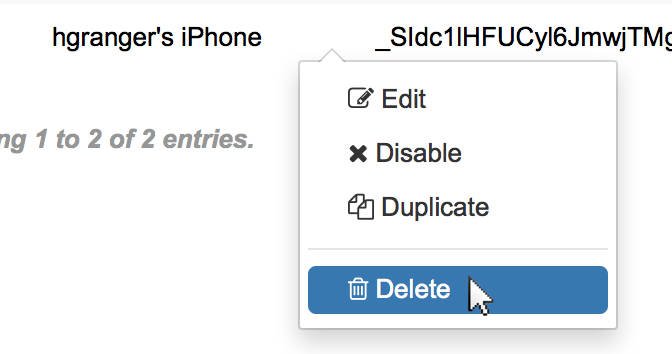
Please Note: When you delete an application key, you will no longer be able to process transactions from that application key.
Deploy Application Key
The deploy key feature allows you to set settings and permissions remotely and send users an invitation via email or SMS, to download and login to the mobile app.
Please Note: This feature is for iOS mobile app only at this time.
Follow the steps below to deploy an application key.
Step 1: Create App Settings/Permissions Template
Login to the Mobile App with a console username and password. you may want to create a special username just for deploying mobile apps, so none of the settings are accidentally changed between deployments.
In the mobile app, go to Settings and set any settings you would like (including permissions). Please Note: You can also enable certain permissions in the Duplicate Key Settings instead. Click here for more details.
If you would like to set permissions, toggle the enable on (it will show in green like below), then tap "Manager Pin".
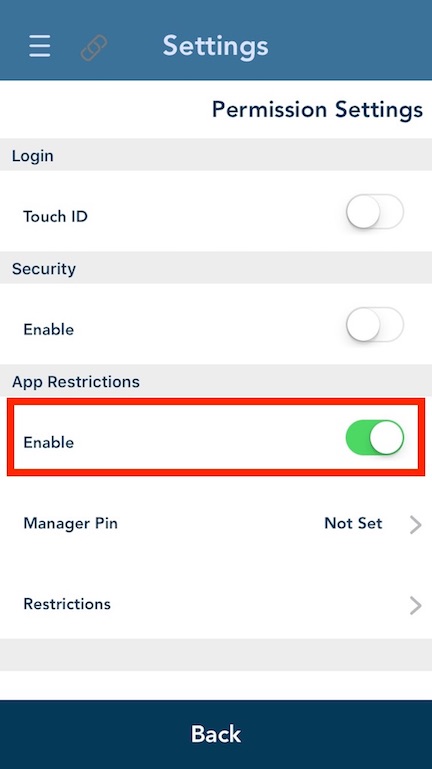
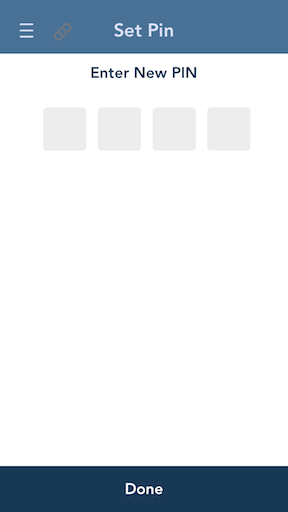
You will be asked to enter the Manager PIN (this is a four digit pin users will have to enter to override the permissions), and then enter it again to confirm.
Once the PIN is successfully entered, select "Restrictions" and toggle each permission you would like to restrict. Please Note: this PIN will be transferred along with your settings, and the user who you send a deploy key to will not be able to access restricted sections/actions without the Manager PIN you set here.

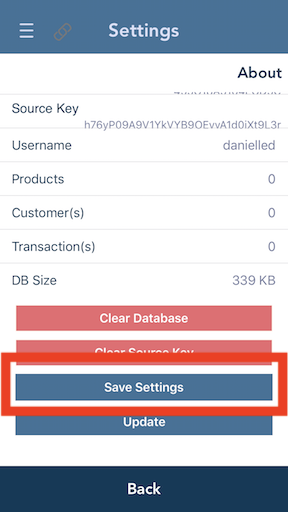
After you have successfully updated all desired settings, go to 'Settings' -> 'About' and scroll to the bottom of the screen to select "Save Settings".
You can duplicate an application key as many times as you would like. If you want the same settings for all keys, you only have to do this login to the app and set your settings once.
Step 2: Deploy Key to User
In the online merchant console, go to the Applications page. You will see an application key listed with the username you used to login to the mobile app.
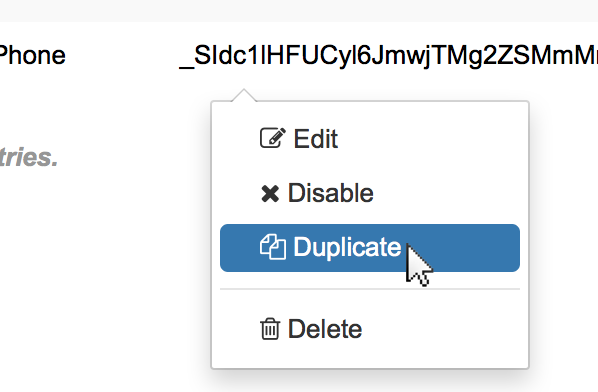
Please Note: If you have logged into the app more than once and there are identical Application Key names (as seen below), check the "About" page in the Settings section of the mobile app and match the "Source Key" to the string of numbers/letters in the "Key" column.
When you have located the right key, right click on that key and select "Duplicate".
You will see the screen shown below. Fill in the fields, enter desired settings, and send the key.
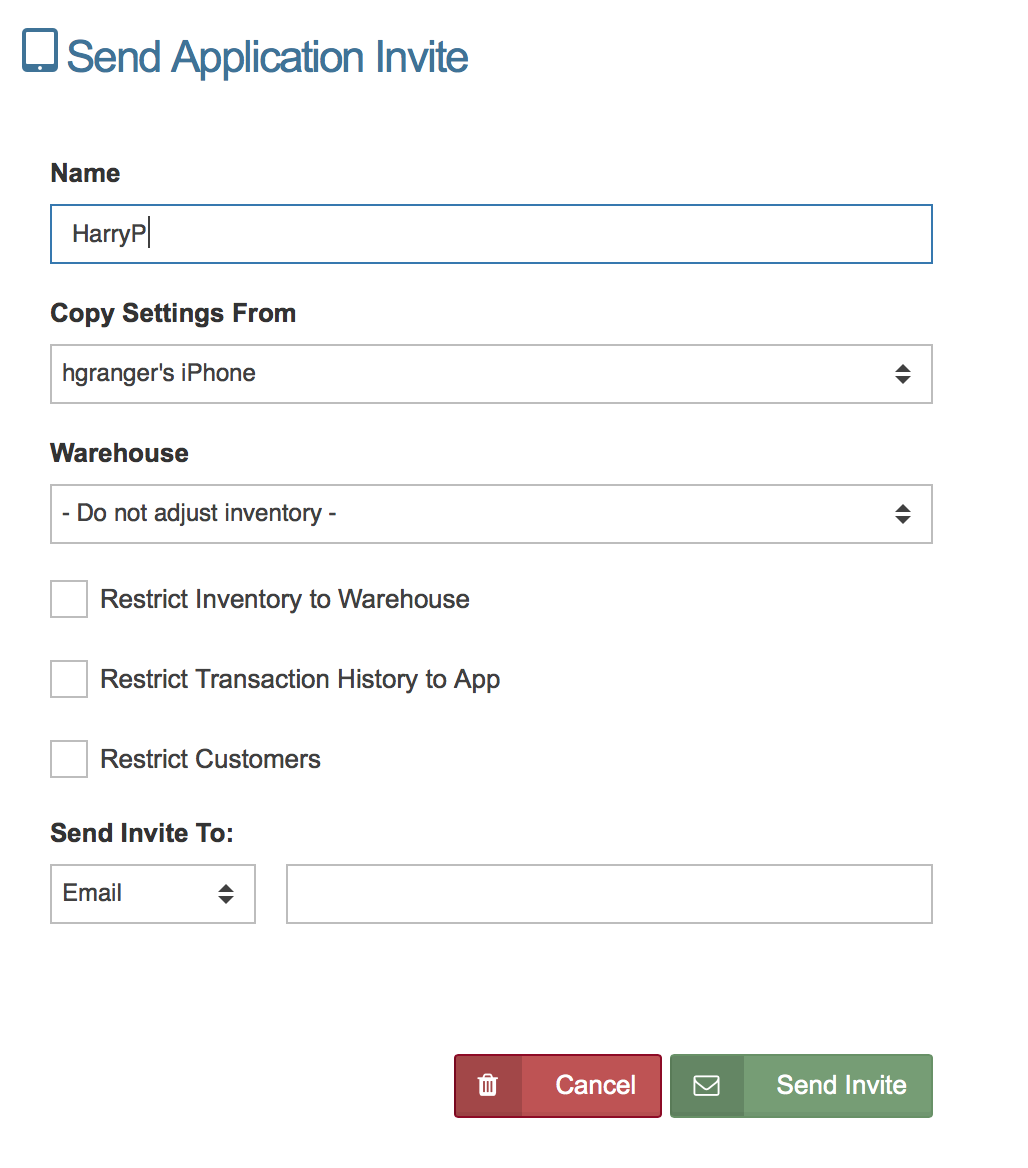
Descriptions of each field are shown below:
General Info
- Name- This is the name of the Application Key you are sending to the user. (For Johnny Cupcakes, the application key/deployed key AND the warehouse are the Dealer's name in order to simplify reporting, but this is not required.)
- Copy Settings From- This is the name of the application key you are copying. If you accidentally duplicated the wrong key, you can select the correct application key from the drop-down menu.
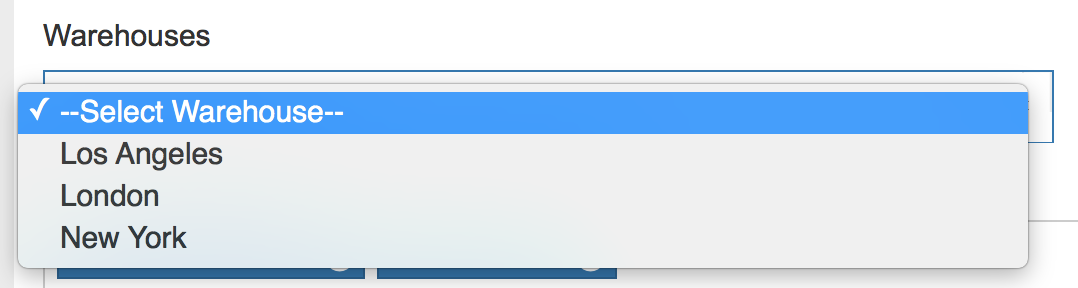
- Warehouse- If you plan to track inventory by warehouse, select the warehouse you would like this key to draw from when processing New Orders in the application.
Restrictions
These restrictions allow you to limit what the user can view.
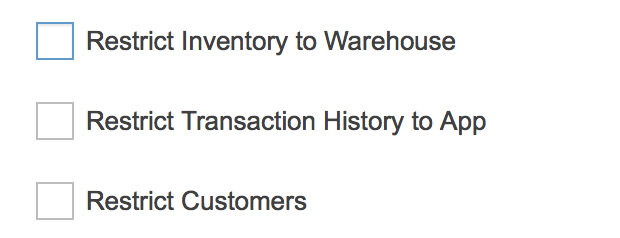
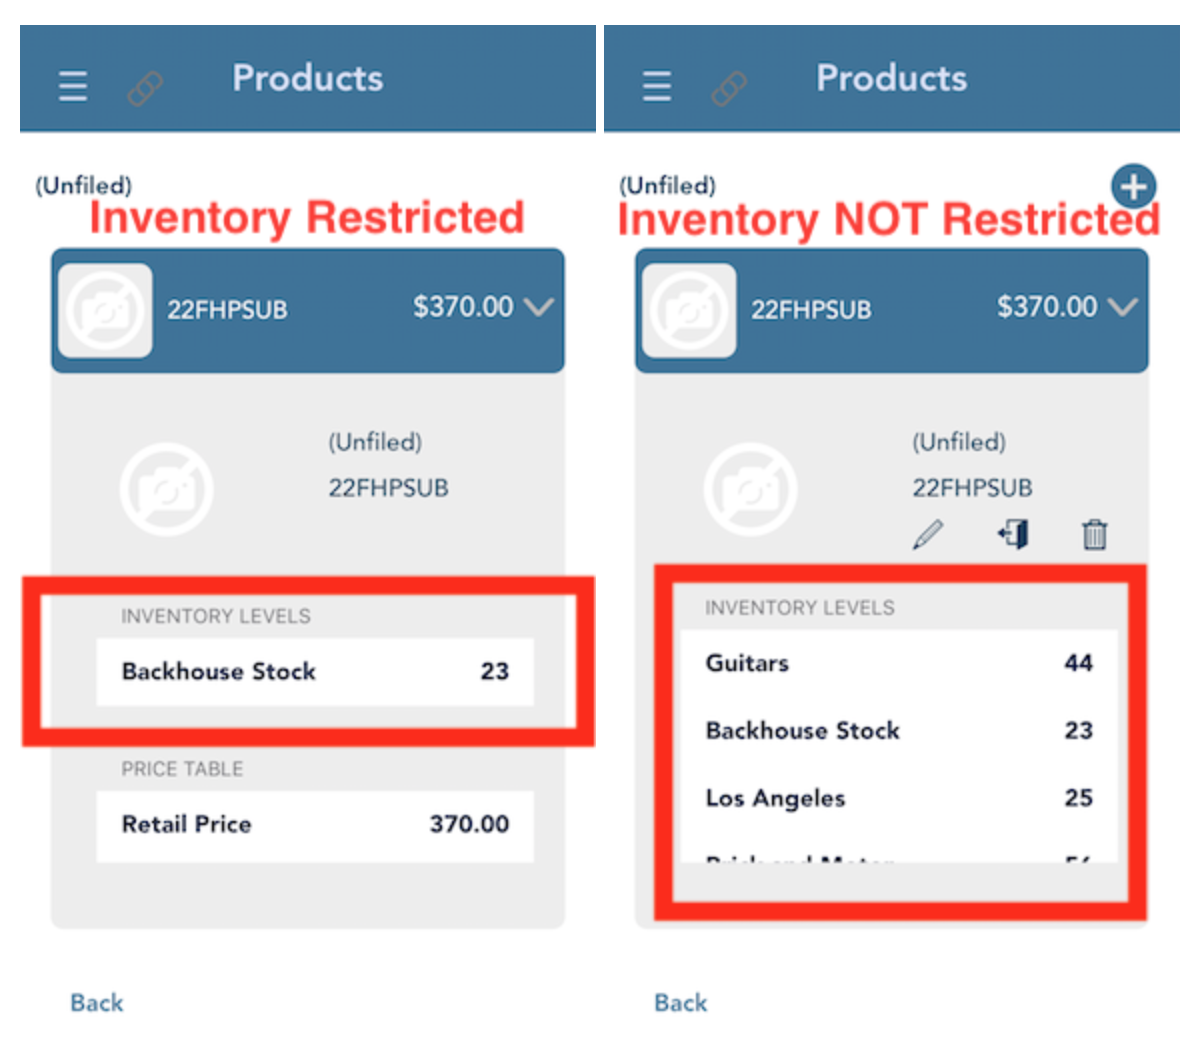
- Restrict Inventory to Warehouse- Check this box if you would like the user to see only the inventory from a certain warehouse in the product database. A few other notes about this setting:
- This does NOT prevent users from selling inventory they do not have.
- Users with this setting checked, will be able to VIEW Products, but they will not be able to EDIT or DELETE Products.
- Users with this setting checked, will be able to VIEW Categories, but they will not be able to EDIT or DELETE Categories.
- Merchants will not be able to Search for Products they do not have inventory for in PRODUCT DATABASE (in the Itemized Order screen they will be able to search for all products).
See the differences between an app where the user had this setting checked, and one who did not:
- Restrict Transaction History to App- Check this box if you would like the user to only see transactions processed on the deploy key/source key. This means the "History" section of the mobile app will be empty when the user first signs in. Please Note: When this option is enabled, the user will not be able to close the batch.
- Restrict Customers- Check this box if you would like the user to only see customers that were entered onto this deploy key/source key. This means the "Customers" section of the mobile app will be empty when the user first signs in. Users will be able to edit and delete the customers they add to the database.
Invitation Settings
These fields controls where the activation message for the deploy key is sent.

- Method- Choose the method you would like to use to send the invitation from the dropdown menu. Choices are SMS or Email.
- Email/Phone- Enter where you would like to send the invite to. Enter an email address if you chose "Email" and enter a cell phone number if you chose "SMS".
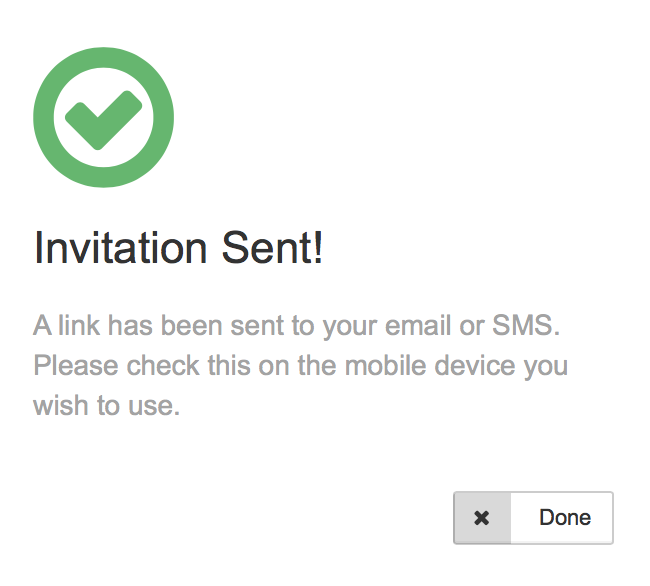
When all fields are entered click "Send Invite". You will see the message below if the Deploy Key Activation was sent successfully.
Step 3: Login with Activation Key
The last step is for the end user login after the Deploy Key Activation has been sent to them.
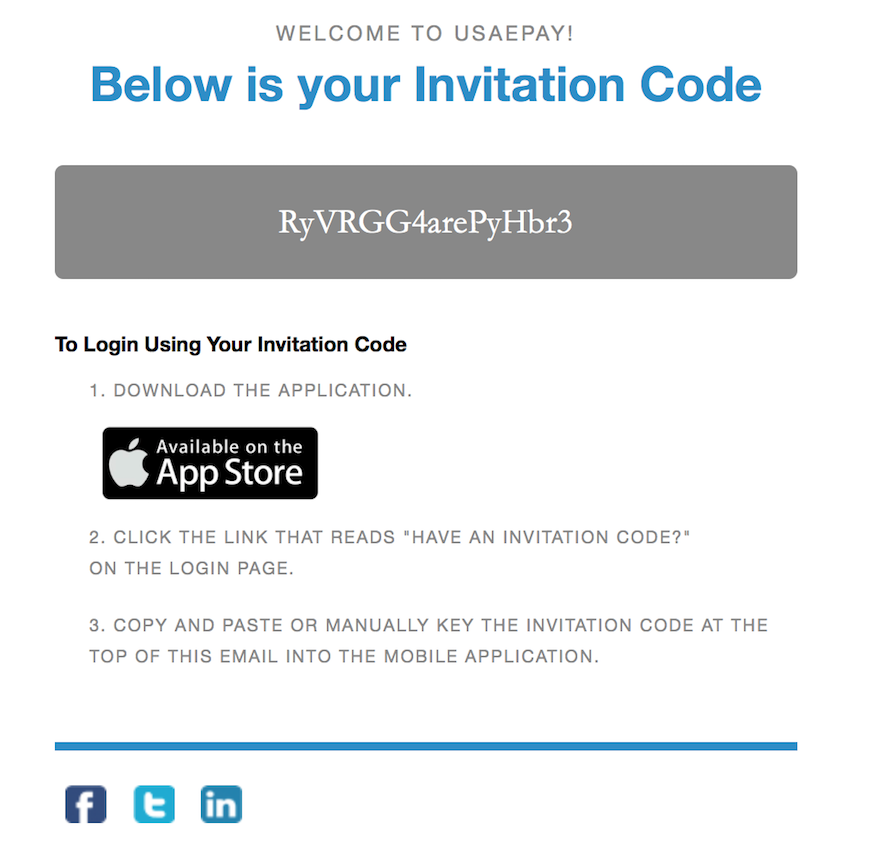
First, the user will need to open the text or email that was sent to them by the system. See examples of both below:
SMS
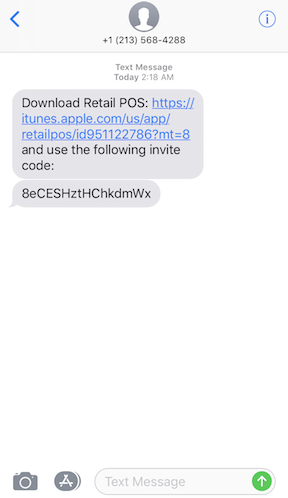
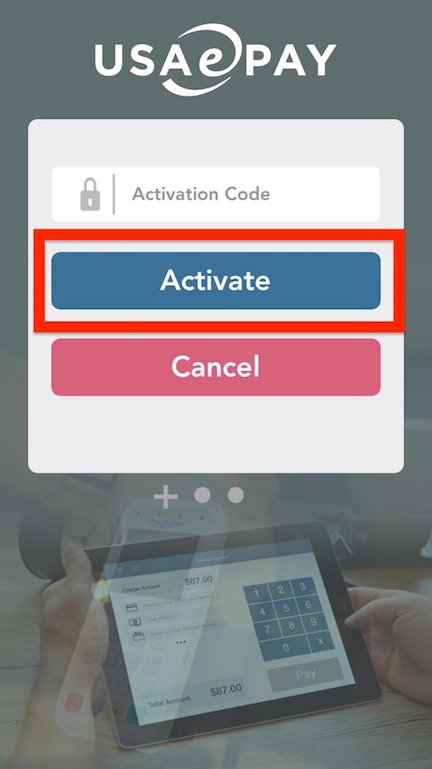
These activation codes are ONE TIME use, so you cannot use them on more than one application and they will expire after 24 hours. The user should open the app and select the "Have an Activation Code" link shown below:
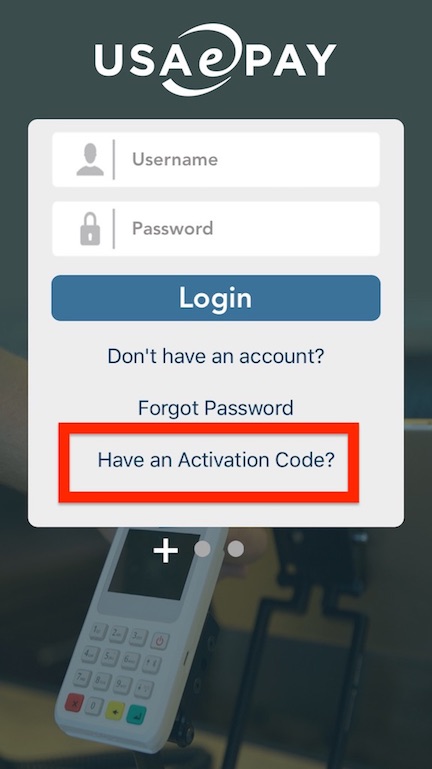
Copy and paste the activation key from the invitation email or text and tap "Activate".
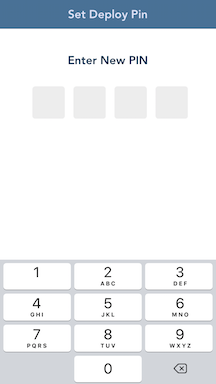
The first time the user logs in using the activation code, the app will show the screen "Set Deploy PIN". The user should enter in a 4 digit numeric code. Then confirm the same code. This code is what the user will use to log back in to the application if they log out.
Reset Deploy Key Access Code
This feature allows you to reset the access code for a user which you deployed. If you would like to reset the access code, go to the Change Mobile Passcode section of the Application Keys page.

Enter a passcode and click "Submit". Once you have reset the passcode, inform the user and they will be able to login with the new passcode.