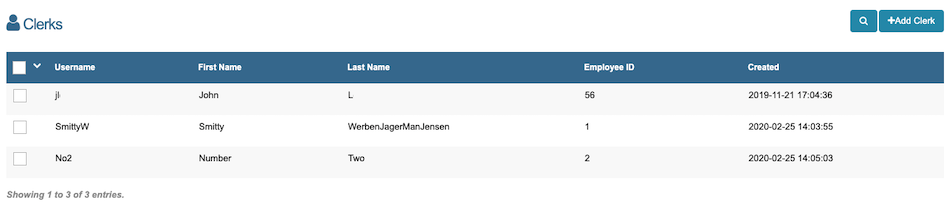
Clerks
This is the page where you can add new clerks and manage any existing clerks.
Note: This feature is used in conjunction with the iOS app. Please follow this link here.
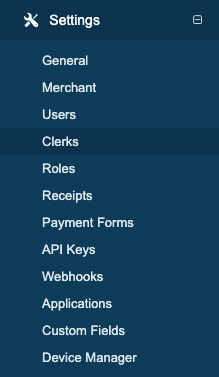
This section can be found under 'Settings' in the sidebar, then in 'Clerks' in the dropdown.
Use the Search button (with the magnifying glass icon) to search for a Clerk. 
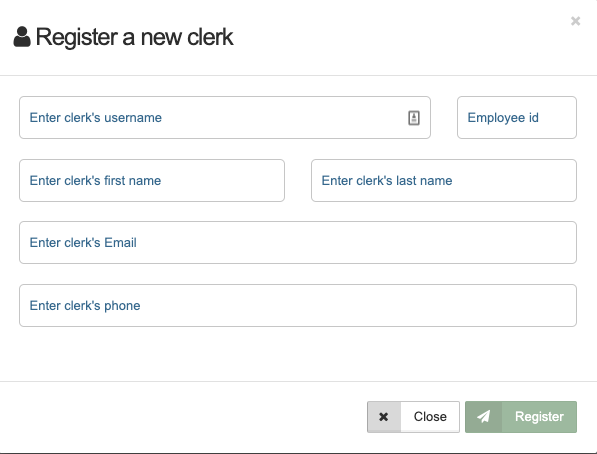
Add a New Clerk
To add a new Clerk, click the "Add Clerk" button on the right side of the page. Then a modal will appear to add the information for the new Clerk. 
| Field | Description |
|---|---|
| Username | The merchant assigned username. Read Only once created. This is a unique field that cannot be reused for another Clerk, even if the Clerk is deleted. |
| Employee ID | The merchant assigned Employee ID. Read Only once created. This is a unique field that cannot be reused for another Clerk, even if the Clerk is deleted. |
| First Name | Clerk's First name |
| Last Name | Clerk's Last name |
| Clerk's email address. Must be a valid email address. This field is optional and is not used to send any emails. | |
| Phone | Clerk's phone number. Optional. |
Here is an example of a completed Clerk:
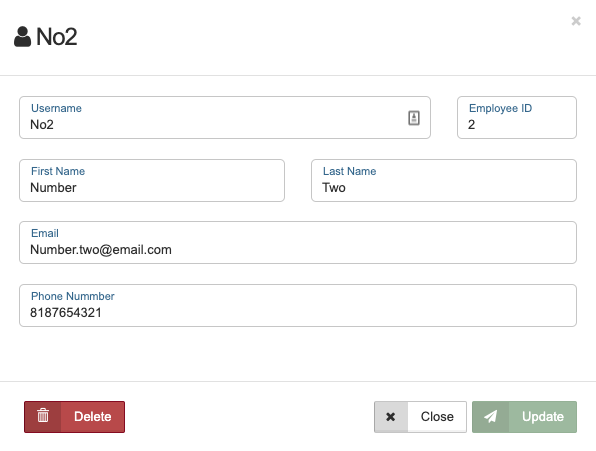
Edit a Clerk
To make changes to a Clerk, click the Clerk and then proceed to edit any of the fields except the Username and Employee ID.
When you are done making changes, click the Update button to save the changes. The modal will then close.
If you do not want to make any changes, simply click the Close button to exit the Clerk. Any changes you made will not be saved.
To delete a Clerk, click on the Clerk and then click the Delete button.
Note: Please be careful when deleting a Clerk as you will be unable to recover the Clerk and you cannot reuse the Username or the Employee ID for a new Clerk.
Shifts
To learn more about Shifts, please follow this link here.