Payment Forms
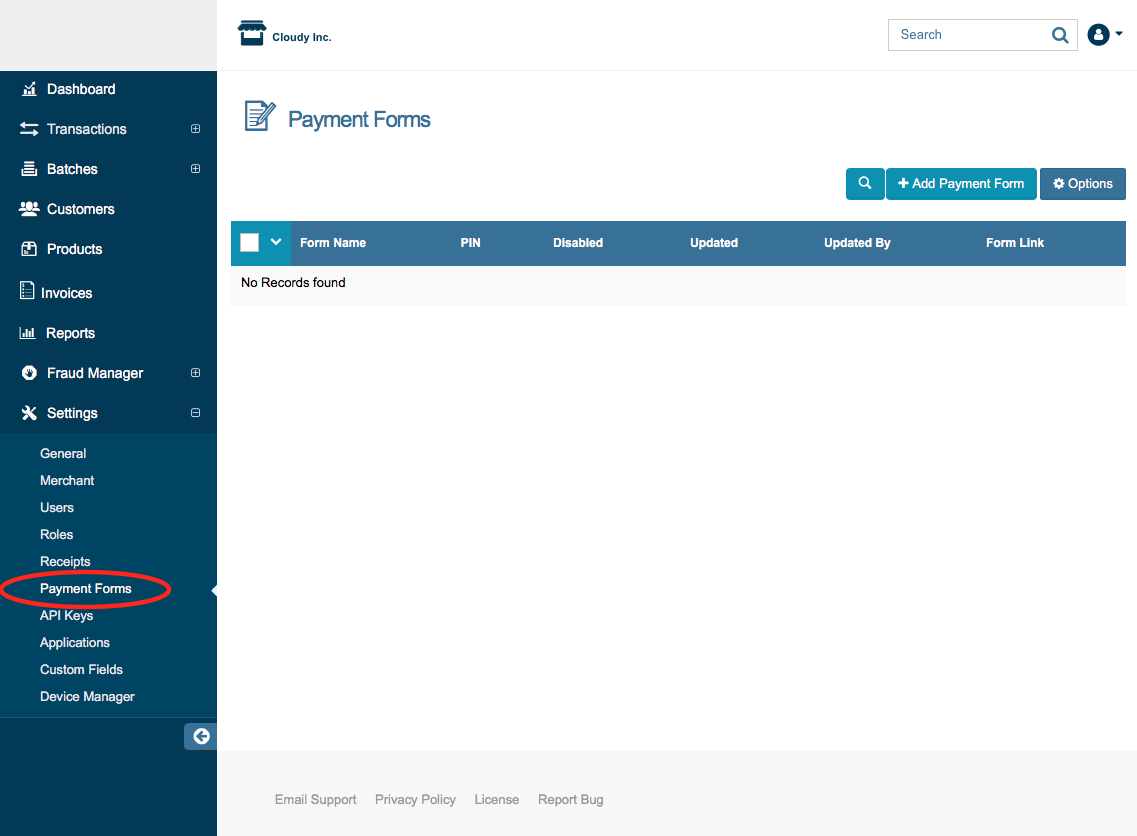
The Payment Form allows your customers to process secure credit card payments from your website. To get to the Payment Forms page, click "Settings" on the main menu and then click "Payment Forms."
Add New Form
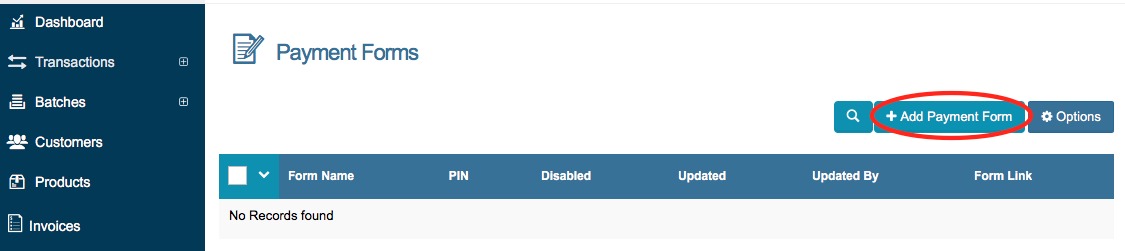
To add a new payment form, click "+ Add Payment Form" on the upper right hand side of your Payment Forms settings page.
You will be taken to the Payment Form Settings page. The only required field is the Form Name. Once you have entered Form Name and saved/applied the changes, the payment form link will be shown at the top of the form under the title. This is the public link to access your payment form.
For more information on the details of form settings, form templates and result pages for your new form, see the corresponding sections of this page.
Form Settings
After you create the form, the 'Settings' page for your new form will appear (see below).
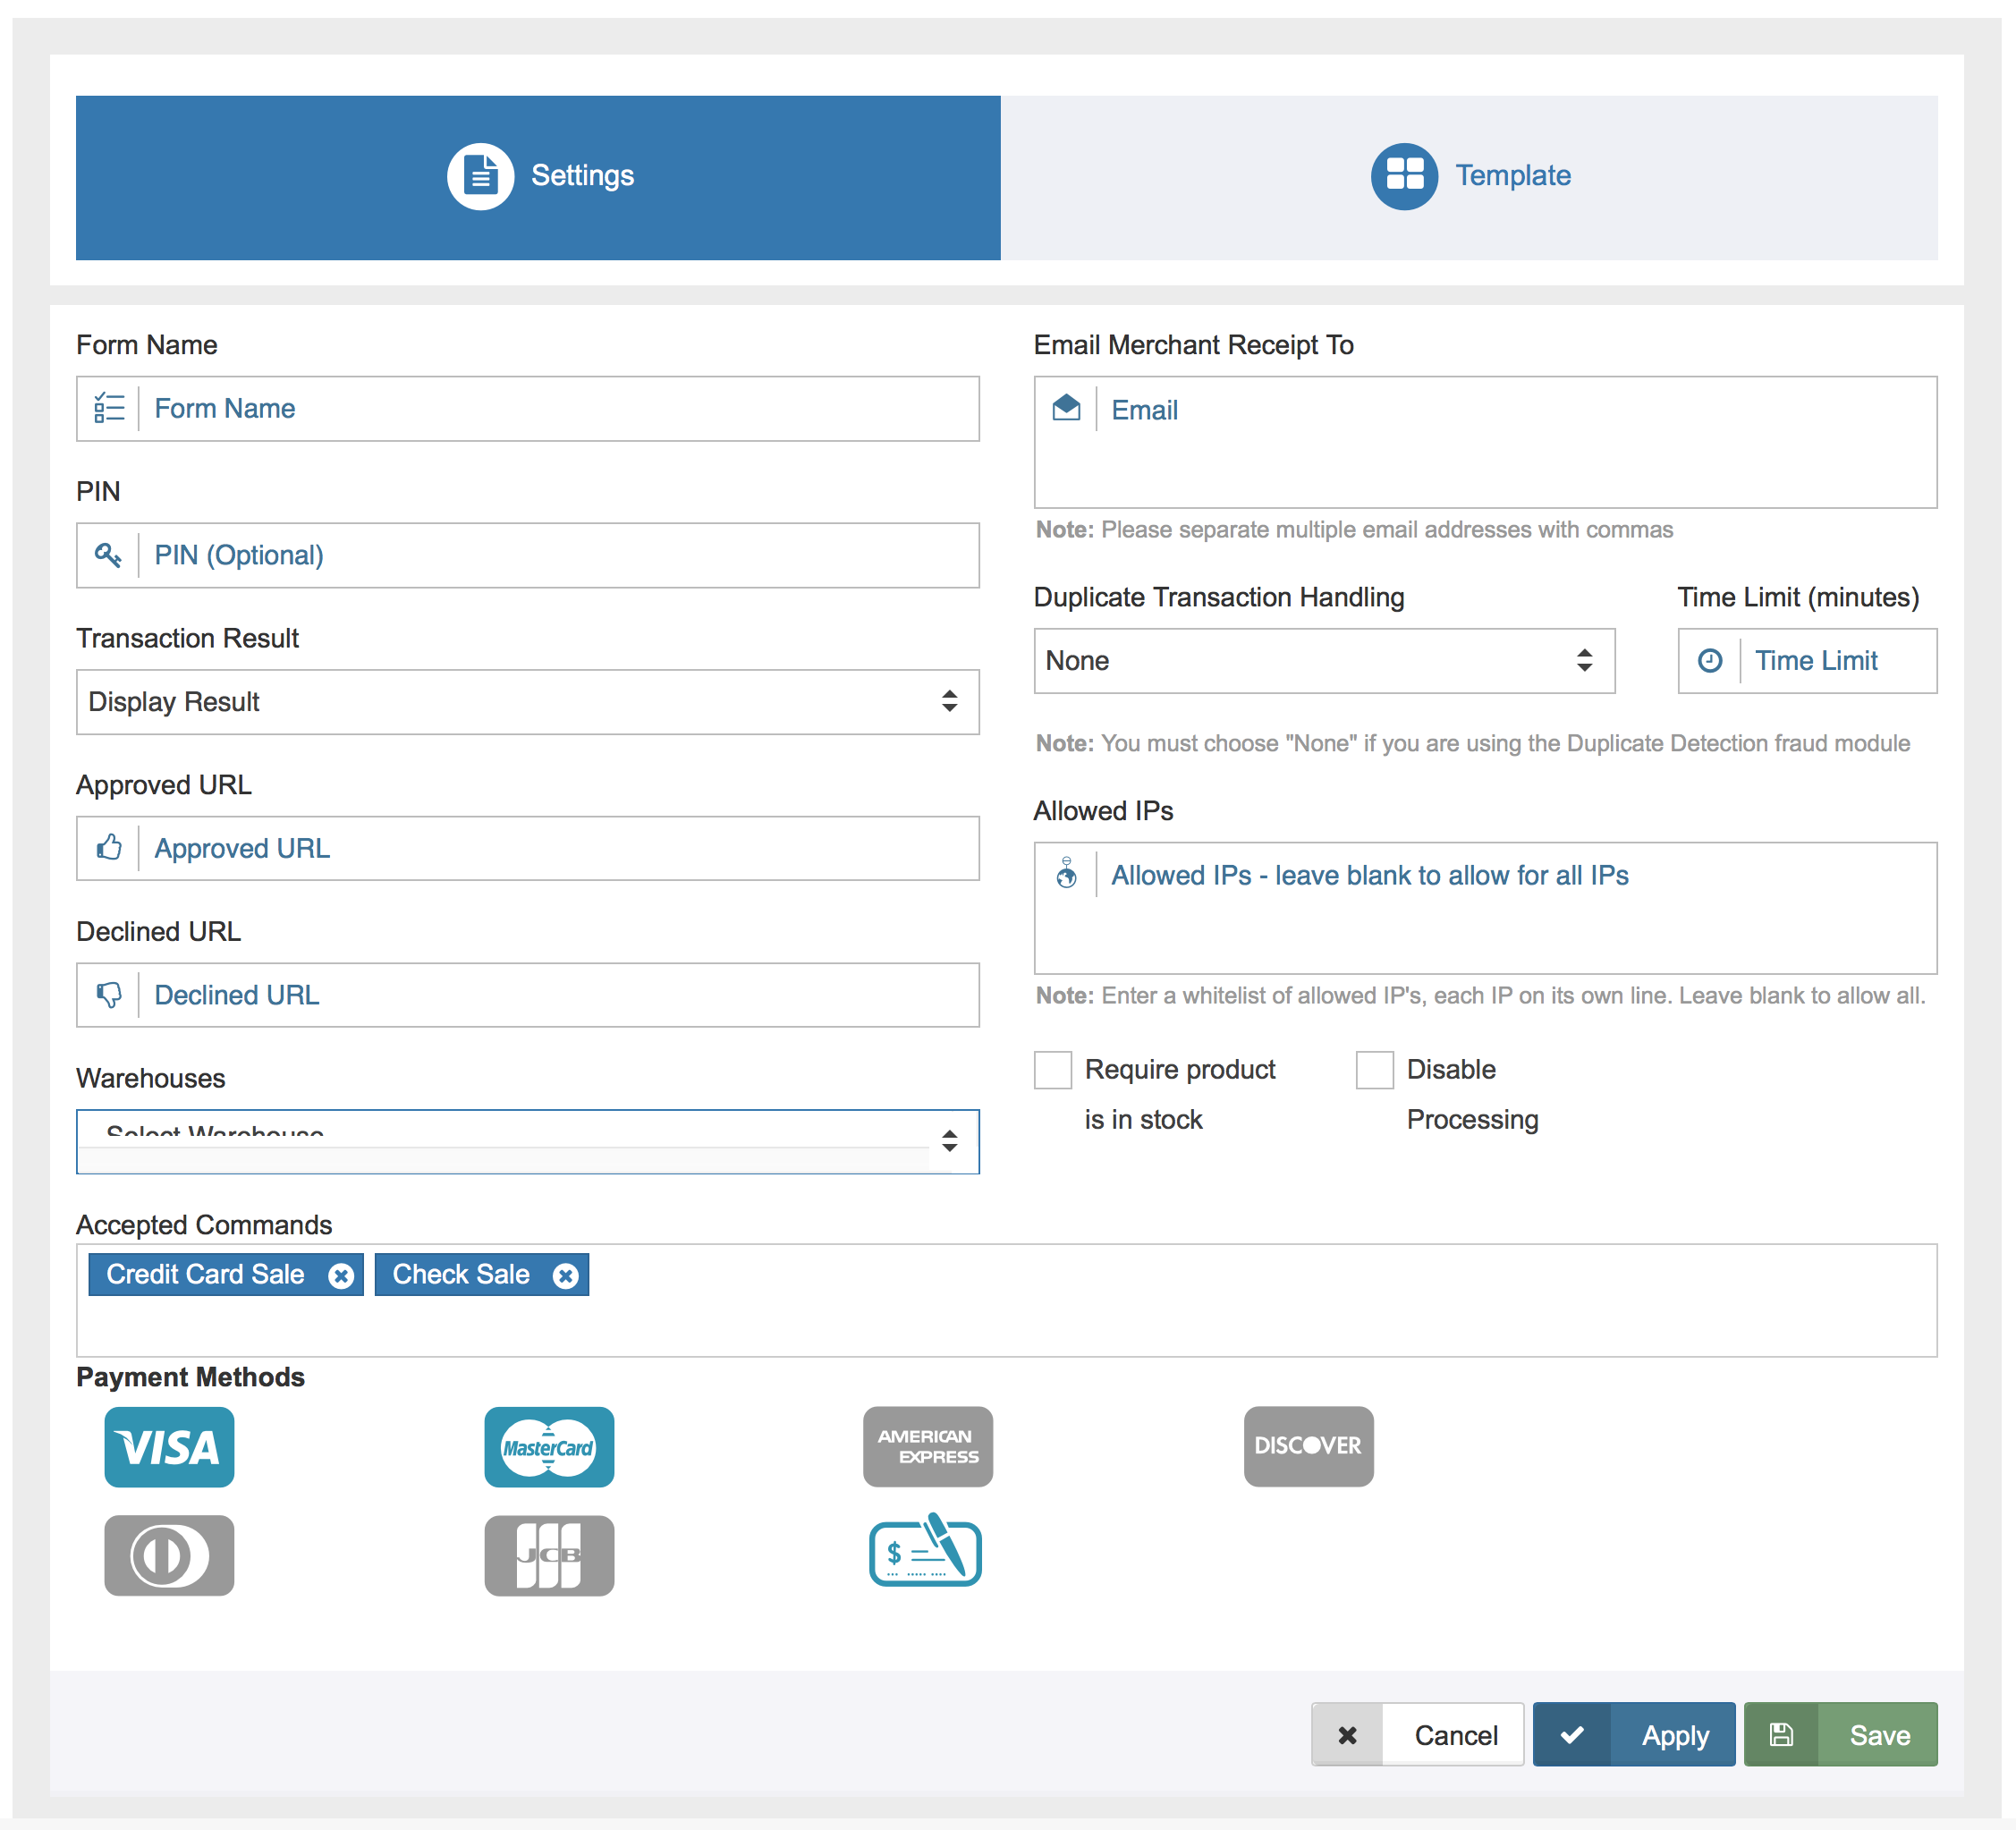
Below are descriptions for each of the settings on this page:
Form Name & PIN
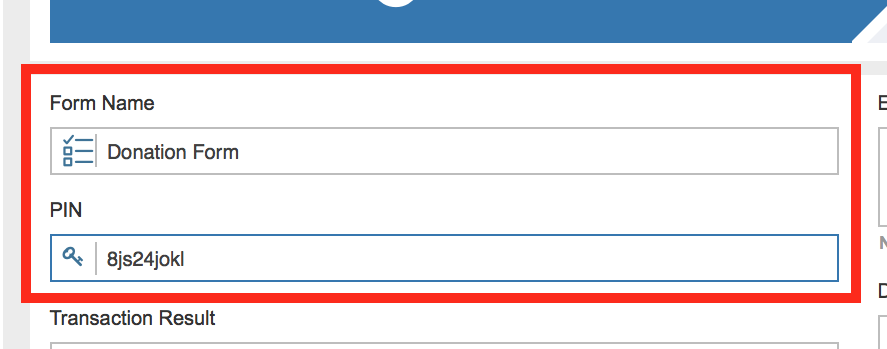
The Form Name is the label/title for your payment form. This will be the Source for all transactions processed through the form. It is also the default title of your payment form. Please Note: This field is required.
The PIN is an optional alphanumeric string you can add as a security feature. If you enter a PIN, it must be at least 4 characters. You can also choose not to enter one at all.
Transaction Result
This determines if a customer is sent to a default screen, or to a custom URL after they process a transaction. The default screen can be customized. See the Approved Screen and Declined Screen sections for more details. To choose a transaction result option, click the drop down menu to select one of the following:
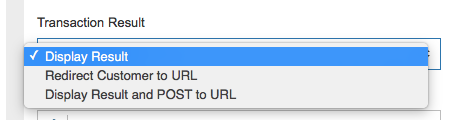
- Display Result: Your customer is sent to the default approved or declined screen provided by the gateway (this is the default option).
- Redirect Customer to URL: Your customer is sent to a custom URL after a transaction is processed. Different URLS can be set depending on if the transaction is approved or denied. Result variables are sent as GET variables. You set these URLs in the Approved URL and Declined URL section of the Payment Form settings.
- Display Result and POST to URL: Your customer sees a brief message saying "Please wait while we are processing your request" and then is directed to the URLs in the Approved URL or Declined URL section of the Payment Form settings. The result variables are sent as POST variables to the Approved URL or Declined URL.
Approved and Declined URLS
If you choose the Transaction Result options “Redirect Customer to URL” or “Display Result and POST to URL”, you must enter this information.
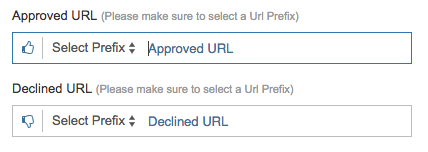
Approved transactions will be redirected to the Approved URL, and declined or erred transactions will be redirected to the Declined URL after transaction is processed. Please Note: The Approve and Decline URLS must have a prefix of https:// or http://.
Email Merchant Receipt To
This field specifies the email address where you would like to receive merchant receipts. A receipt will be sent every time a transaction is processed through your payment form.
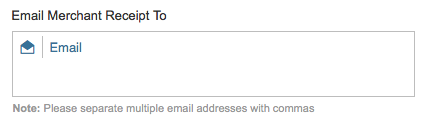
Enter the email you where you want to send your merchant receipts. If entering more than one email, separate each address using commas.
Duplicate Transaction Handling
This feature catches and "folds" unintentional duplicate transactions (like when customers click the back button in their browser while processing). When a transaction is "folded", the system will ignore duplicate information and the transaction will only be charged ONE time.

This feature folds transactions when two or more transactions:
- 1) happen within the specified Time Limit AND
- 2) the specified criteria matches.
In the event a duplicate transaction is detected, the system will fold in the second transaction and the customer will be shown the first authorization again. To enable this feature enter a number of minutes in the "Time Limit" field and select one of the following options in the drop down menu:
- None: Selecting this option leaves this feature DISABLED. This is the default setting.
- Fold if ALL data matches: Transactions processed within the time limit where all transaction data matches will be folded. Duplicate transactions must be processed on this payment form to be folded.
- Fold if card #, amount, order ID, and source match: Transactions processed within the time limit with the same card number, amount, and order ID will be folded. Duplicate transactions must processed on this payment form to be folded.
- Fold if card # and amount match: Transactions processed within the time limit with the same card number and amount will be folded. When this option is enabled, the gateway looks at ALL previous transactions on the account (not just those processed on this form), when determining if a transaction is a duplicate.
Please Note: This option is not compatible with check transactions and should not be used in conjunction with the Duplicate Detection fraud module.
Allowed IPs
If anything is entered here, only IP addresses on the list can process transactions through this payment form.
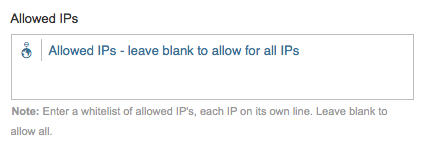
Normally this is left blank so that any customer can make a payment on your payment form.
Warehouse Settings
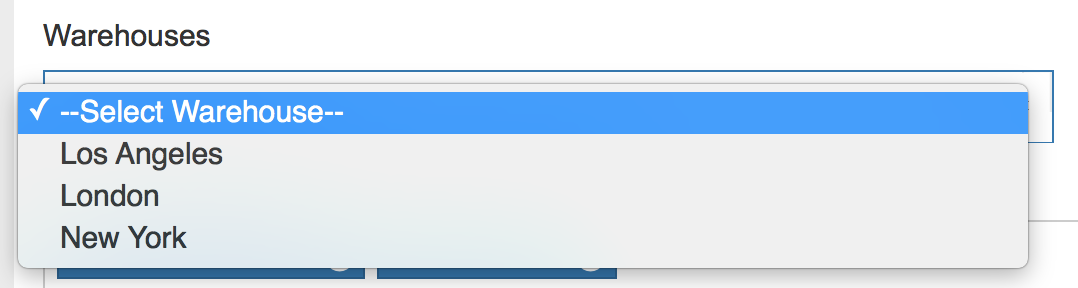
Warehouse
Select the warehouse the inventory that should be decremented when line items are entered.
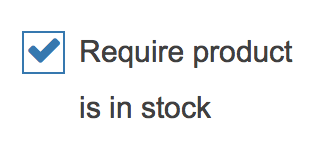
Require Product In Stock
If you would like transactions to be blocked when the inventory isn't available in selected warehouse, check this box.
Payment Processing
Disable Processing
If you check this box, all processing through this payment form will be blocked.

Accepted Commands
This allows you to restrict what processing commands can be used with this form.

Default accepted commands are Credit Card Sale and Check Sale. Please Note: Default accepted commands can vary if you are not set up for ACH or credit card processing.
Payment Methods
This allows you to choose which forms of payment you will accept (i.e. Visa, MasterCard, Check). Accepted methods are highlighted in blue, those highlighted in grey are not accepted.
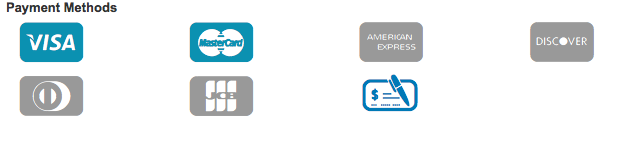
Simply click the payment method icon to enable it and click again to disable the method. The allowed methods will be displayed at the top of your form. Please Note: The 'Pay by Check' section of the form will only appear if checks are enabled in this section. The 'Credit Card Information' section will only appear if one or more card types are enabled.
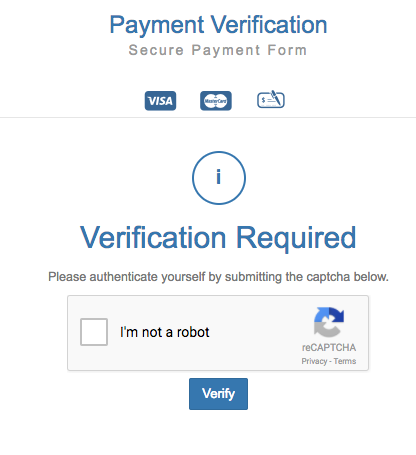
Payment Form Captcha
Payment Forms have a captcha automatically enabled when a certain threshold of declined payments is met. This protects your payment form against fraud and abuse. The captcha does not prevent merchants from processing, but when the payment form receives more than 4 declines in 5 minutes, the form will show them the screen below and require them to complete a captcha before attempting to process a transaction.
If you would like to require your customers to verify with a captcha every time they process on the payment form, then you can add the ReCaptcha tag to the form. For more information on how to add that, click here.
Updating Changes
After you have adjusted your settings, click one of the buttons at the bottom of the page:
Click DELETE to discard any unsaved changes and delete the form entirely.
Click CANCEL to discard any unsaved changes you have made and go back to your payment form list.
Click APPLY to save any changes you have made and stay on this screen.
Click SAVE to save any changes you have made and go back to your payment form list.
Form Template
Once you have updated the Form Settings and applied the changes, click on the "Template" tab directly to the right of the "Settings" tab. You can return to the Settings section at any time.
The "Template" section is where you will customize how the payment form, approved screen, and declined screen will appear to your customers, and where you will add and remove fields. You can make changes by using the very user-friendly drag and drop mode, and our Advanced Editing mode is available for merchants more experienced with HTML.
Below is the basic Template screen and descriptions of your options:
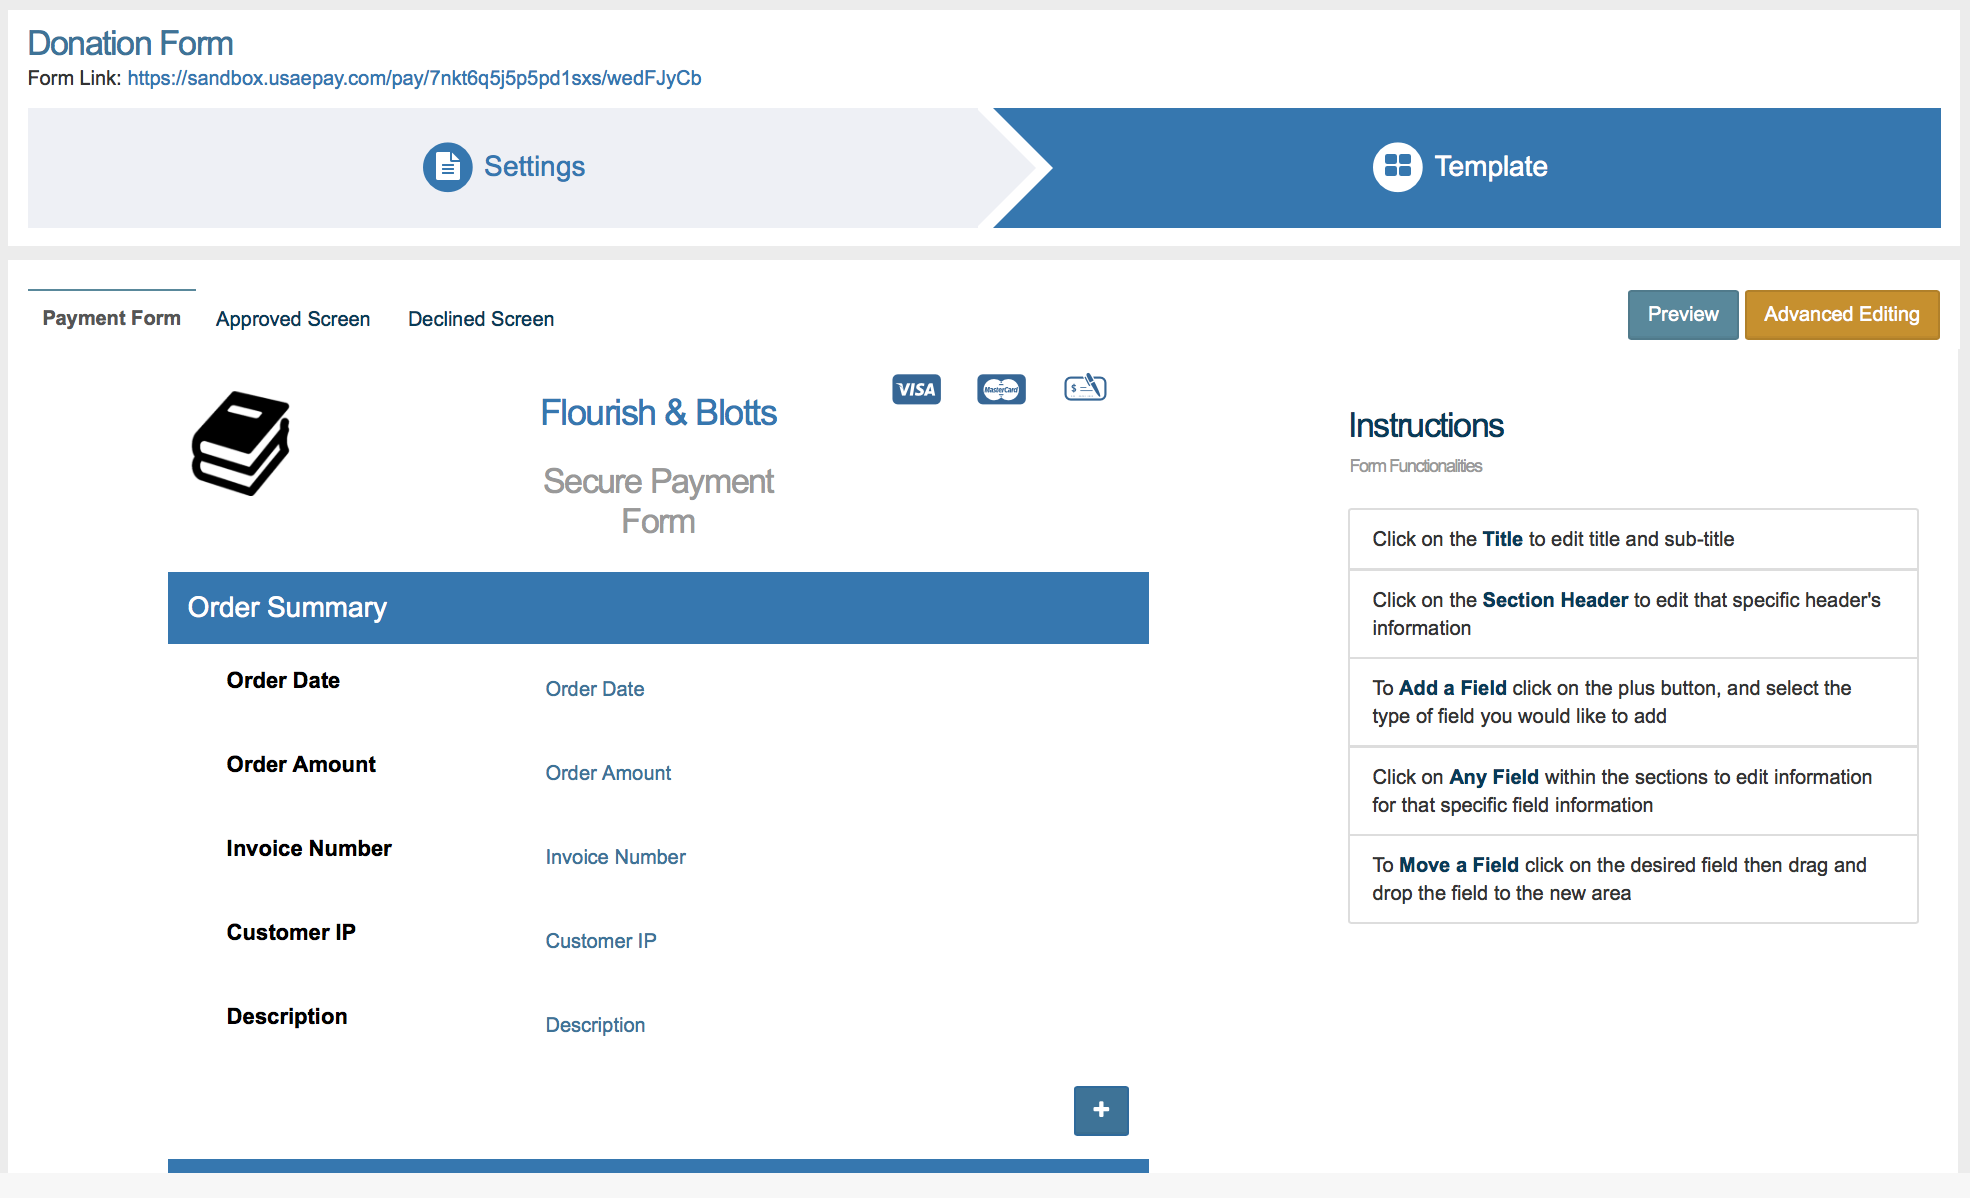
- Payment Form - This allows you to edit the customer facing payment form that the customer fills out to process a payment.
- Approved Screen - This allows you to edit the Approved Transaction screen.
- Declined Screen - This allows you to edit the Declined/Error Transaction screens.
- Preview - This allows you to see a preview of the payment form.
- Advanced Editing - This allows you to edit the HTML of your form and is only recommended if you know HTML. Please Note: Once you choose to use the advanced editor, you will no longer be able to use the template editor for this payment form.
Drag and Drop Templates
When editing your payment form in drag and drop mode, the left side of the screen (titled 'Demo Form' in the below screenshot), allows you add and remove fields/sections from your template.
The right side of the screen (titled 'Instructions' in screenshot), allows you to change the details of the selected field/section of the form.
As you click on different components of the payment form, the panel labeled "Instructions" will populate with the proper components and allow you to update them.
Title
Click on the title to change update the Title, Description, and add/remove the logo. The right side of the screen will look like this:
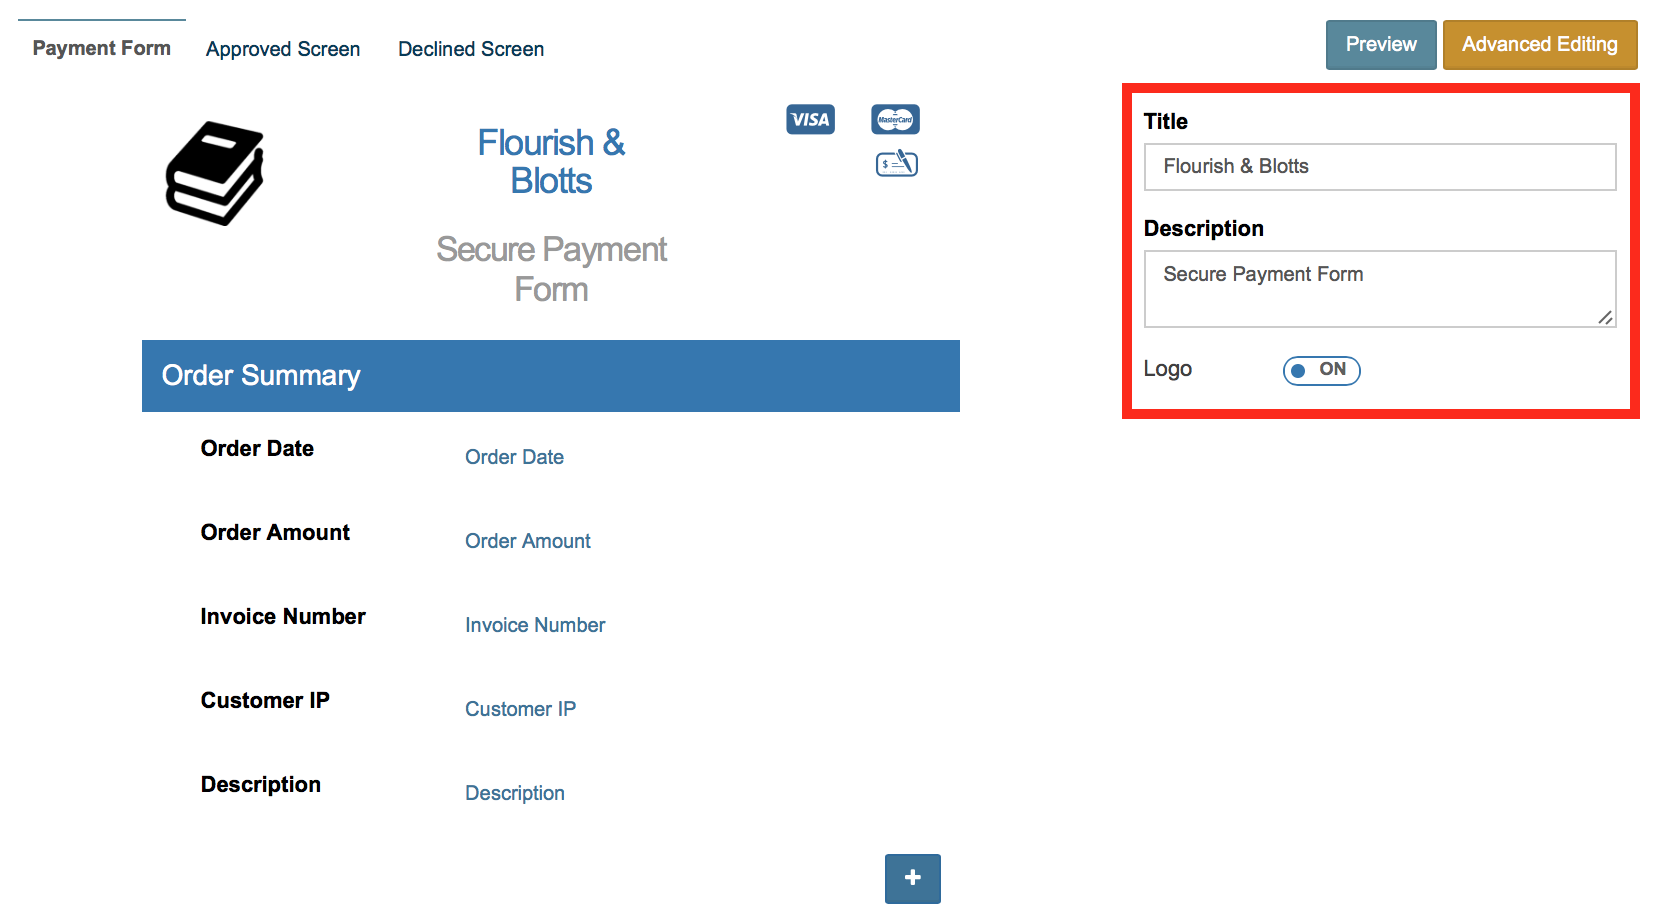
- Title- Appears as the main title at the top of the form. In the example above, the Title is
Flourish & Blotts. - Description- Appears as the subtitle right below the main title of the form. In the example above, the description is
Secure Payment Form. - Logo- Toggle "ON" to show the logo and "OFF" to hide it. (You can update/change the logo on the Merchant Profile page.) The logo on payment forms will be the logo in your Merchant Profile at the time the form was created. If you have updated your logo in your profile and need to update the logo on an existing payment form, just open up the payment form and re-save. The logo on the form will them update to the current logo in your merchant profile.
Customize Payment Form
The instructions below walk you through how to customize the payment form in Drag and Drop mode. You also have the ability to further customize the form in 'Advanced Editing' mode by clicking on 'Advanced Editing' in the upper right hand corner. Please Note: If you choose to switch to 'Advanced Editing' mode, you cannot convert the form back to the Drag and Drop method of editing. You can find some commonly used templates and other information about 'Advanced Editing' here.
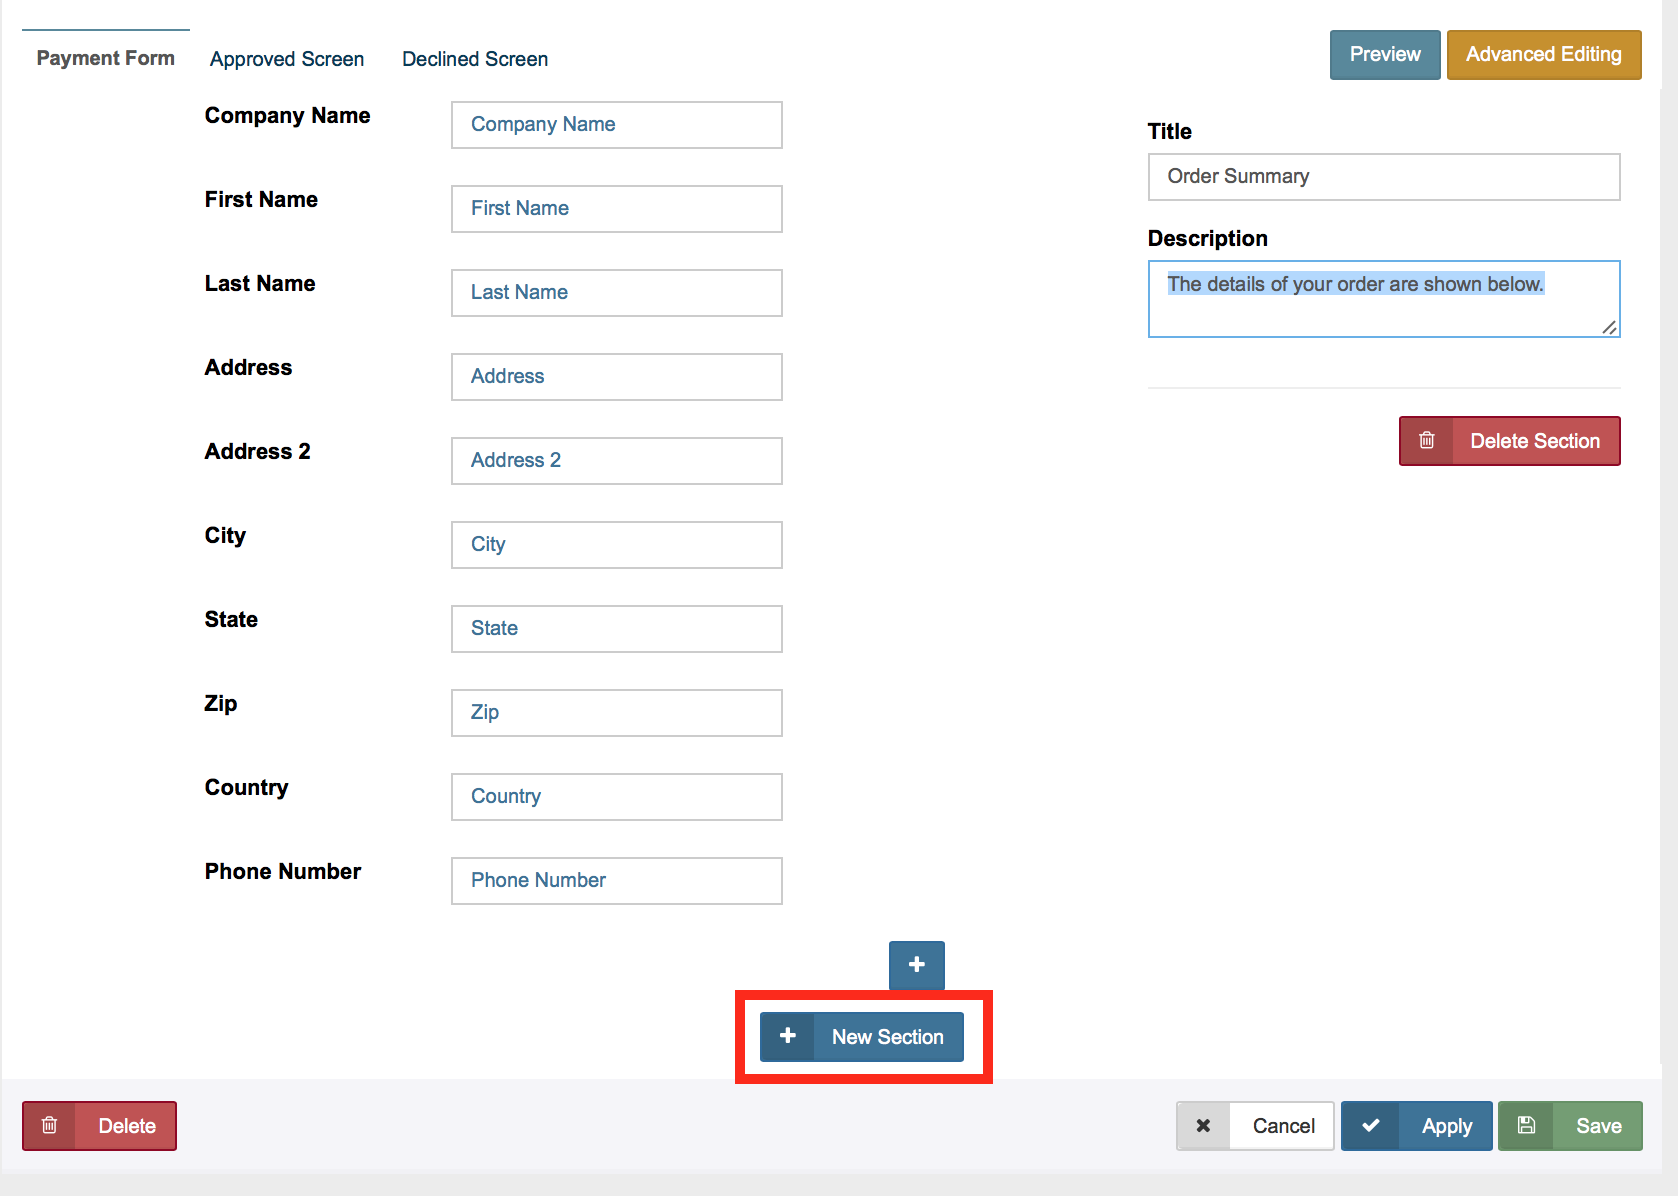
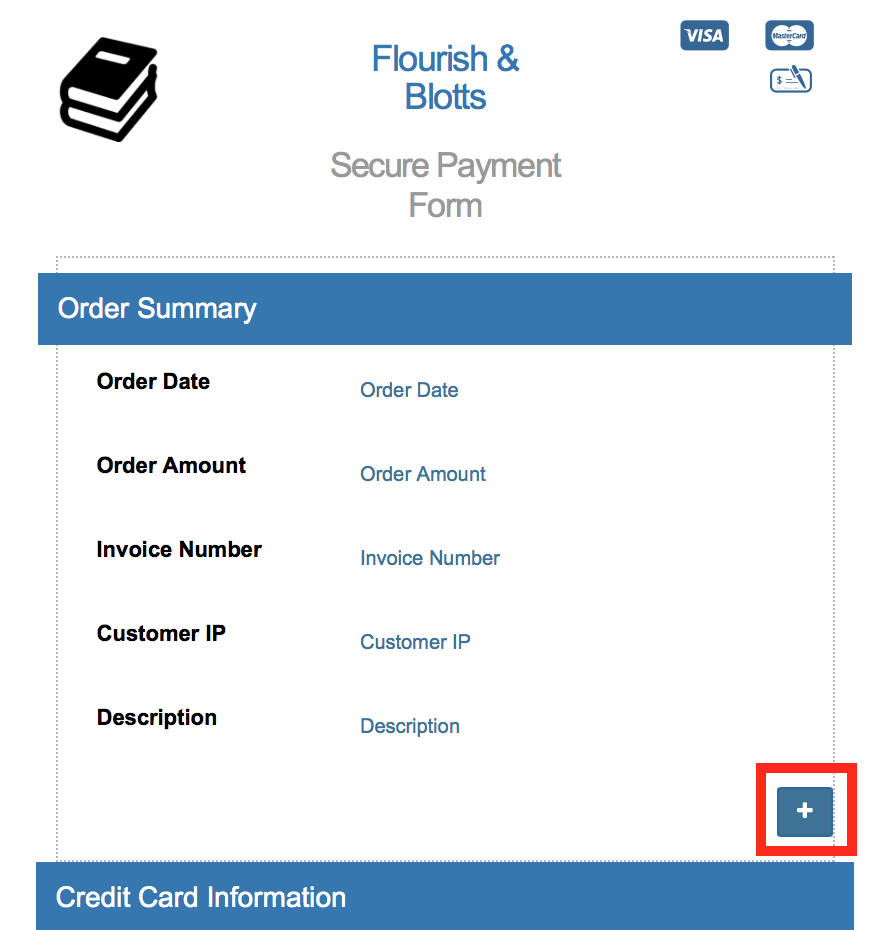
To edit a section, click on any of the solid bars select the section of the form. The right side of the screen will look like this:
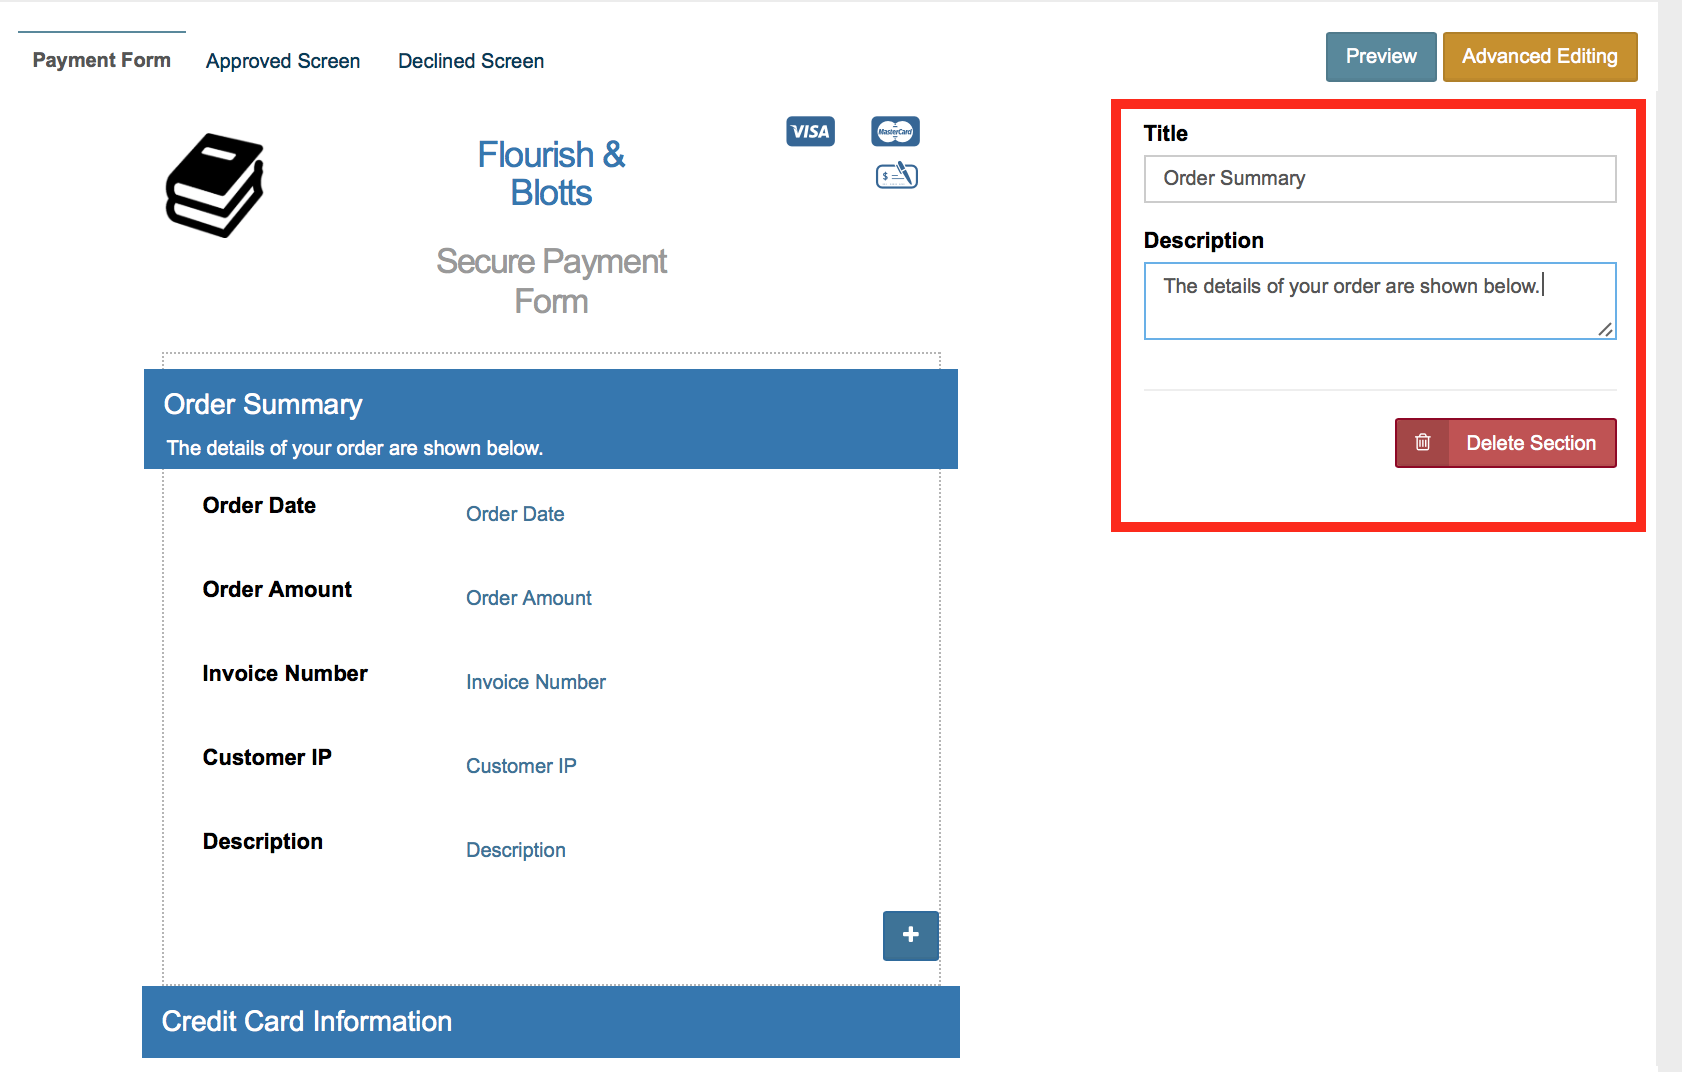
- Title- The title of the section you have selected. The title of the section pictured is
Order Summary. - Description- The subtitle directly below the title. The description of the section pictured is
The details of your order are shown below. - Delete Section Button- This button will remove the entire section from the form (including all of the fields).
To move a section, simply click on the solid bar and drag up or down the form. Deleting or moving a section will also delete/move and fields within that section.
Fields
To add a new field click on the + button at the end of the section you would like to add the field to.
A drop-down menu with all available payment form fields will appear. Select the field you would like to add.
To edit a field, click on the field you would like to edit, and the fields on the right will vary, depending on the field that was selected. Below is a list of characteristics which may show.

- Label - This is the text that appears on the left side of the field.
- Hide Label - When checked, the field label is hidden.
- Help Text - This text appears below the input field.
- Input Type - This allows you to decide if this field can be used by the customer. Select one of the following options from the drop-down menu:
- Text: The customer can type in text.
- Hidden: The customer will not see this field. Using a default value is recommended.
- Display Only: The customer can see the field but cannot edit it.
- Default Value - This is what is in the field when the customer loads the form. When the ‘Input Type’ is set to ‘Text’, the customer can change it to something else. When the ‘Input Type’ is set to ‘Hidden’ or ‘Display Only’, this is what will be submitted when the transaction is processed.
- Placeholder - This text shows in the text box until the customer changes it, but will not be submitted with the transaction.
- Rows - This only appears for text area fields. It allows you to change the number of rows in a text area.
- Value / Text - This only appears when the field you have added is a drop-down menu (see screenshot below).
- Value: This is what is submitted to the gateway.
- Text: This is what is displayed on the drop down menu.

To delete a field, click the red box with an “x” to the right of the field.
To move a field, click and drag it. A grey outline will appear to show you where it will be moved.
Recurring Customer by Payment Form
The payment form also allows merchants to set up a form where customers can add their information to the Customer Database and set up a recurring billing schedule, all through a payment form.
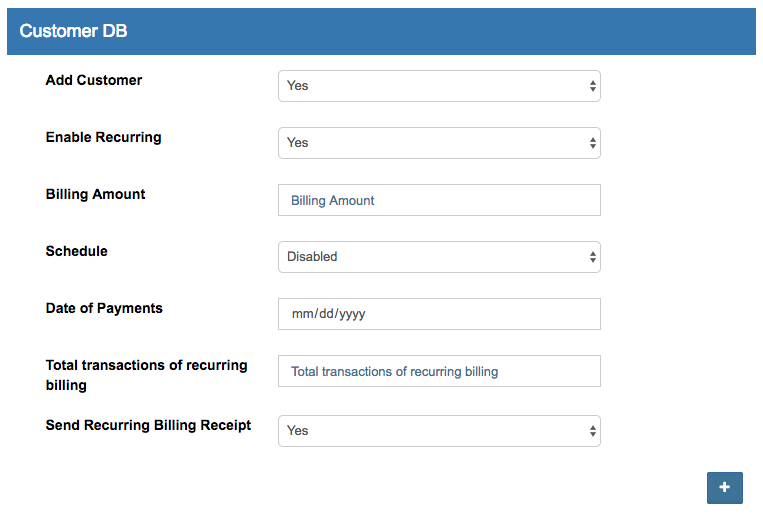
To set up this schedule, be sure to include ALL of the following fields on the payment form if you would like the merchant to be set up for recurring billing:
| Field | Description |
|---|---|
| Add Customer | Selecting Yes saves customer to database, while No does not. |
| Enable Recurring | Selecting Yes enables recurring billing, while No does not. |
| Billing Amount | Recurring Payment Amount |
| Schedule | Options are: Disabled, Daily, Weekly, Biweekly, Monthly, Bimonthly, Quarterly, Biannually, Annually |
| Date of Payments | The date the payments should begin. |
| Total transactions of recurring billing | The number of times the customer should be billed |
| Send Recurring Billing Receipt | Selecting Yes sends customer receipt each time the schedule is run, while No does not. |
Advanced Editing Templates
You can find available fields and some other general information for 'Advanced Editing' here.
Below are some examples of sample code which many of our merchants use to build forms using the advanced editing mode:
- Creating a Basic Drop-Down Menu- Add a dropdown menu with numerous options to any field.
- Same As Billing - Add a checkbox which allows customers to copy billing fields over to the shipping fields.
- Duplicate Field - Populates a single text box into two fields.
- Use Billing Names - Fills in card holder Billing first and last name.
- Invoice Number - Generates a random invoice number.
- Radio Button Amount - Amount radio buttons including an optional text box.
- Convenience Fee - Adds convenience fee as flat rate or percentage.
- Required Field Prompts - Uses Javascript to validate form fields before submission.
- Quantity - Uses Javascript to add the quantity field.
- Quantity For Multiple Products - Uses Javascript to create extra fields for quantities of multiple products.
- Discount Code - Use a discount code
- Creating a "Buy Now" Button - Create a "Buy Now" button for your site.
- Relabeling "Pay By Check" Button - Relabeling "Pay By Check" button to "Pay by ACH"
- Add Drop-down Country & State List - Add Dynamic Drop-down Country & State List
- Add ReCaptcha - Add a ReCaptcha to your form to prevent fraud.
Result Screens
Approved Screen
If you have selected the ‘Display Result’ option in the payment form settings you can customize the approval screen in the gateway. Click ‘Approved Screen’ on the template page to edit the screen your customers see when a transaction is approved.
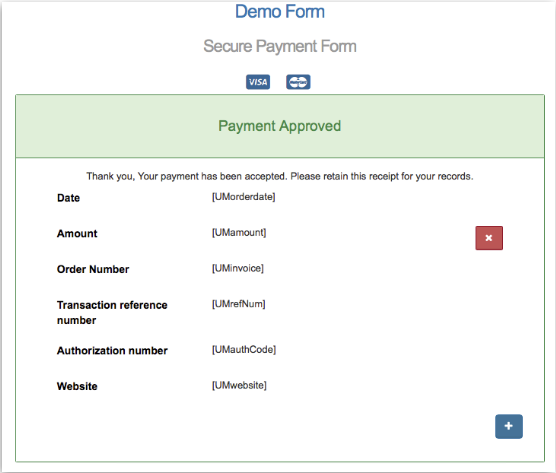
This screen is edited the same way as the payment form except that all fields are restricted to display only.
Declined Screen
If you have selected the ‘Display Result’ option in the payment form settings you can customize the decline screen in the gateway. Click ‘Declined Screen’ on the template page to edit the screen your customers see when a transaction result is decline or error.
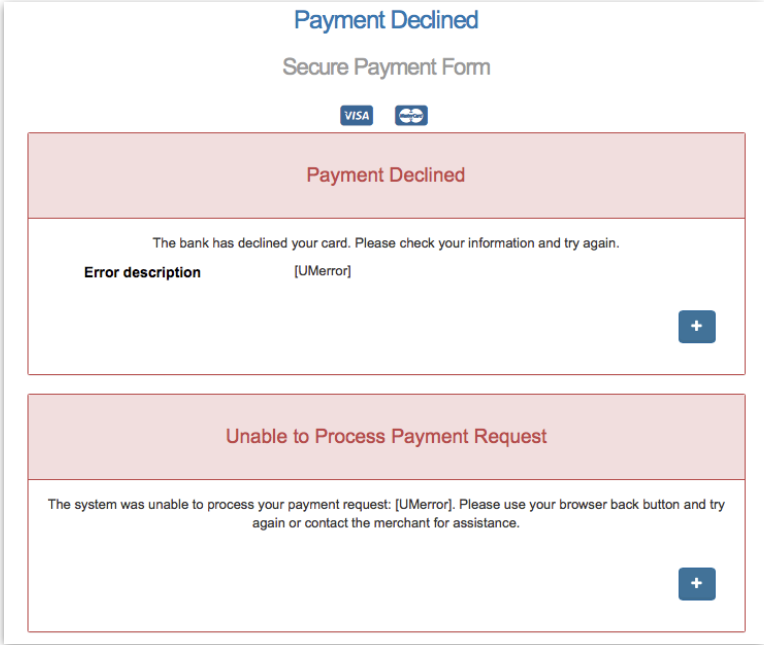
Like the ‘Approved Screen,’ the fields will always be display only.
Payment Forms List
The Payment Forms main page, shows a list of your payment forms.
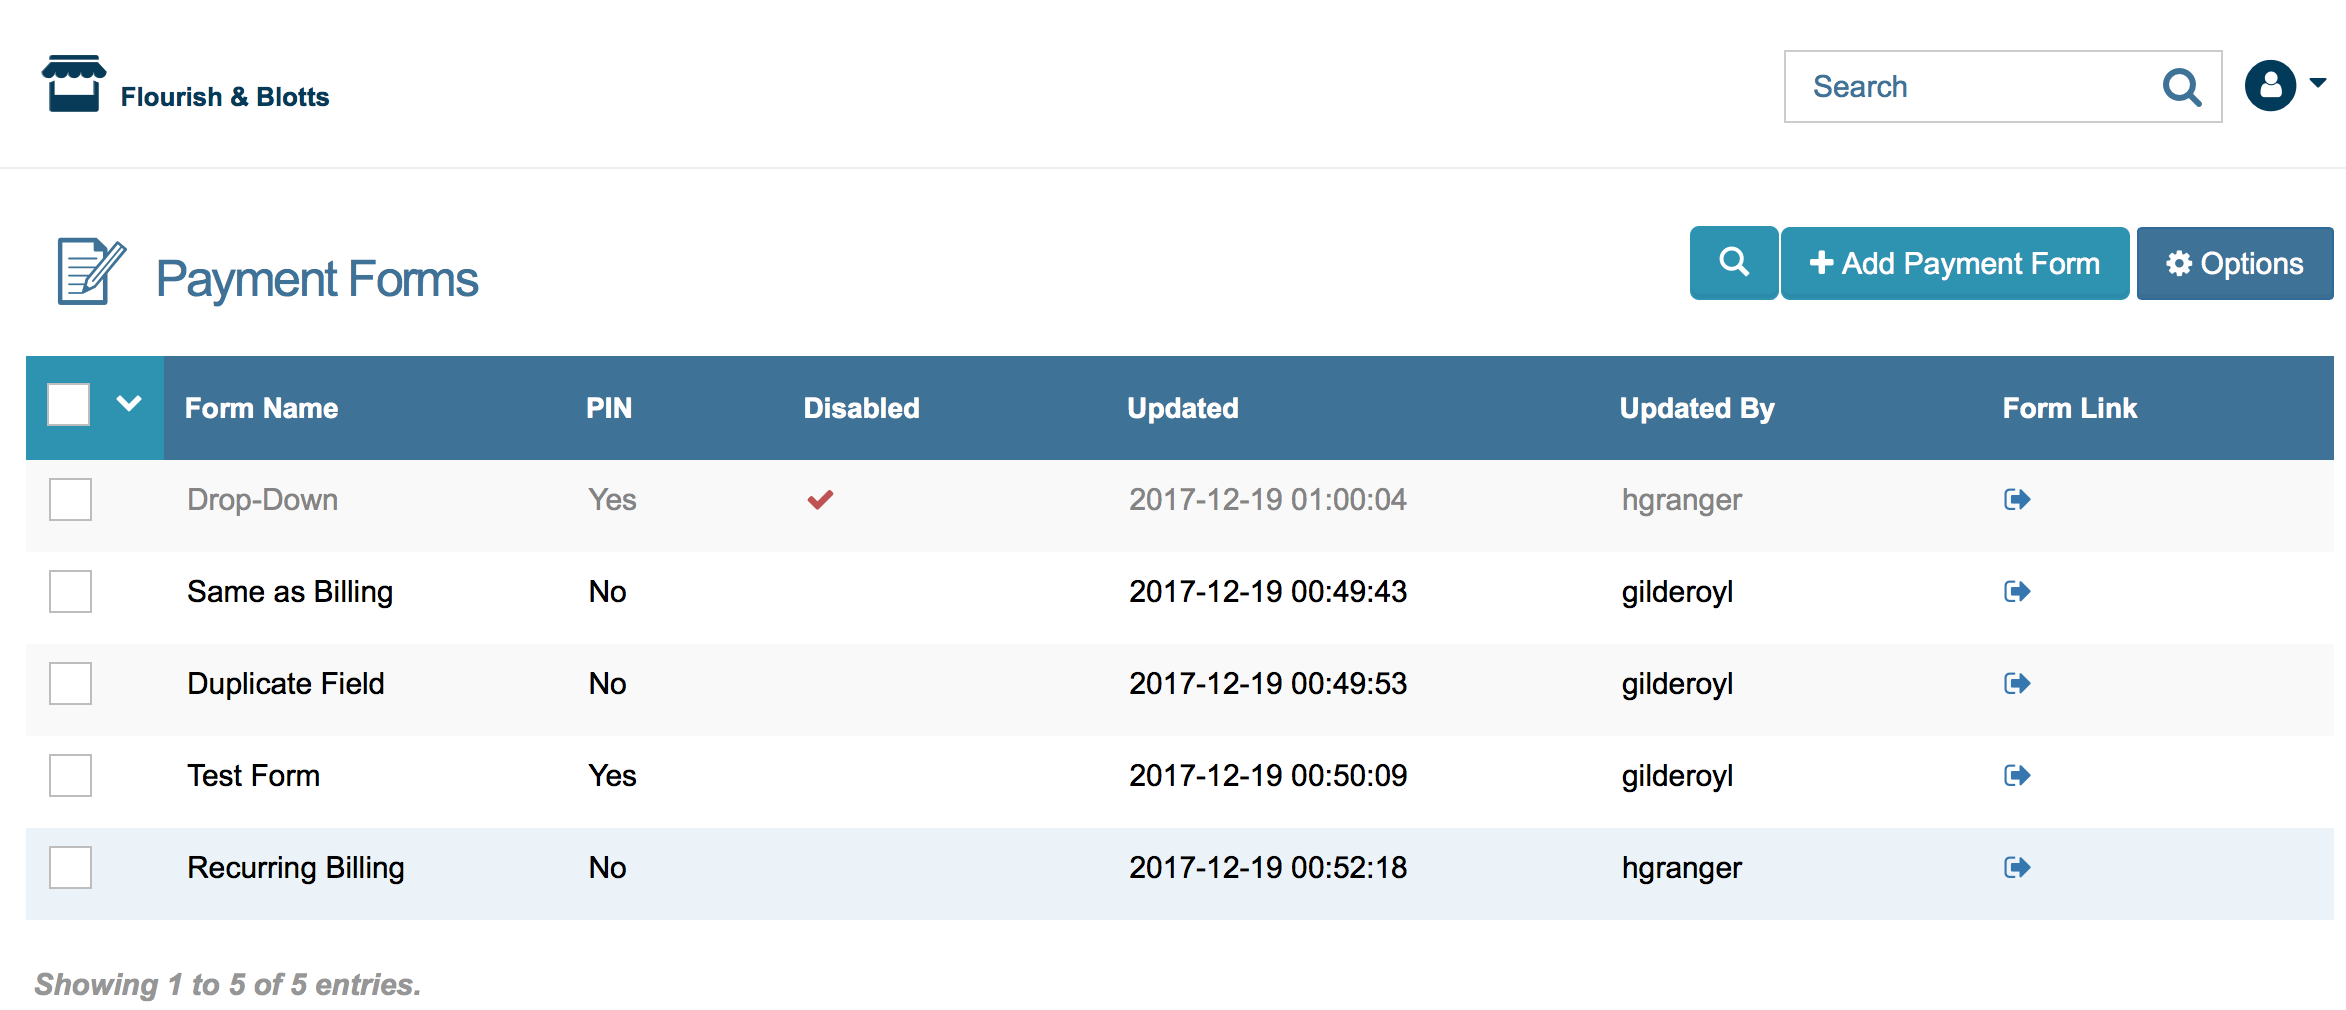
The following fields show in the payment forms table:
| Field | Description |
|---|---|
| Form Name | The title you chose for your payment form. |
| PIN | Indicates if a PIN has been added to the form. |
| Disabled | Indicates if processing has been disabled. A red check means processing is disabled. |
| Updated | The date and time the form was last edited. |
| Updated By | The user who last made an edit to the form. |
| Form Link | Clicking here will redirect you to a preview of the form. You will find the payment form URL in the address bar. |
From the Payment Forms list you can add new forms, and search for and edit existing forms. You can also delete forms or enable and disable payment processing for one or more forms with just a few clicks.
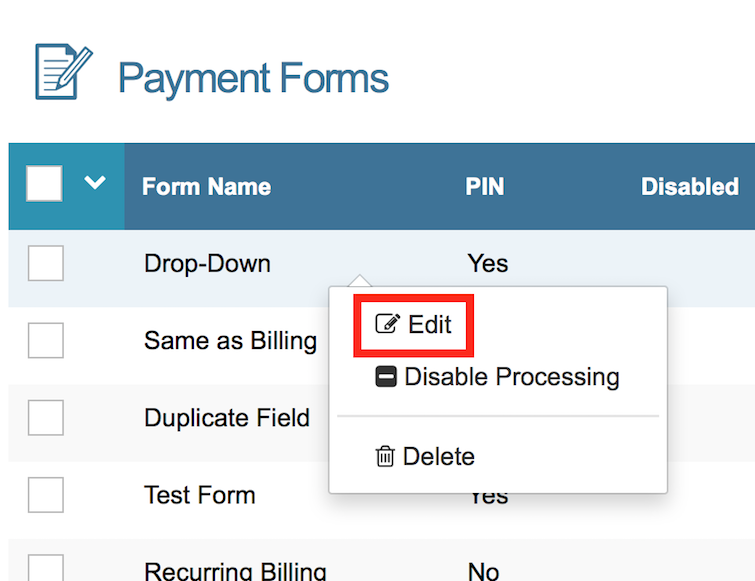
Edit Existing Form
There are two ways to get to the edit screen of an existing form.
- When you hover over an existing form, it will be highlighted. Simply click when the form you would like to edit is highlighted and the form details will open.
- Right click the form you would like to edit and click "Edit". The form details will open.
For more information on the details of form settings, form templates and result pages for your new form, see the corresponding sections of this page.
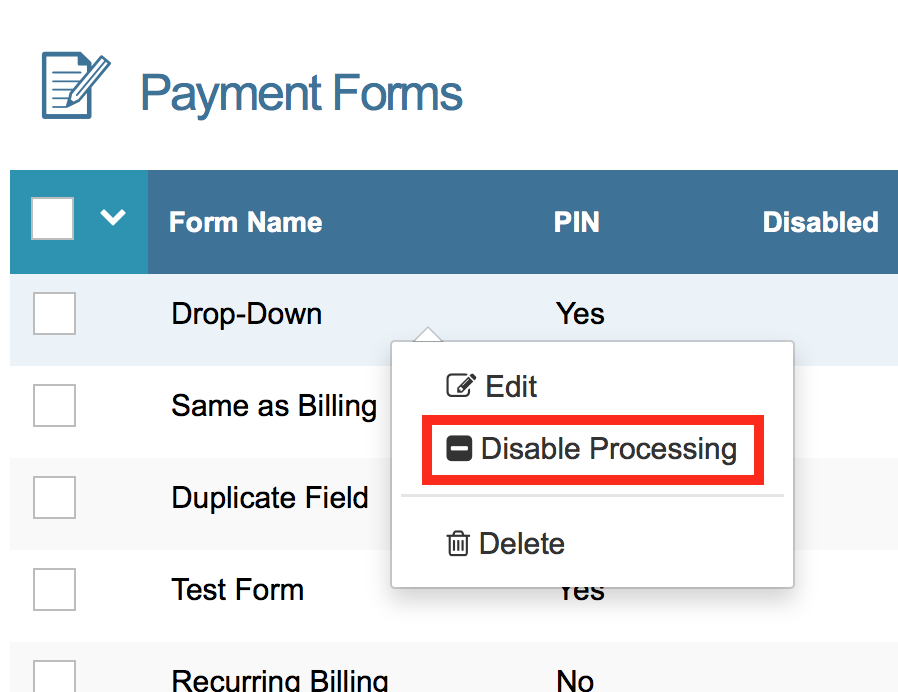
Disable/Enable Processing
To disable or enable a single form, right click on the form and select disable or enable in the menu. If a form is currently disabled, then the menu will show "Enable Processing". If a form is currently enabled, then the menu will show "Disable Processing".
After disabling payment processing on the form, a modal will appear asking you to confirm. Click "Confirm" to disable processing, or "Cancel" to leave payment processing enabled.
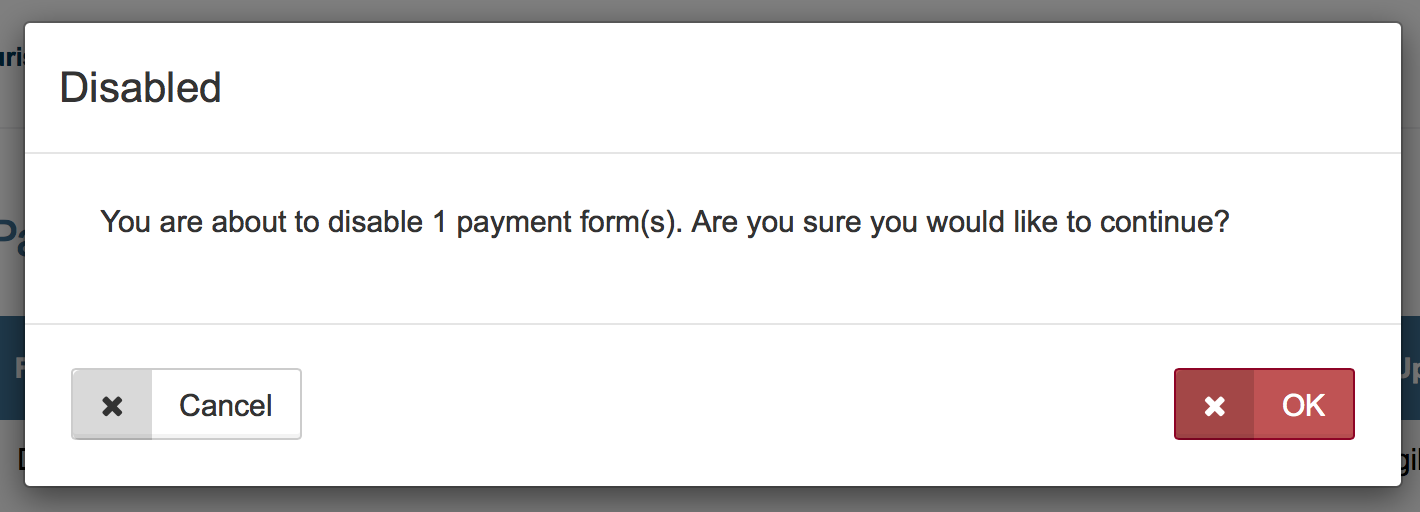
When payment processing has been disabled, a pop-up will appear to confirm. You will also see that the disabled form's fields will appear grayed out in the table, and a red check will appear in the "Disabled" column.
For more information on disabling/enabling processing for multiple payment forms at once, see the Bulk Edit section of this page.
Delete Form
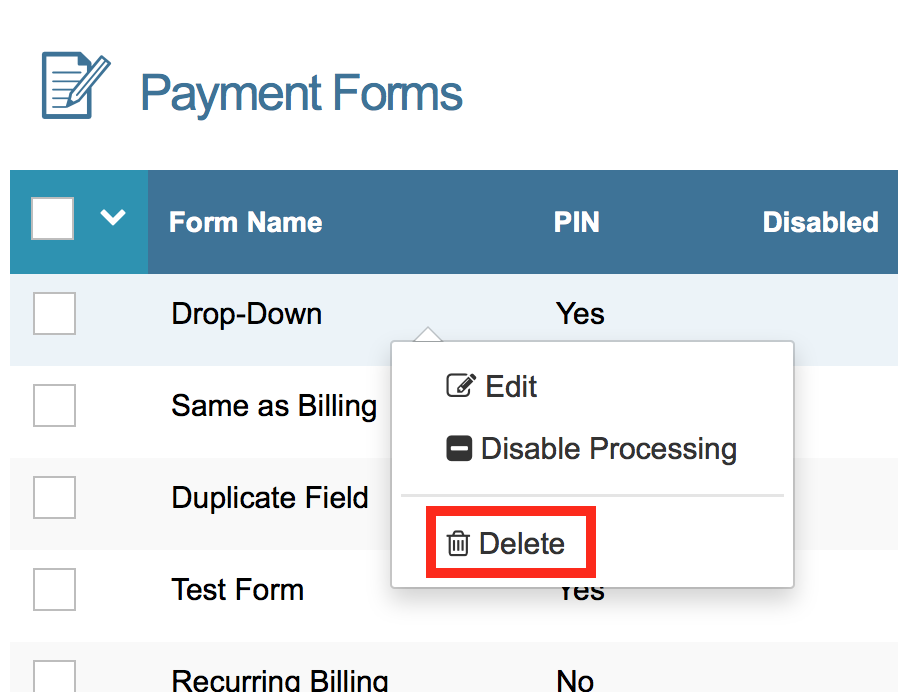
To delete a single form, right click on the form and click "Delete" in the menu.
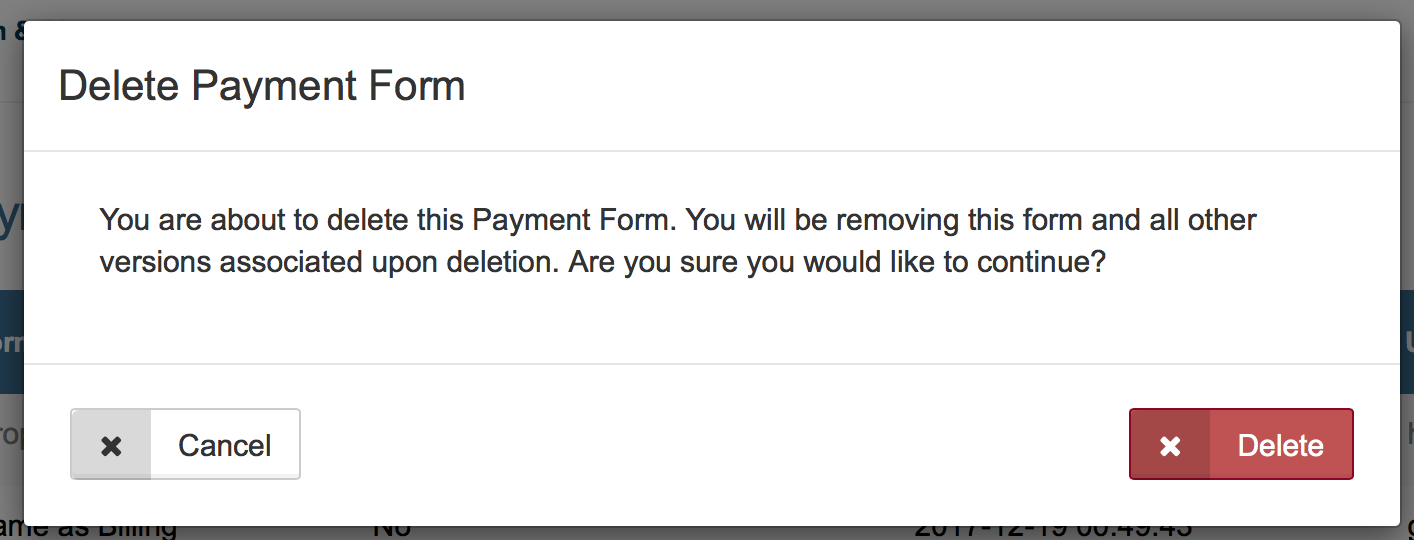
After deleting the form, a modal will appear asking you to confirm. Click "Confirm" to delete, or "Cancel" to keep the form.
When the form has been disabled, a pop-up will appear to confirm. The form will no longer show in the payment form table.
For more information on deleting multiple payment forms at once, see the Bulk Edit section of this page.
Bulk Edit
The bulk edit feature allows you to delete, disable processing, or enable processing for more than one form at once.
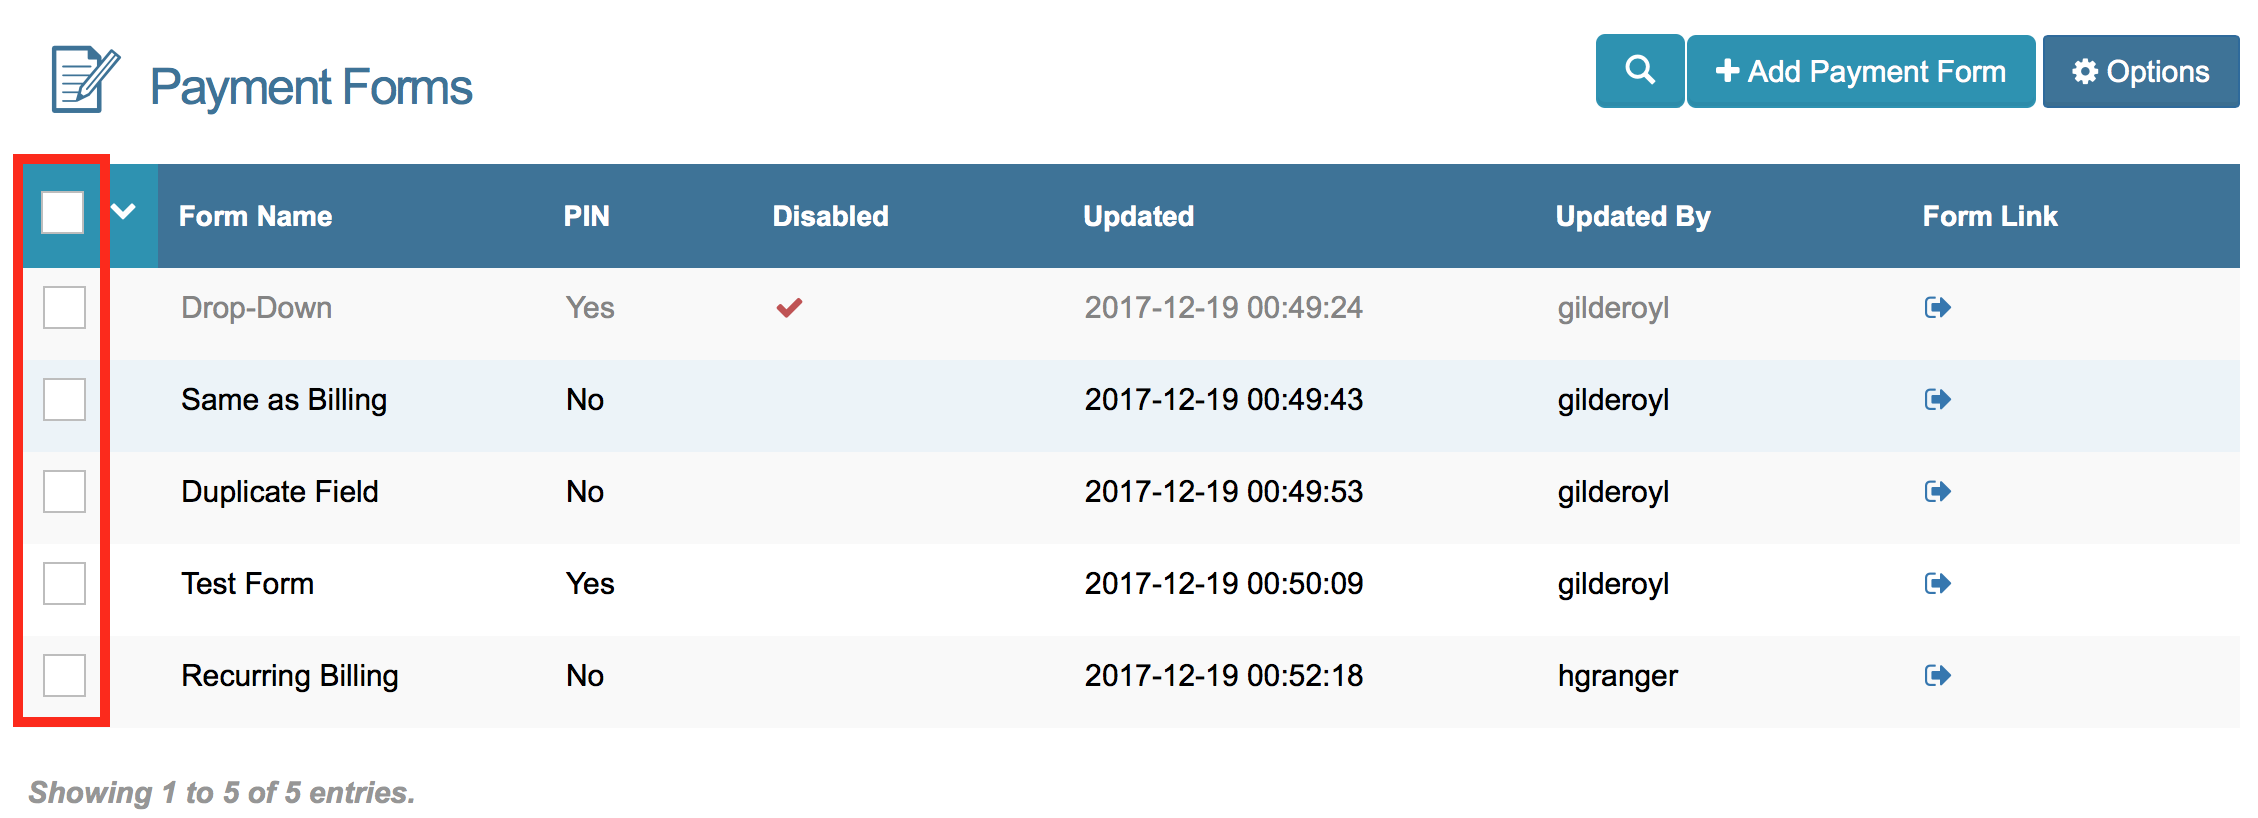
First, check the boxes of the forms you would like to change. Check the top box, to select all forms on the page.
Next, click the downward arrow to the right of the top box to show the bulk edit options.
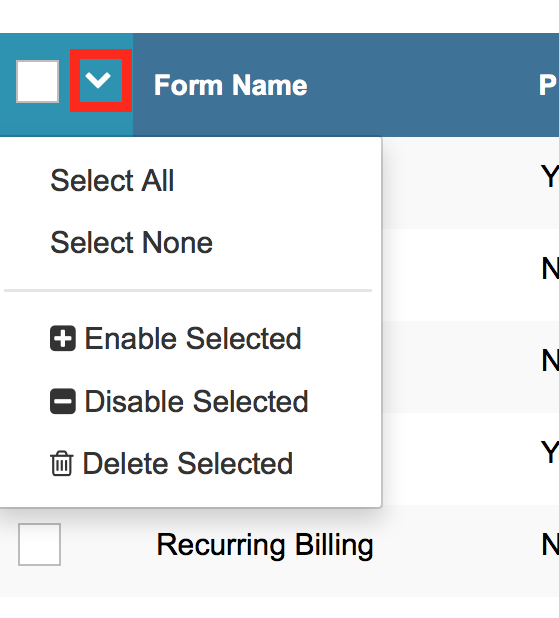
The following options are available in this menu:
| Bulk Edit Option | Description |
|---|---|
| Select All | Select all forms to edit. |
| Select None | Unselect all forms. Unselected forms will NOT be altered. |
| Enable Selected | Enable payment processing for all selected forms. |
| Disable Selected | Disable payment processing for all selected forms. |
| Delete Selected | Delete all selected payment forms. |
Search
To search for a specific payment form, click the search icon.
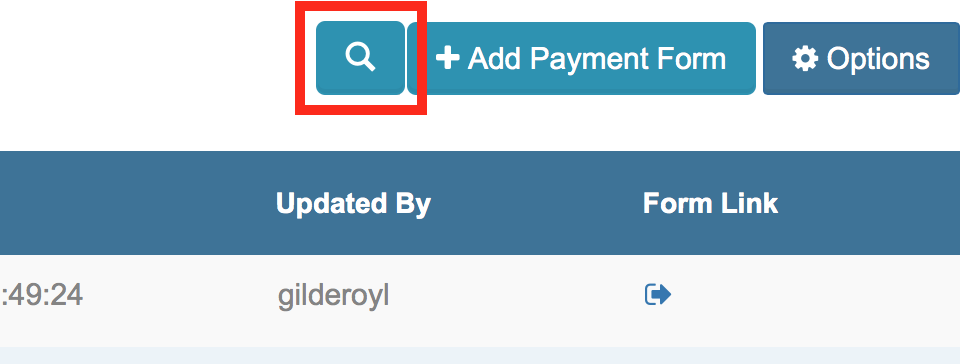
The search field will expand. Begin typing and you will see matching results as you type.
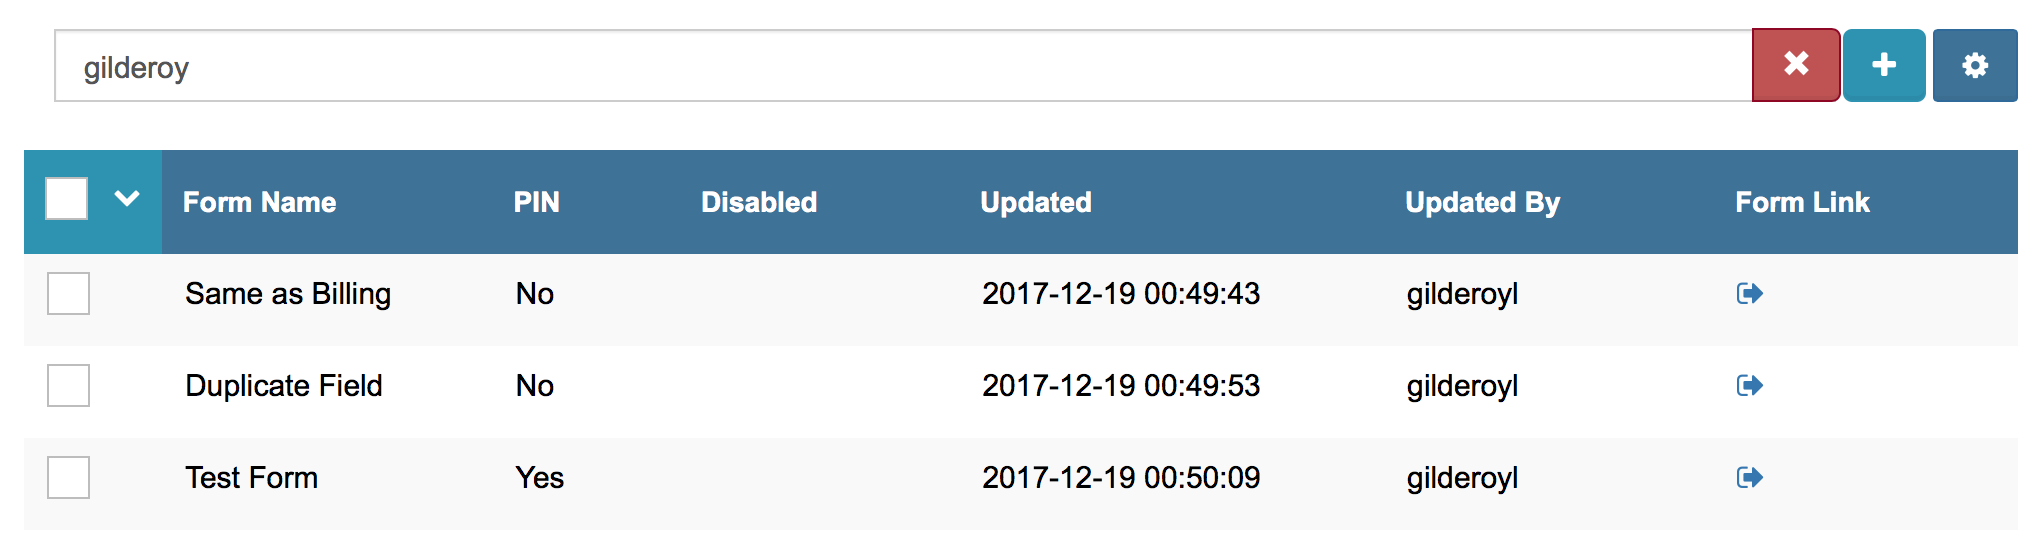
You can search Payment Forms by the Form Name or the Updated By username. To clear your search, click on the red 'X' icon.
